This Classic Vanilla Cupcakes recipe is an easy and comforting dessert that comes together so quickly with a soft tender crumb and sweet vanilla flavor. With fluffy cake and creamy frosting and a golden top that looks so pretty once finished.
We love celebrations because it means that easy bakes like these Classic Vanilla Cupcakes are back on the table. Comfort foods and especially treats that feel homemade and simple and bring a little joy to the day are my favorite kinds of recipes.
Ingredients
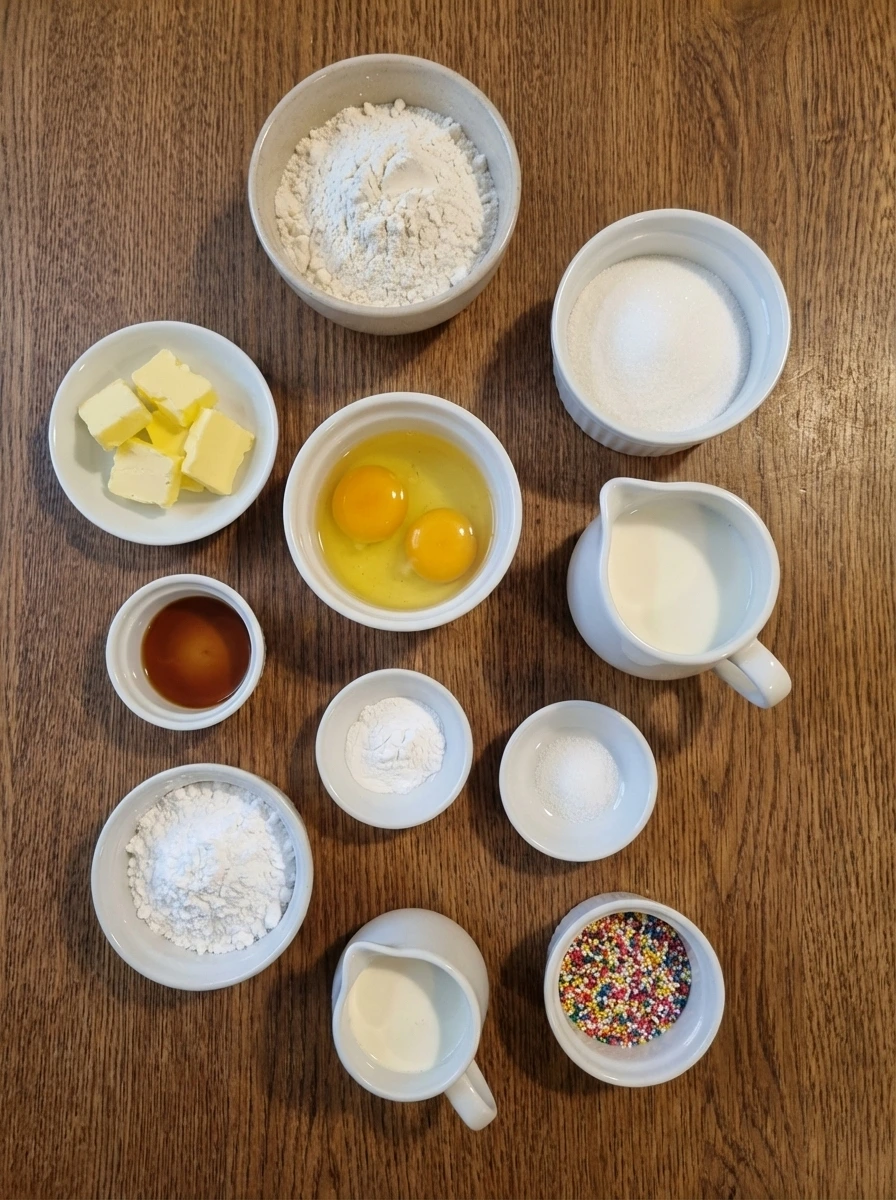
Here’s what I use for this recipe and you can always make substitutions if you prefer.
- all purpose flour: gives the cupcakes structure and a tender crumb
- baking powder: helps the cupcakes rise into a light texture
- fine sea salt: balances sweetness and deepens flavor
- unsalted butter: adds richness to both cake and frosting
- granulated sugar: sweetens the cupcakes and helps create a soft crumb
- large eggs: bind the batter and add richness
- vanilla extract: gives the cupcakes their classic flavor
- whole milk: keeps the batter smooth and the crumb tender
- powdered sugar: creates a smooth sweet frosting
- heavy cream: loosens the frosting into a fluffy texture
- extra vanilla extract: flavors the frosting
- pinch of salt: keeps the frosting balanced
- sprinkles: adds a simple final garnish
Tools You’ll Need
- mixing bowl: use one large bowl for the batter and one medium bowl for the frosting
- muffin tray: holds the cupcake liners and helps the cupcakes bake evenly
- paper liners: make the cupcakes easy to remove and serve
- spatula or spoon: helpful for folding the batter and finishing the frosting
Instructions
Step 1: Measure the ingredients and cut the butter
Start by measuring every ingredient so the batter comes together smoothly. Cut the butter into small uneven pieces so it softens faster and blends more easily into the sugar. The ingredients are still fully separate at this stage and the butter pieces look pale yellow and slightly softened around the edges rather than melted.
Tip: Accurate measuring keeps the cupcakes light instead of dense.
Step 2: Combine the dry ingredients
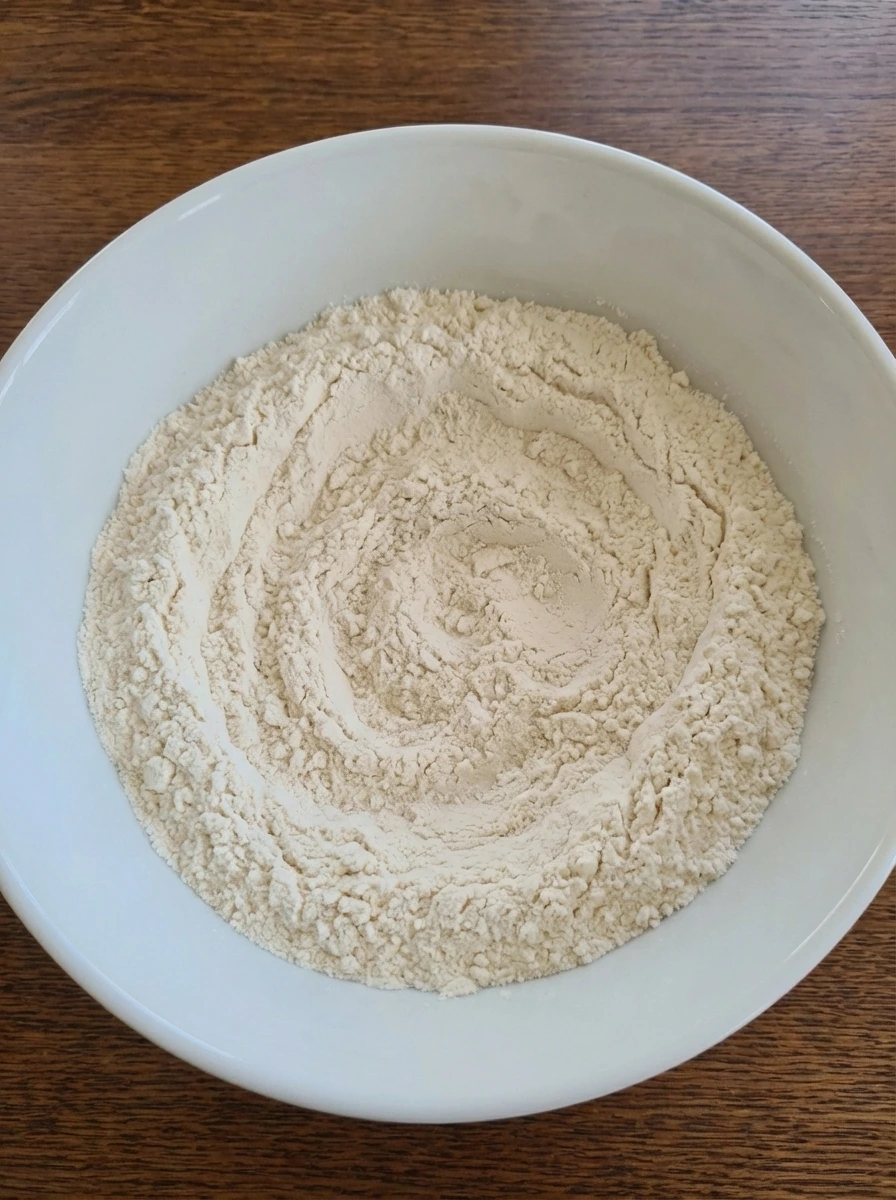
Add the flour and baking powder and salt to a bowl and stir until the white powders look evenly blended. This is the seasoning stage for the batter because the salt is now distributed through the flour. The mixture still looks dry and powdery although the tiny specks of baking powder and salt disappear into the flour as everything becomes one pale mixture.
Tip: Mixing the dry ingredients first helps the cupcakes rise evenly.
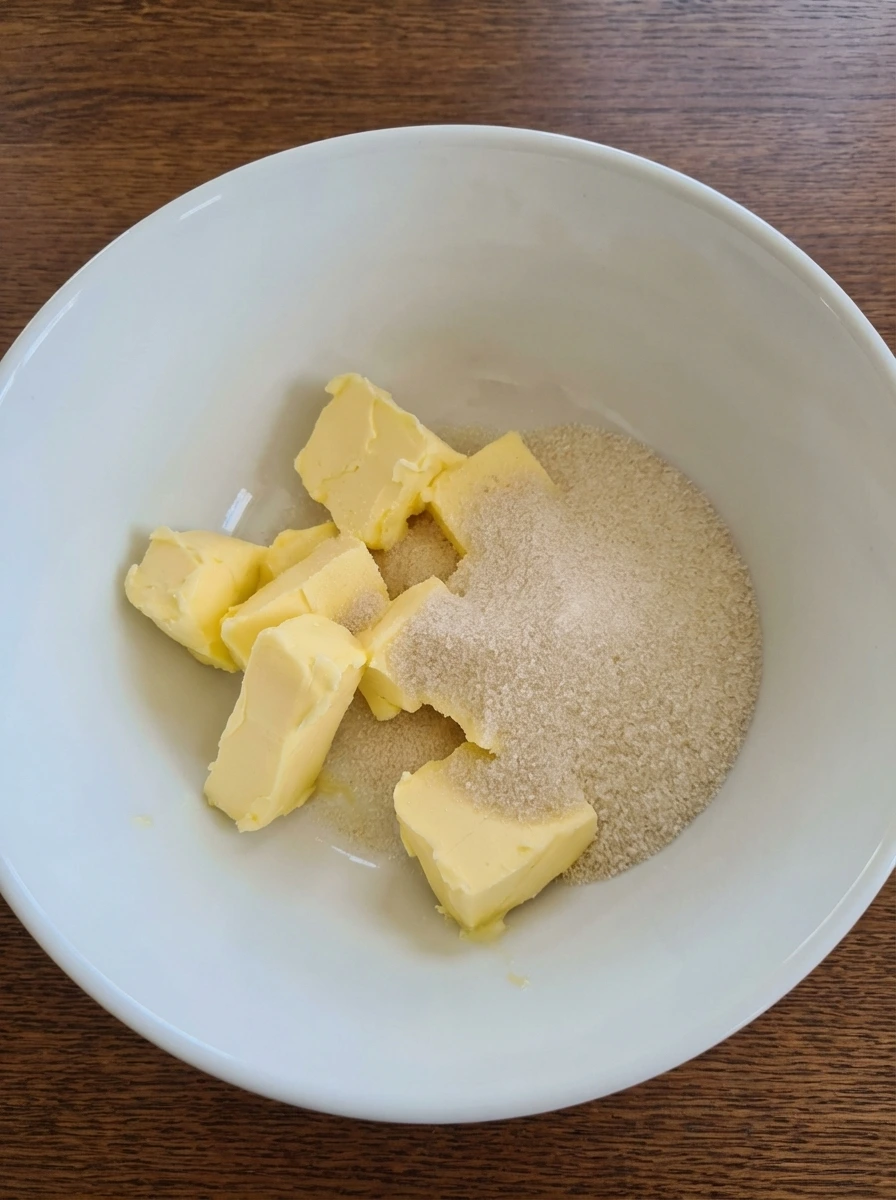
Step 3: Cream the butter and sugar
Beat the softened butter pieces with the sugar until the mixture changes from separate grains and chunks into a pale fluffy mass. At first it looks crumbly and rough and then it turns lighter and softer as the sugar is worked through the butter. This step creates the first major visual transformation because the mixture becomes creamy and slightly airy instead of firm and grainy.
Tip: Keep going until the color lightens because that trapped air makes the cupcakes soft.
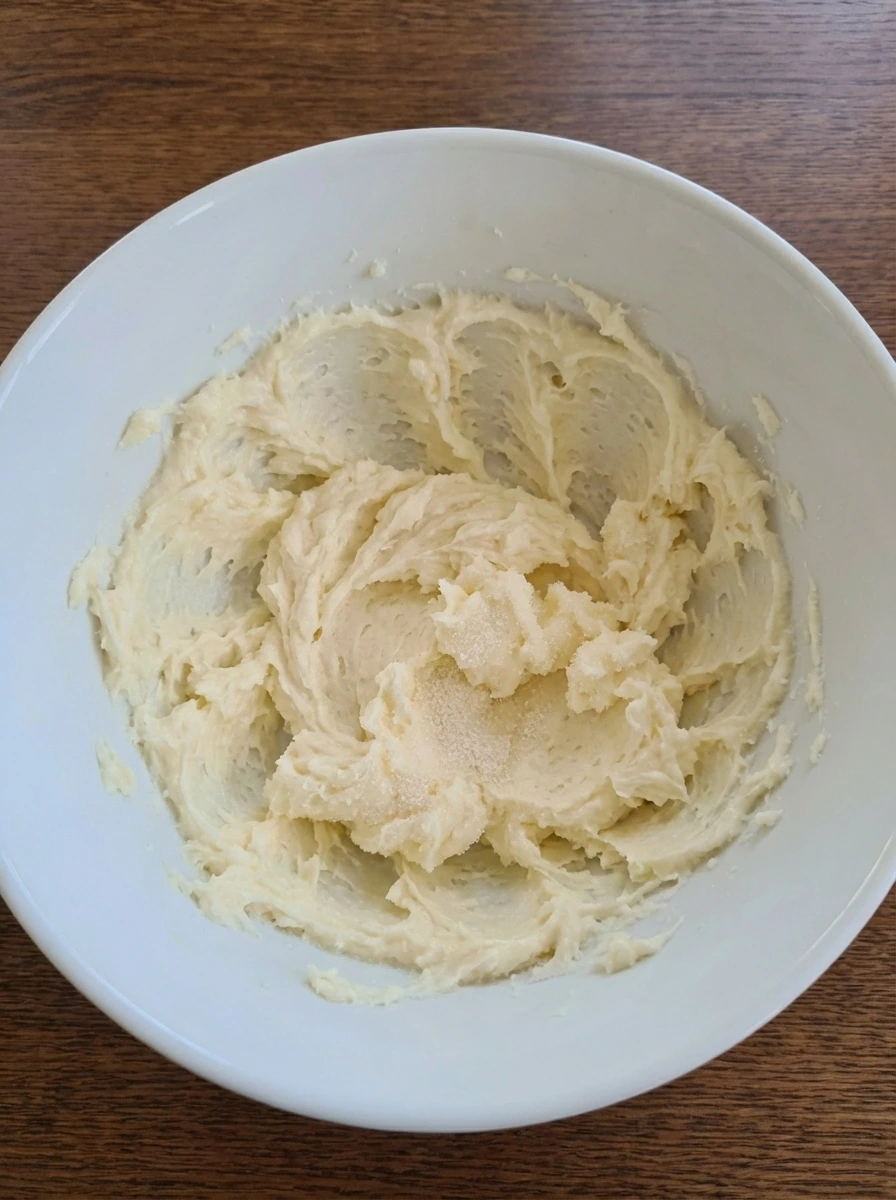
Step 4: Add the eggs and vanilla
Add the eggs one at a time and then pour in the vanilla. The batter briefly looks glossy and a little loose and then it pulls back together into a smoother cream with a warm light yellow tone. Once fully mixed the batter looks silkier and slightly thicker than before with a soft sheen that shows the eggs have blended in.
Tip: Mix each egg in fully before adding the next so the batter stays smooth.
Step 5: Mix in the dry ingredients and milk
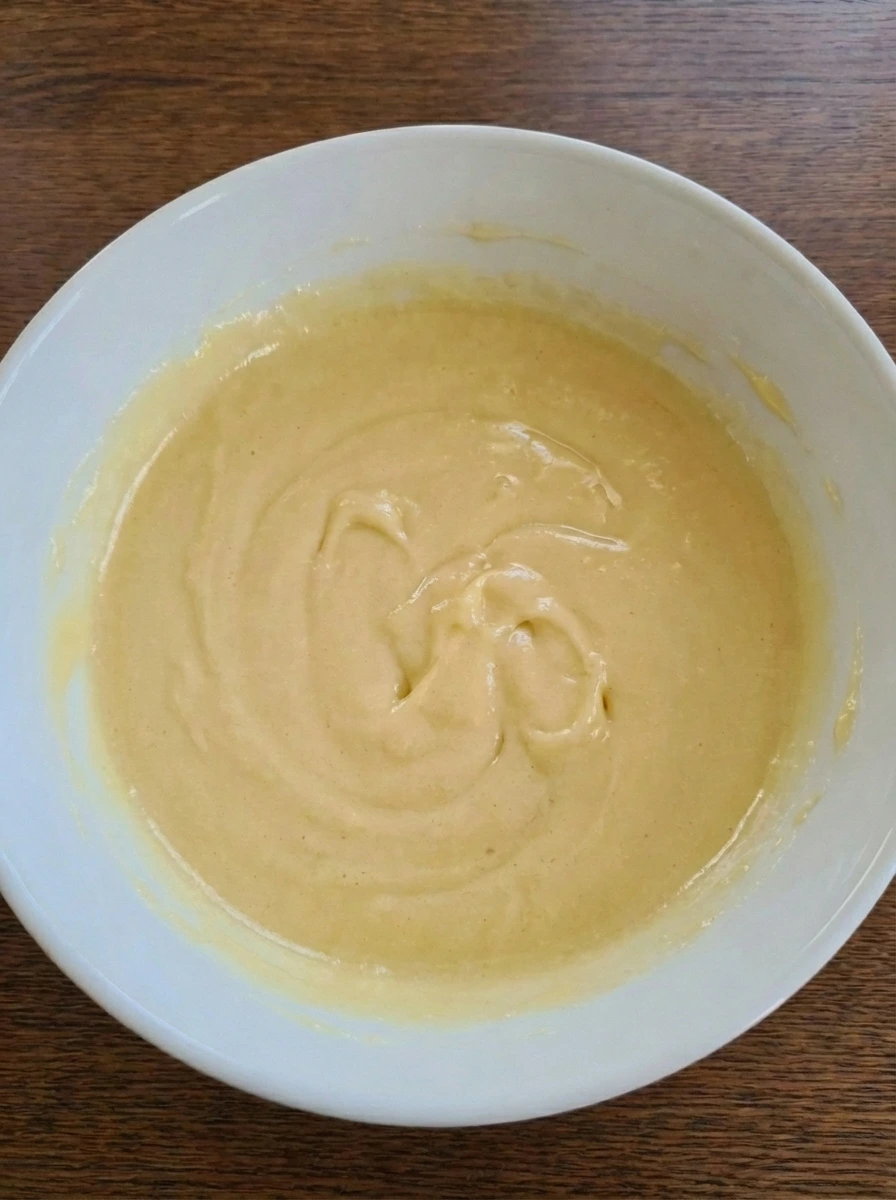
Add part of the dry mixture to the bowl and stir until the batter thickens. Pour in some milk and continue alternating until everything is added and the batter changes from dense and streaky to soft and spoonable. At the end the batter looks creamy and lightly flowing with no dry patches. It is thick enough to mound slightly yet loose enough to settle with gentle swirls.
Tip: Stop mixing as soon as the flour disappears so the cupcakes stay tender.
Step 6: Portion and arrange the batter
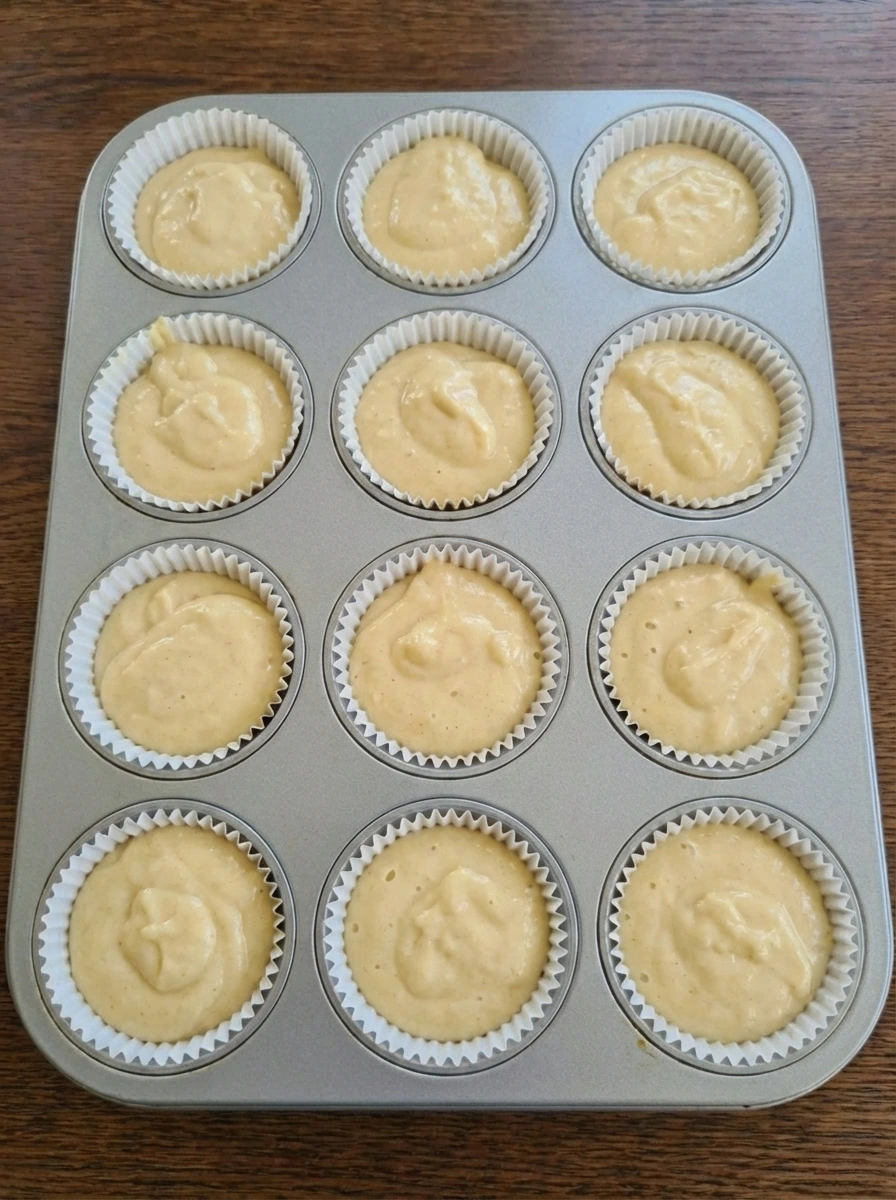
Spoon the batter into a muffin tray lined with paper cups and fill each one about two thirds full. Let the batter sit naturally rather than smoothing it perfectly so each portion keeps a slightly uneven top. This is the arranging stage and the batter looks pale and soft in the liners with small variations in height that feel homemade and relaxed.
Tip: Leaving room at the top helps the cupcakes rise into soft domes instead of spilling over.
Step 7: Bake until risen and lightly golden
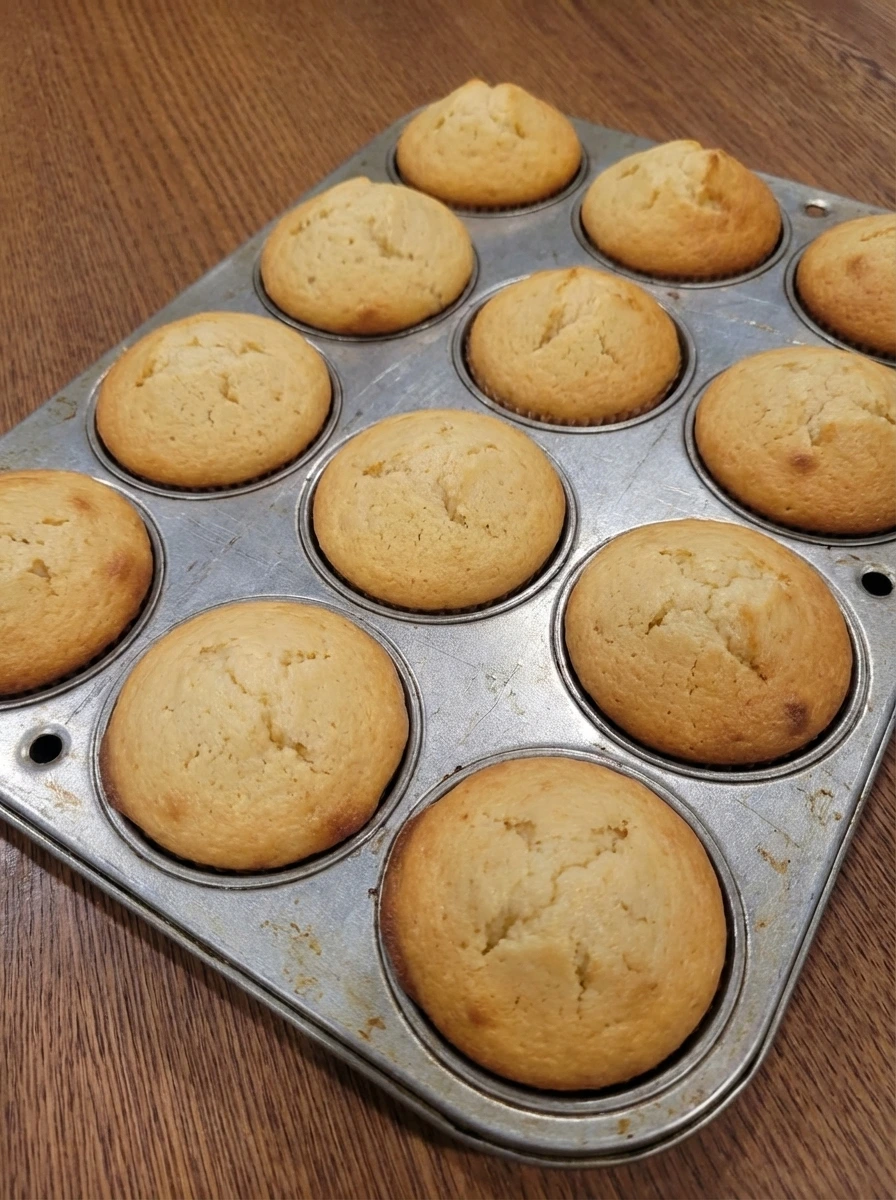
Bake the cupcakes until the batter transforms into tender cakes with softly rounded tops. The pale batter deepens into a warm golden color and the surface loses its wet shine. A few tops may rise a little more than others and slight browning around some edges is exactly what makes them look real and homemade.
Tip: Pull them out when the tops spring back lightly and the color is just golden.
Step 8: Cool and make the vanilla frosting
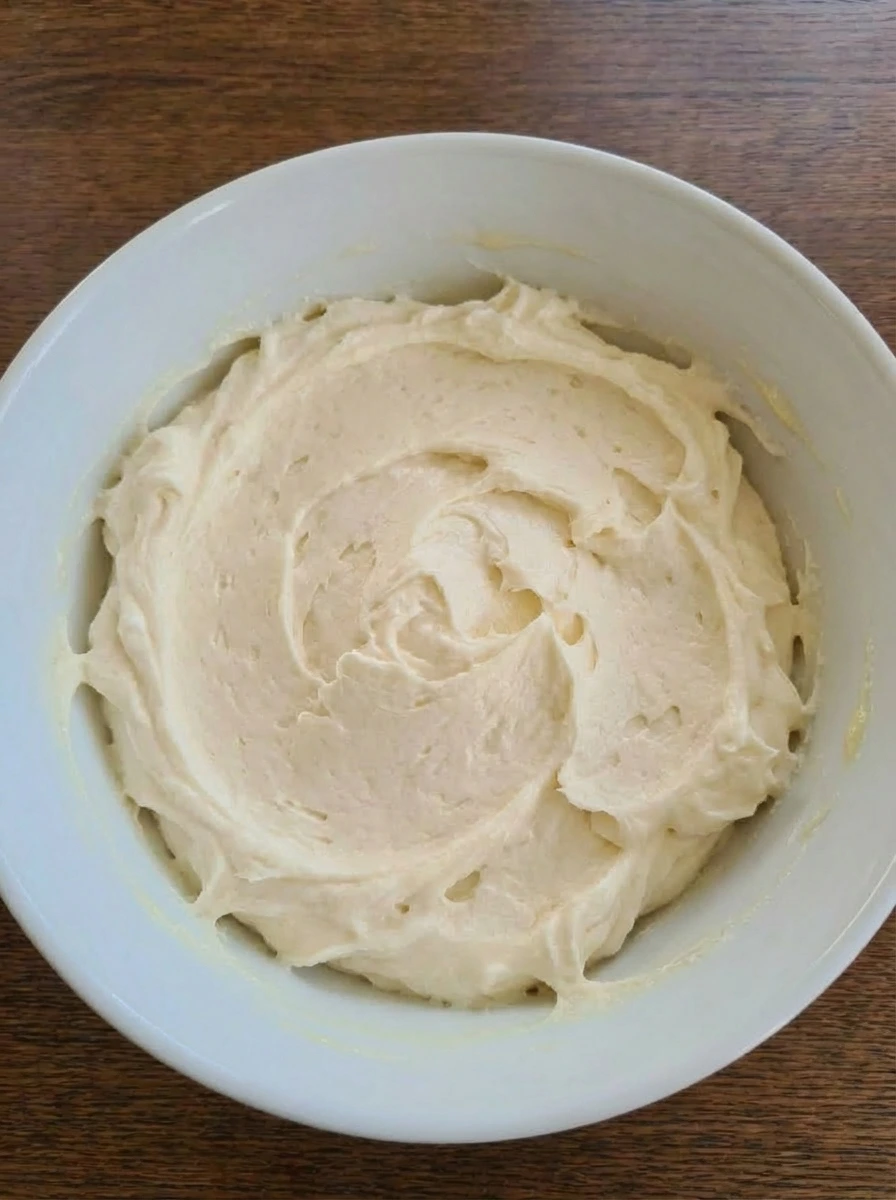
Let the cupcakes cool until the tops look set and no longer delicate. While they cool mix the butter with powdered sugar and vanilla and salt and enough cream to create a frosting that starts thick and turns soft and fluffy. The frosting looks creamy and pale with loose swirls and a light airy texture rather than a stiff perfect finish.
Tip: Cool cupcakes fully so the frosting stays fluffy instead of sliding.
Step 9: Finish with frosting and sprinkles
Spread or pipe the frosting onto the cooled cupcakes in loose imperfect swirls. Scatter sprinkles over the tops so some areas get more than others and a few pieces catch in the frosting at different angles. This finishing stage adds contrast because the golden cakes now carry soft white frosting and colorful garnish with a natural homemade look.
Tip: An imperfect swirl always looks more inviting than a perfectly stiff top.
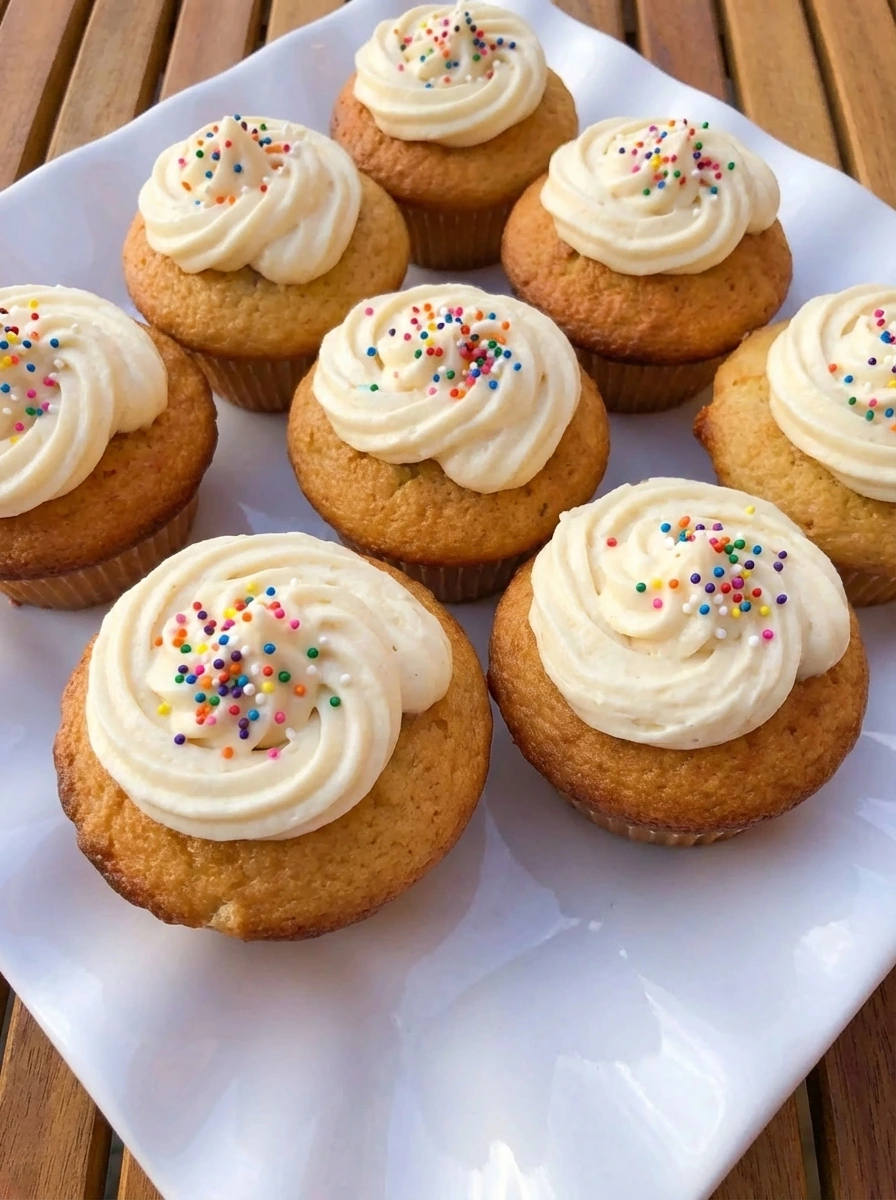
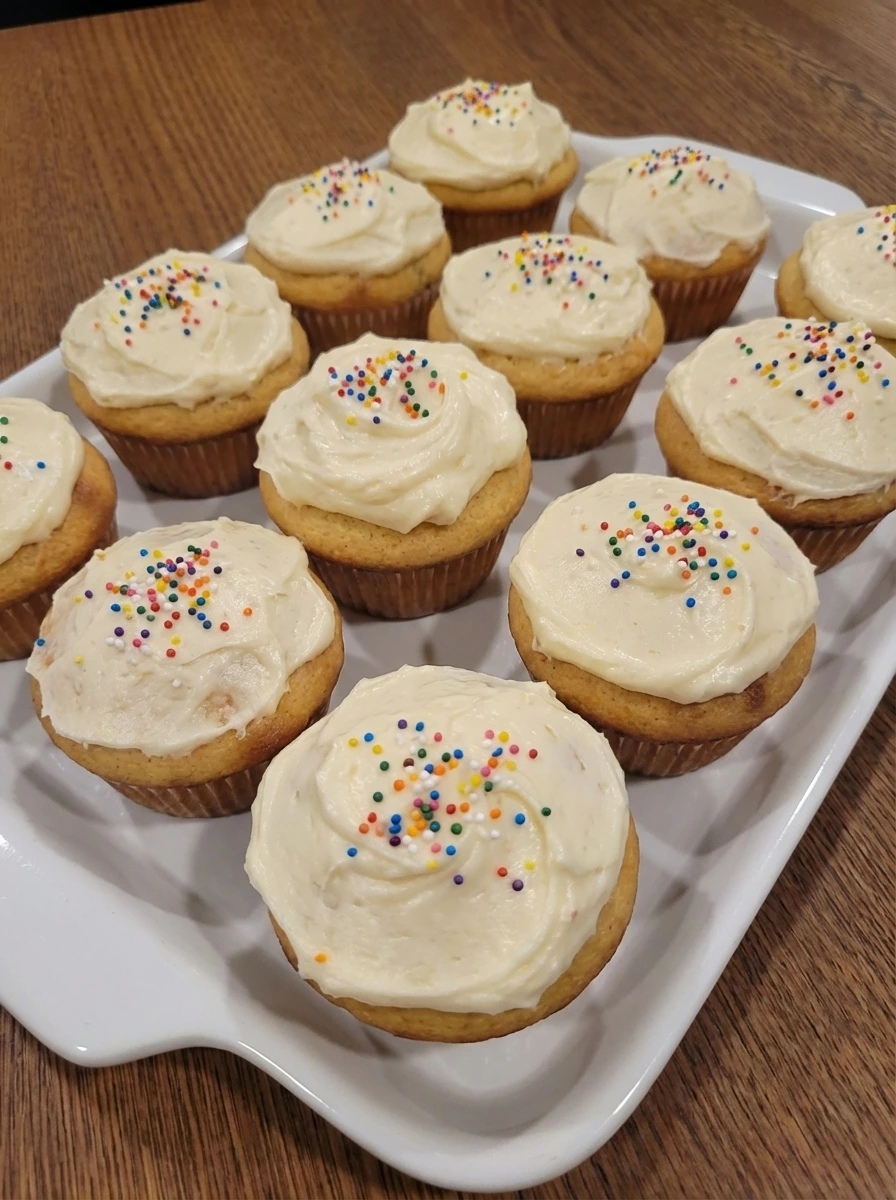
Step 10: Plate and serve
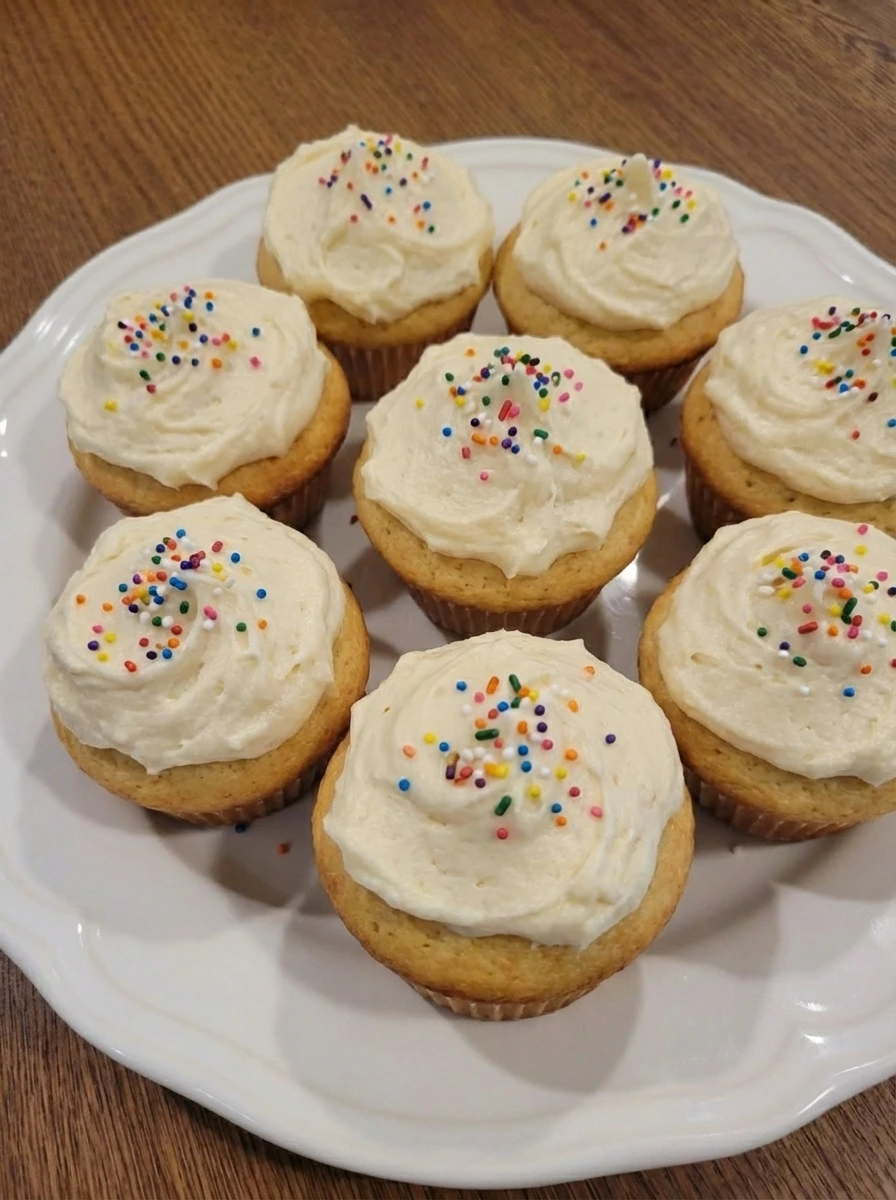
Arrange the fully finished cupcakes on a serving plate with relaxed spacing so the group looks abundant and homemade rather than perfectly lined up. The cakes show light golden sides and creamy frosting with little variations in swirl height and sprinkle coverage. Now the dish is fully cooked and plated and ready to serve with soft crumb and lightly browned tops and a sweet vanilla finish that looks warm and inviting.
Tip: Serve the cupcakes at room temperature so the crumb stays soft and the frosting tastes creamy.
Pro Tips
- Bring the butter and eggs to room temperature so the batter blends smoothly and bakes up evenly.
- Alternate the dry ingredients with the milk so the batter stays creamy and does not turn heavy.
- Do not overfill the liners because a little space helps create soft rounded tops.
- Let the cupcakes cool completely before frosting so the swirls stay fluffy and defined.
Storage Instructions
Store the cupcakes in an airtight container at room temperature for up to 2 days or in the fridge for up to 4 days. Let chilled cupcakes sit out a bit before serving so the frosting softens and the crumb tastes tender again.
Frequently Asked Questions
Can I make Classic Vanilla Cupcakes ahead of time?
Yes and you can bake the cupcakes a day ahead. Frost them the next day for the freshest look and texture.
Why did my cupcakes turn dense?
Dense cupcakes usually come from overmixing the batter or adding too much flour. Mix only until the flour disappears.
Can I use this recipe for a cake instead?
Yes and the batter can be baked as a small cake. Watch the baking time because a larger pan may need more time.
How do I get soft fluffy frosting?
Beat the frosting until pale and airy and add the cream a little at a time until it looks smooth and easy to swirl.
Final Thoughts
If you try this recipe and I really hope you love it as much as my family does. It has become one of those treats we just keep coming back to and no matter the season.
Drop a comment below and let me know how yours turned out. And if you are looking for more easy dessert ideas and make sure to bookmark this page.
I am always adding new recipes that are simple and satisfying and perfect for busy weeknights.
Print
Classic Vanilla Cupcakes
- Total Time: 45 minutes
- Yield: 4 servings 1x
Description
These Classic Vanilla Cupcakes are the easy and simple bake you will want to make again and again for quick dessert ideas. They are soft and sweet and topped with the best creamy vanilla frosting with a light and healthy feeling homemade touch. Great for brunch and meal prep and holiday trays and potluck tables and birthday party treats and even a cozy weeknight dinner dessert when you want something special without a fussy process.
Ingredients
- 1 1/2 cups all purpose flour
- 1 1/2 teaspoons baking powder
- 1/4 teaspoon fine sea salt
- 1/2 cup unsalted butter
- 3/4 cup granulated sugar
- 2 large eggs
- 2 teaspoons vanilla extract
- 1/2 cup whole milk
- 2 cups powdered sugar
- 2 to 3 tablespoons heavy cream
- 1 teaspoon extra vanilla extract
- 1 pinch pinch of salt
- 2 tablespoons sprinkles
Instructions
- Start by measuring every ingredient so the batter comes together smoothly. Cut the butter into small uneven pieces so it softens faster and blends more easily into the sugar. The ingredients are still fully separate at this stage and the butter pieces look pale yellow and slightly softened around the edges rather than melted.
- Add the flour and baking powder and salt to a bowl and stir until the white powders look evenly blended. This is the seasoning stage for the batter because the salt is now distributed through the flour. The mixture still looks dry and powdery although the tiny specks of baking powder and salt disappear into the flour as everything becomes one pale mixture.
- Beat the softened butter pieces with the sugar until the mixture changes from separate grains and chunks into a pale fluffy mass. At first it looks crumbly and rough and then it turns lighter and softer as the sugar is worked through the butter. This step creates the first major visual transformation because the mixture becomes creamy and slightly airy instead of firm and grainy.
- Add the eggs one at a time and then pour in the vanilla. The batter briefly looks glossy and a little loose and then it pulls back together into a smoother cream with a warm light yellow tone. Once fully mixed the batter looks silkier and slightly thicker than before with a soft sheen that shows the eggs have blended in.
- Add part of the dry mixture to the bowl and stir until the batter thickens. Pour in some milk and continue alternating until everything is added and the batter changes from dense and streaky to soft and spoonable. At the end the batter looks creamy and lightly flowing with no dry patches. It is thick enough to mound slightly yet loose enough to settle with gentle swirls.
- Spoon the batter into a muffin tray lined with paper cups and fill each one about two thirds full. Let the batter sit naturally rather than smoothing it perfectly so each portion keeps a slightly uneven top. This is the arranging stage and the batter looks pale and soft in the liners with small variations in height that feel homemade and relaxed.
- Bake the cupcakes until the batter transforms into tender cakes with softly rounded tops. The pale batter deepens into a warm golden color and the surface loses its wet shine. A few tops may rise a little more than others and slight browning around some edges is exactly what makes them look real and homemade.
- Let the cupcakes cool until the tops look set and no longer delicate. While they cool mix the butter with powdered sugar and vanilla and salt and enough cream to create a frosting that starts thick and turns soft and fluffy. The frosting looks creamy and pale with loose swirls and a light airy texture rather than a stiff perfect finish.
- Spread or pipe the frosting onto the cooled cupcakes in loose imperfect swirls. Scatter sprinkles over the tops so some areas get more than others and a few pieces catch in the frosting at different angles. This finishing stage adds contrast because the golden cakes now carry soft white frosting and colorful garnish with a natural homemade look.
- Arrange the fully finished cupcakes on a serving plate with relaxed spacing so the group looks abundant and homemade rather than perfectly lined up. The cakes show light golden sides and creamy frosting with little variations in swirl height and sprinkle coverage. Now the dish is fully cooked and plated and ready to serve with soft crumb and lightly browned tops and a sweet vanilla finish that looks warm and inviting.
Notes
Pro Tips:
- Bring the butter and eggs to room temperature so the batter blends smoothly and bakes up evenly.
- Alternate the dry ingredients with the milk so the batter stays creamy and does not turn heavy.
- Do not overfill the liners because a little space helps create soft rounded tops.
- Let the cupcakes cool completely before frosting so the swirls stay fluffy and defined.
Storage: Store the cupcakes in an airtight container at room temperature for up to 2 days or in the fridge for up to 4 days. Let chilled cupcakes sit out a bit before serving so the frosting softens and the crumb tastes tender again.
- Prep Time: 15 minutes
- Cook Time: 30 minutes
- Category: Dessert
- Cuisine: American
Nutrition
- Serving Size: 1 serving