This Crustless Fresh Strawberry Pie is a great dessert to make when you are in the mood for something fresh and tasty.
This yummy dessert is great for any occasion and it can be made for brunch and dessert or even a sweet after dinner treat.
In this post we will show you how to make this recipe right at home with simple steps.
Ingredients
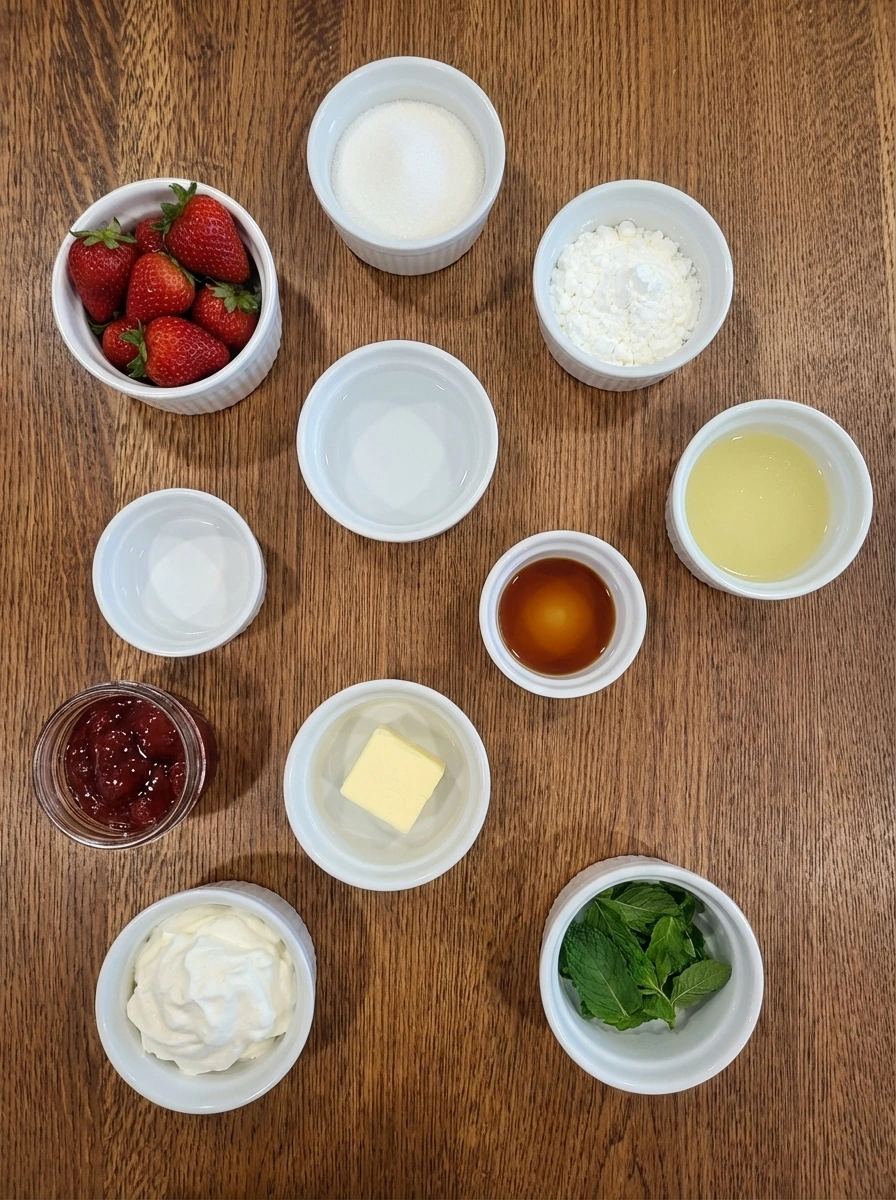
Here’s what I use for this recipe and you can always make substitutions if you prefer.
- Fresh strawberries: Juicy fruit for the filling and fresh topping.
- Granulated sugar: Sweetens the berries and helps the glaze set.
- Cornstarch: Thickens the strawberry glaze.
- Water: Loosens the glaze so it can coat the berries.
- Lemon juice: Brightens the flavor and balances sweetness.
- Vanilla extract: Adds soft warm flavor in the filling.
- Strawberry jam: Deepens color and gives the glaze a glossy finish.
- Unsalted butter: Adds richness and a smooth finish to the glaze.
- Whipped cream: Light topping for the finished dessert.
- Fresh mint leaves: Optional fresh finish for color and contrast.
Tools You’ll Need
- Mixing bowl: For combining the filling ingredients.
- Saucepan: For cooking the strawberry glaze.
- Serving dish: For shaping and chilling the pie.
- Knife: For hulling and slicing the strawberries.
Instructions
Step 1: Slice the strawberries
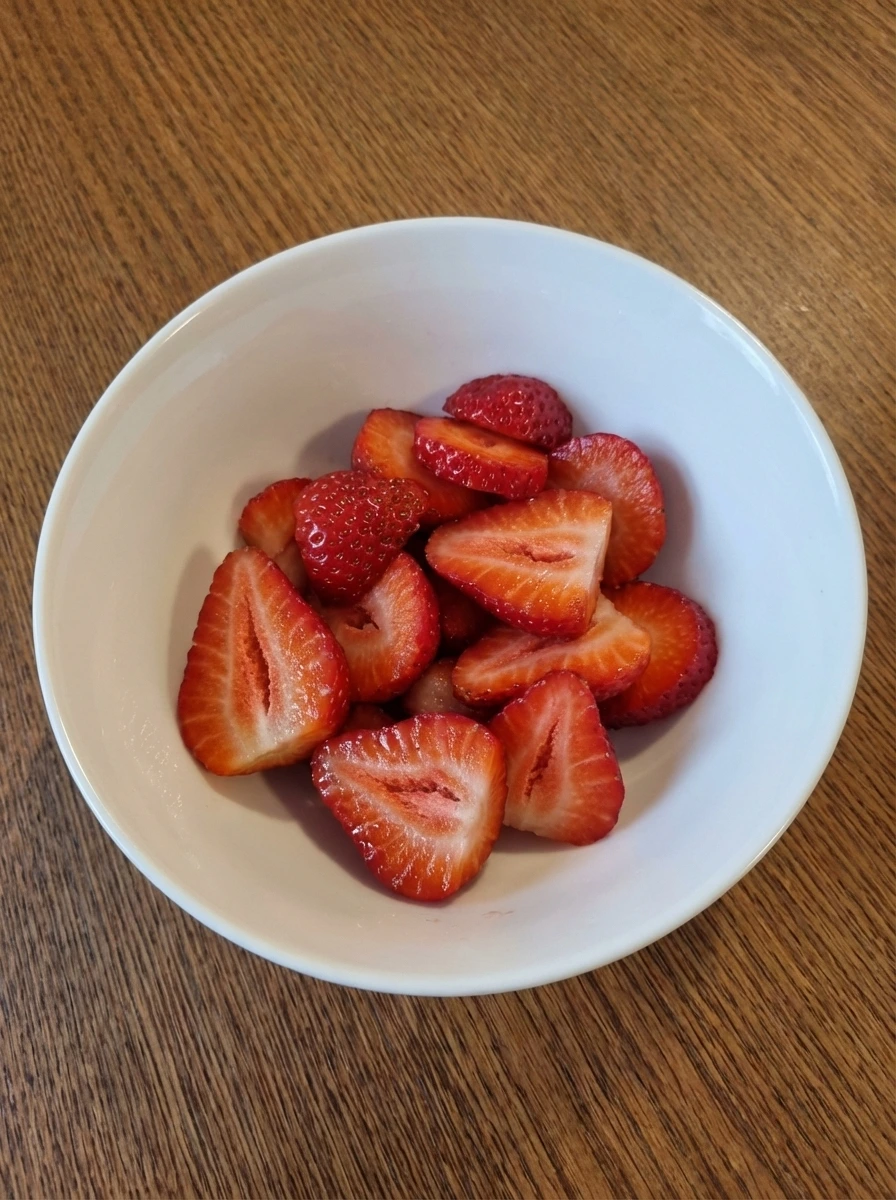
Hull the strawberries and slice most of them into uneven pieces while leaving a few halved for extra shape. The fruit should now look brighter and more varied with natural size differences and loose juicy edges. Keep the sliced berries casually piled in a natural white dish so the pieces overlap slightly and the halved berries stand out among the thinner slices.
Tip: Leave some pieces thicker so the filling has a more homemade look and texture.
Step 2: Cook the red glaze
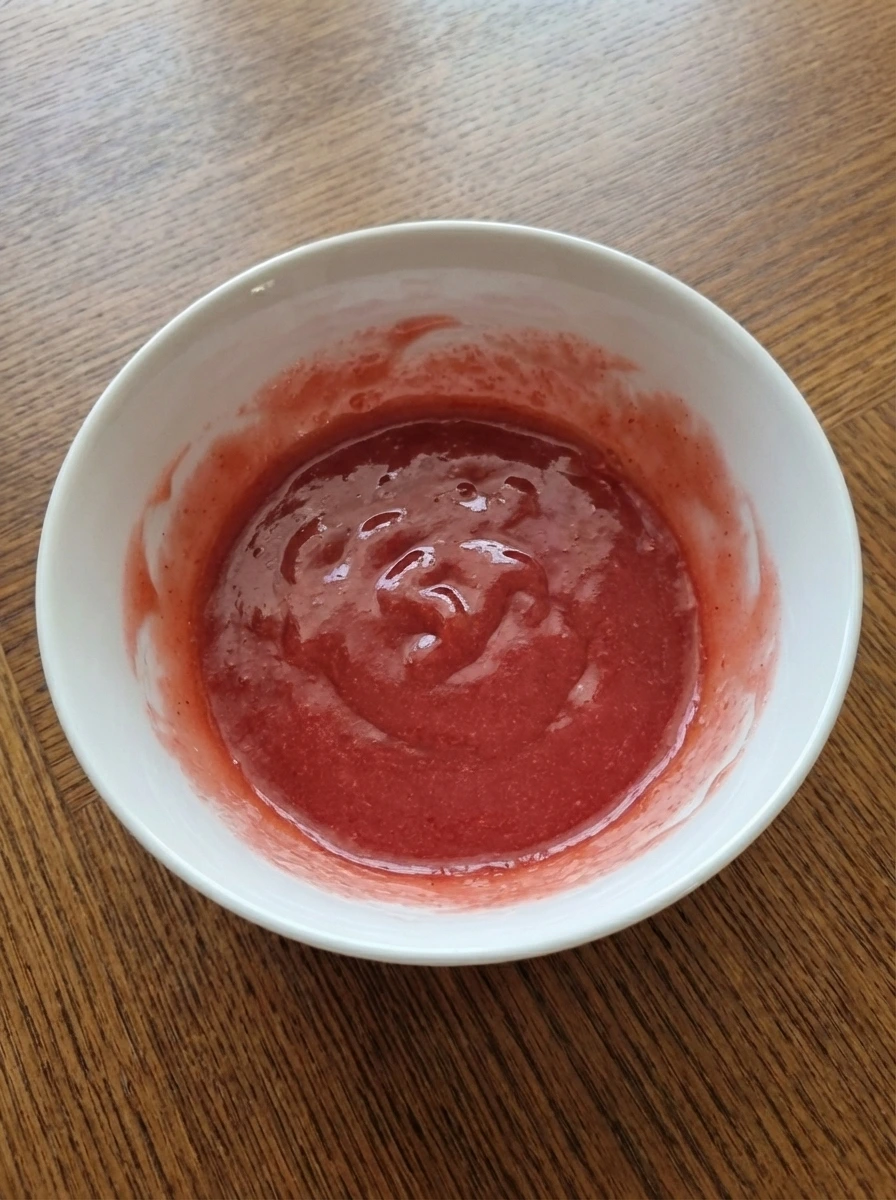
Stir sugar and cornstarch with water and lemon juice and strawberry jam until the mixture changes from pale and thin to glossy and thick. As it cooks the color turns into a deeper rosy red with a soft translucent look. Finish with vanilla and butter so the glaze looks smoother and slightly richer with a shiny surface instead of a cloudy liquid.
Tip: Stop once the glaze looks thick enough to slowly fall back into itself rather than run flat.
Step 3: Fold the berries into the glaze
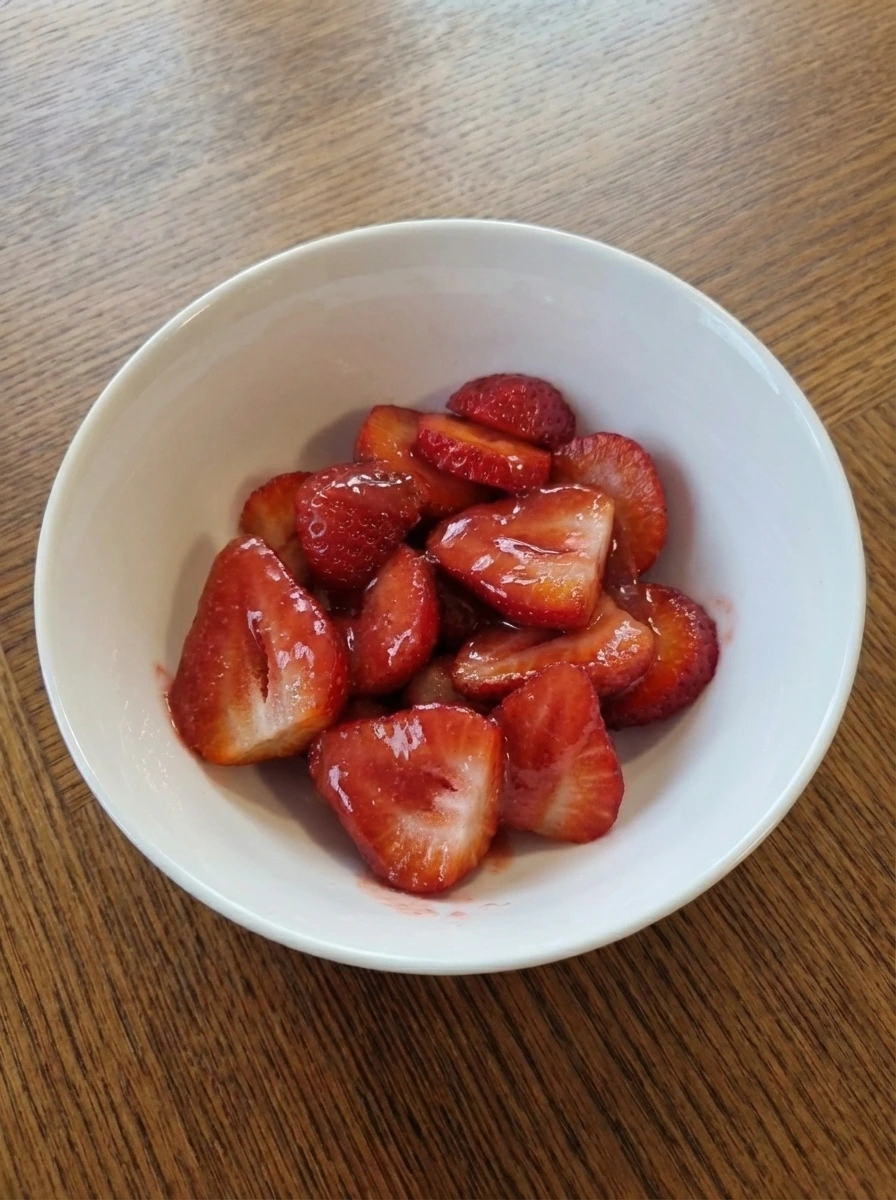
Add the sliced strawberries to the warm glaze and fold until the fruit is coated but not fully flattened. The berries now look darker and shinier as the glaze clings to the edges and settles into the gaps. Some pieces should stay more exposed while others are heavily coated so the mixture looks casually combined with natural spacing and uneven color.
Tip: Fold gently so the slices keep their shape and do not turn mushy.
Step 4: Spread the filling into the serving dish
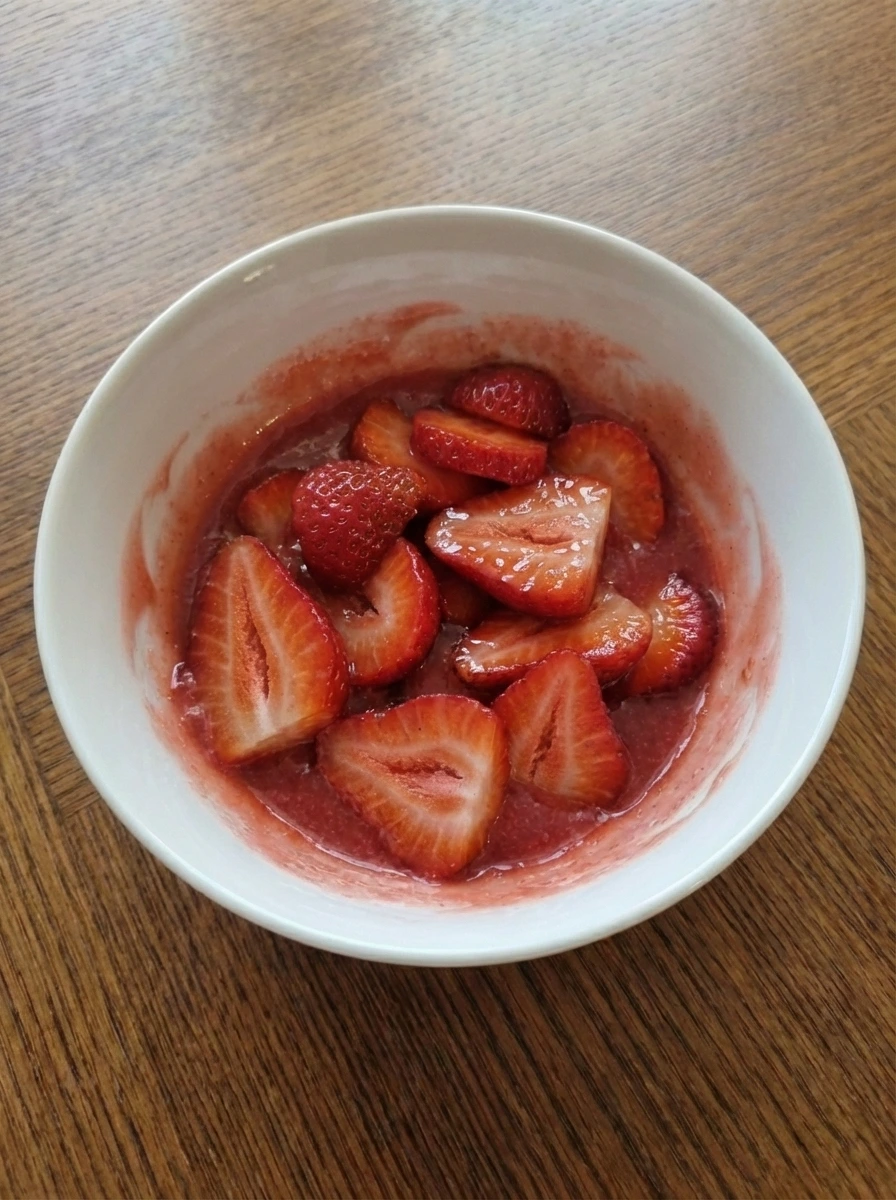
Spoon the glazed berry mixture into a natural white dish and spread it into a rustic layer. The filling changes from a loose mound into a more defined shape with thicker edges and slight dips across the top. Tuck the halved berries over the surface with natural gaps and slight overlap so the top looks full yet imperfect and homemade.
Tip: Do not smooth the surface too much because the small ridges help the pie look natural.
Step 5: Chill until softly set
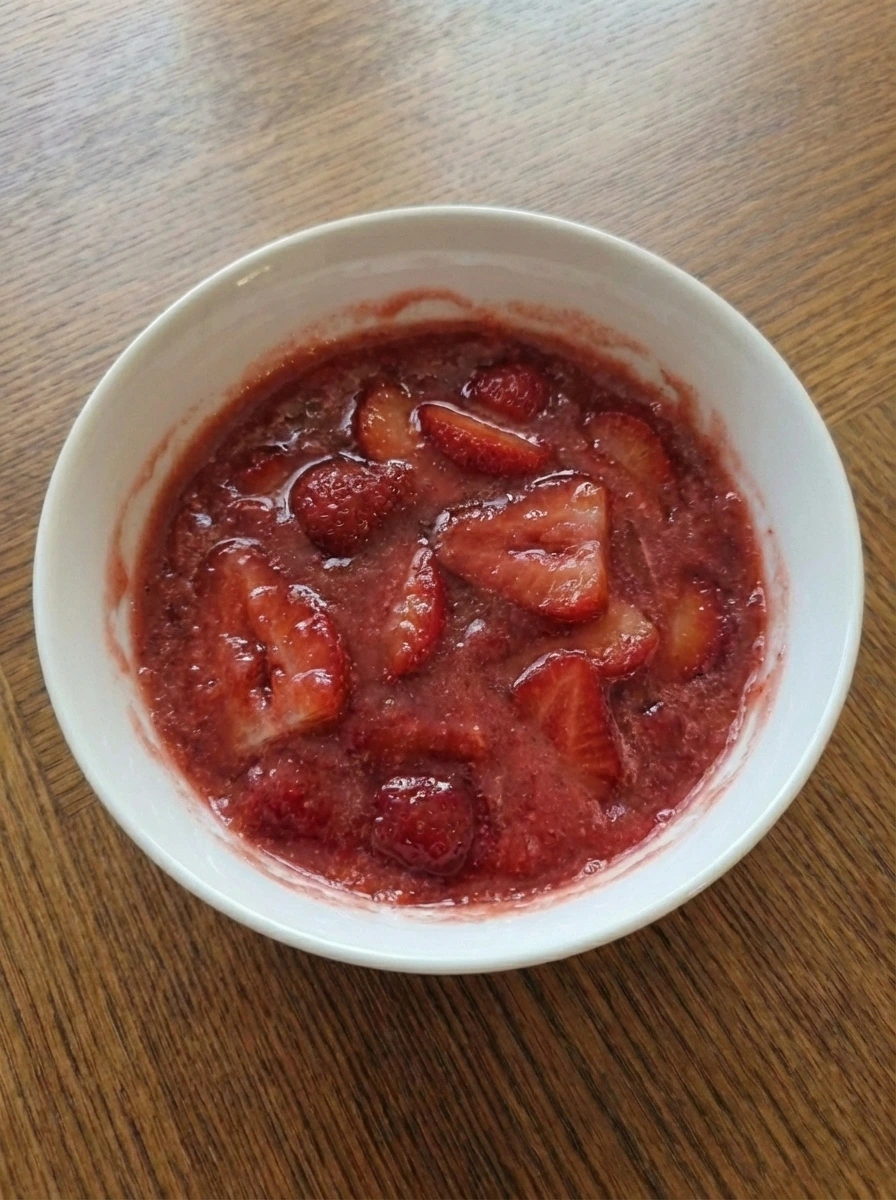
Let the filled dish chill until the glaze firms and the strawberries settle into place. The surface should now look more structured with a gentle wobble and the glossy red top should appear slightly darker and more unified. The berries stay visible through the set glaze and the layer holds together with soft irregular edges instead of looking stiff or perfectly smooth.
Tip: Chill until the filling slices softly and holds its shape without turning rubbery.
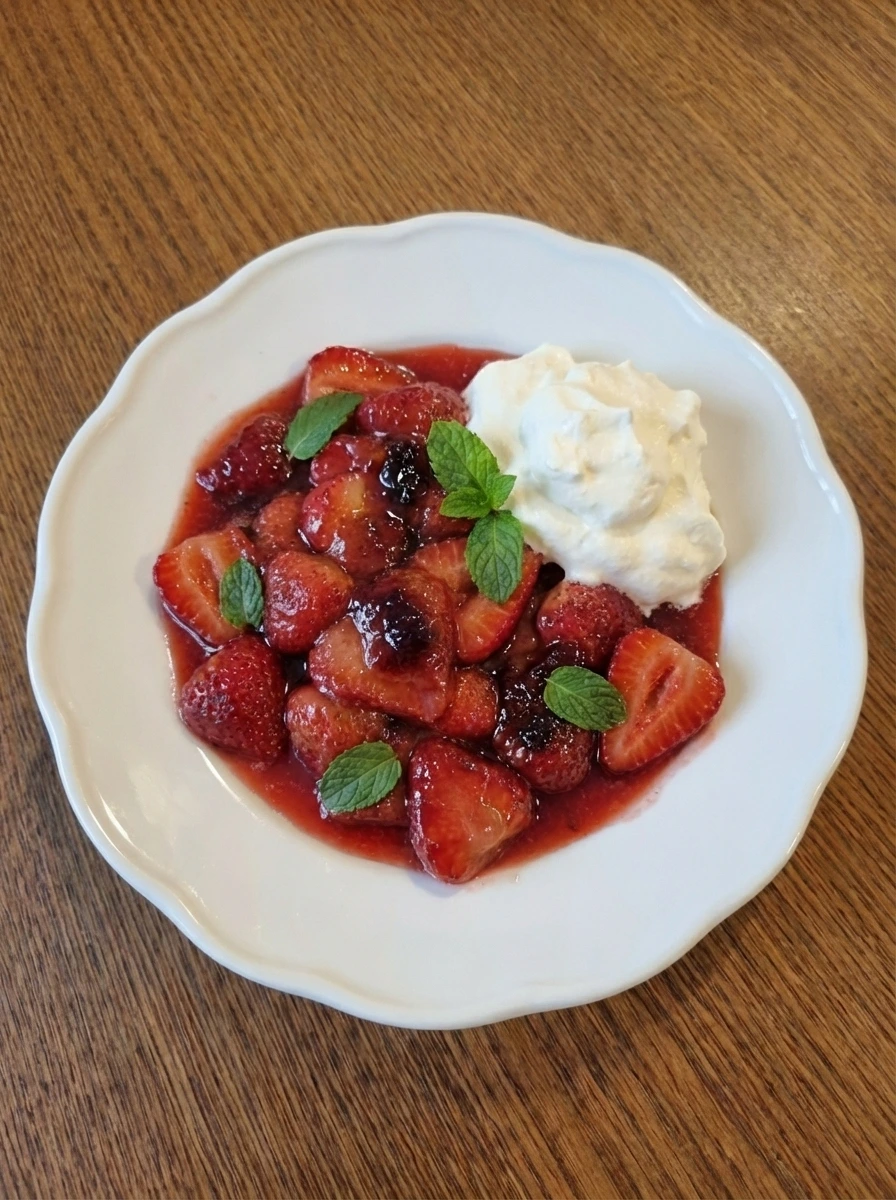
Step 6: Plate and finish with whipped cream
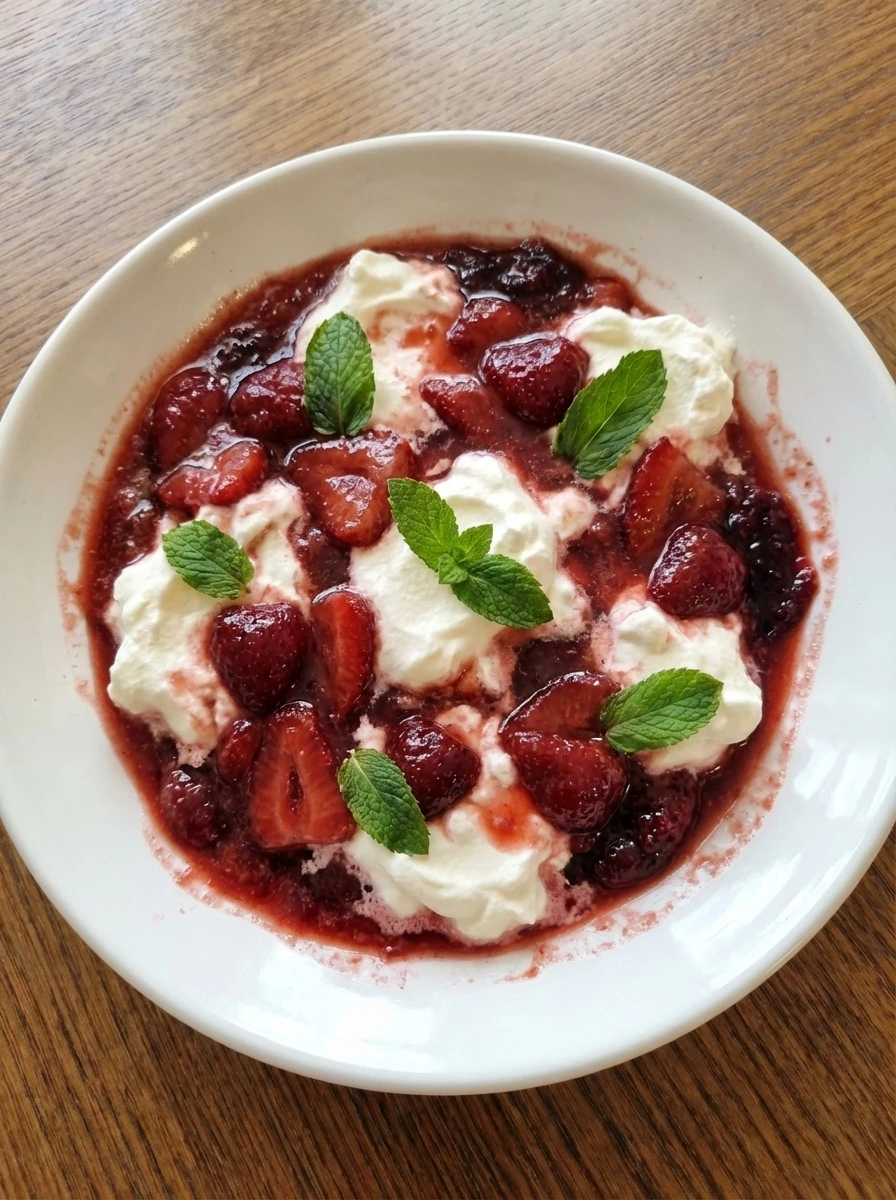
Spoon the chilled pie onto a natural white dish and add whipped cream along the side with a few mint leaves scattered near the berries. The final dessert looks fully finished with glossy red fruit and pale cream and slightly deeper jammy patches across the top. Keep the serving loose and homemade with uneven spooned edges and natural overlap and non uniform color so it feels fresh and real rather than perfectly styled.
Tip: Serve cold so the glaze stays glossy and the whipped cream keeps its soft shape.
Pro Tips
- Use ripe strawberries with a mix of small and medium sizes for the best texture and natural look.
- Let the glaze cool slightly before folding in the berries so the fruit stays bright and fresh.
- Save a few berry halves for the top so the finished pie has more shape and color contrast.
- Serve the pie well chilled for cleaner spoonfuls and a glossier finish.
Storage Instructions
Cover the pie and keep it chilled in the refrigerator for up to 3 days. The berries will soften more as they sit yet the flavor stays bright and sweet. For the best texture serve it cold and add whipped cream right before serving. The filling may loosen slightly over time which is normal for a fresh fruit dessert.
Frequently Asked Questions
Can I make Crustless Fresh Strawberry Pie ahead of time ?
Yes you can make it a day ahead and keep it chilled so the filling stays softly set and easy to serve.
Can I use frozen strawberries ?
Fresh strawberries work best because they keep their shape better and give the pie a brighter texture.
How do I keep the filling from turning watery ?
Cook the glaze until it thickens well and chill the pie long enough so the berries settle into the filling.
What can I serve with this pie ?
It tastes great with whipped cream and a few mint leaves or even a spoonful of vanilla yogurt for a lighter finish.
Final Thoughts
So there you go. A dessert that is simple enough for a Tuesday night but good enough to serve at a gathering.
I have made this more times than I can count and it never disappoints. Save this one and share it with a friend and let me know in the comments if you made any fun changes.
I am always curious to see how people put their own spin on things.
Print
Crustless Fresh Strawberry Pie
- Total Time: 45 minutes
- Yield: 4 servings 1x
Description
This easy Crustless Fresh Strawberry Pie is packed with fresh berry flavor and simple homemade charm for the best dessert ideas when you want something quick and healthy feeling without a heavy crust. It is a great pick for weeknight dinner dessert and meal prep treats and it fits right into a holiday table or potluck spread and it also works beautifully for brunch and any party where you want a fresh sweet finish.
Ingredients
- 1 1/2 pounds. Fresh strawberries.
- 3/4 cup. Granulated sugar.
- 1/4 cup. Cornstarch.
- 3/4 cup. Water.
- 1 tablespoon. Lemon juice.
- 1 teaspoon. Vanilla extract.
- 2 tablespoons. Strawberry jam.
- 1 tablespoon. Unsalted butter.
- For serving. Whipped cream.
- A few leaves. Fresh mint leaves.
Instructions
- Hull the strawberries and slice most of them into uneven pieces while leaving a few halved for extra shape. The fruit should now look brighter and more varied with natural size differences and loose juicy edges. Keep the sliced berries casually piled in a natural white dish so the pieces overlap slightly and the halved berries stand out among the thinner slices.
- Stir sugar and cornstarch with water and lemon juice and strawberry jam until the mixture changes from pale and thin to glossy and thick. As it cooks the color turns into a deeper rosy red with a soft translucent look. Finish with vanilla and butter so the glaze looks smoother and slightly richer with a shiny surface instead of a cloudy liquid.
- Add the sliced strawberries to the warm glaze and fold until the fruit is coated but not fully flattened. The berries now look darker and shinier as the glaze clings to the edges and settles into the gaps. Some pieces should stay more exposed while others are heavily coated so the mixture looks casually combined with natural spacing and uneven color.
- Spoon the glazed berry mixture into a natural white dish and spread it into a rustic layer. The filling changes from a loose mound into a more defined shape with thicker edges and slight dips across the top. Tuck the halved berries over the surface with natural gaps and slight overlap so the top looks full yet imperfect and homemade.
- Let the filled dish chill until the glaze firms and the strawberries settle into place. The surface should now look more structured with a gentle wobble and the glossy red top should appear slightly darker and more unified. The berries stay visible through the set glaze and the layer holds together with soft irregular edges instead of looking stiff or perfectly smooth.
- Spoon the chilled pie onto a natural white dish and add whipped cream along the side with a few mint leaves scattered near the berries. The final dessert looks fully finished with glossy red fruit and pale cream and slightly deeper jammy patches across the top. Keep the serving loose and homemade with uneven spooned edges and natural overlap and non uniform color so it feels fresh and real rather than perfectly styled.
Notes
Pro Tips:
- Use ripe strawberries with a mix of small and medium sizes for the best texture and natural look.
- Let the glaze cool slightly before folding in the berries so the fruit stays bright and fresh.
- Save a few berry halves for the top so the finished pie has more shape and color contrast.
- Serve the pie well chilled for cleaner spoonfuls and a glossier finish.
Storage: Cover the pie and keep it chilled in the refrigerator for up to 3 days. The berries will soften more as they sit yet the flavor stays bright and sweet. For the best texture serve it cold and add whipped cream right before serving. The filling may loosen slightly over time which is normal for a fresh fruit dessert.
- Prep Time: 15 minutes
- Cook Time: 30 minutes
- Category: Dessert
- Cuisine: American
Nutrition
- Serving Size: 1 serving