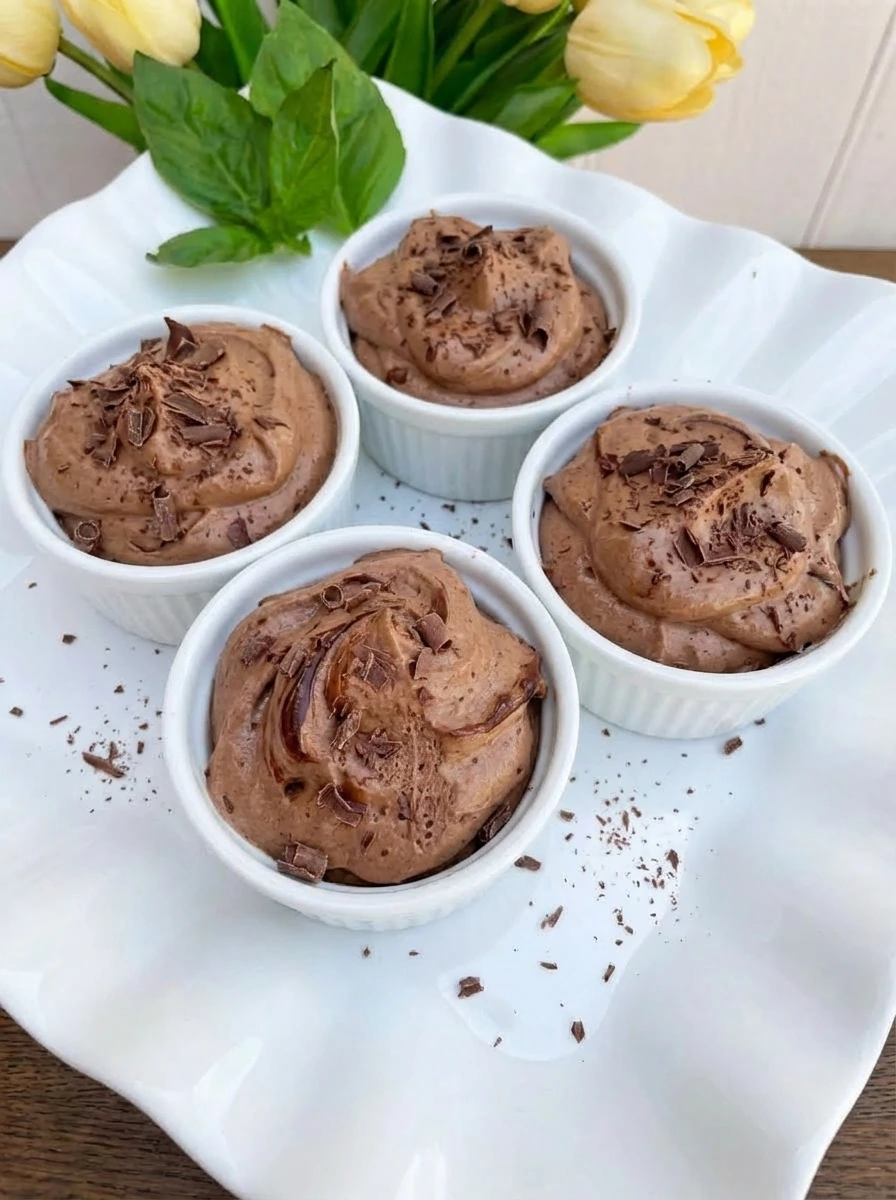
When you want something different from heavier chocolate desserts this Easy Chocolate Mousse offers a delicious twist. This easy chocolate mousse recipe is rich and simple and packed with chocolate flavor and perfect for cozy nights or holiday gatherings.
This recipe is perfect for a holiday table and a party dessert and a date night treat. It also works when you need easy dessert ideas that feel special without a long list of steps.
If you want more chocolate dessert ideas also try serving this after a simple dinner or making it ahead for guests. It is the kind of dessert that looks impressive and still feels relaxed and doable at home.
Ingredients
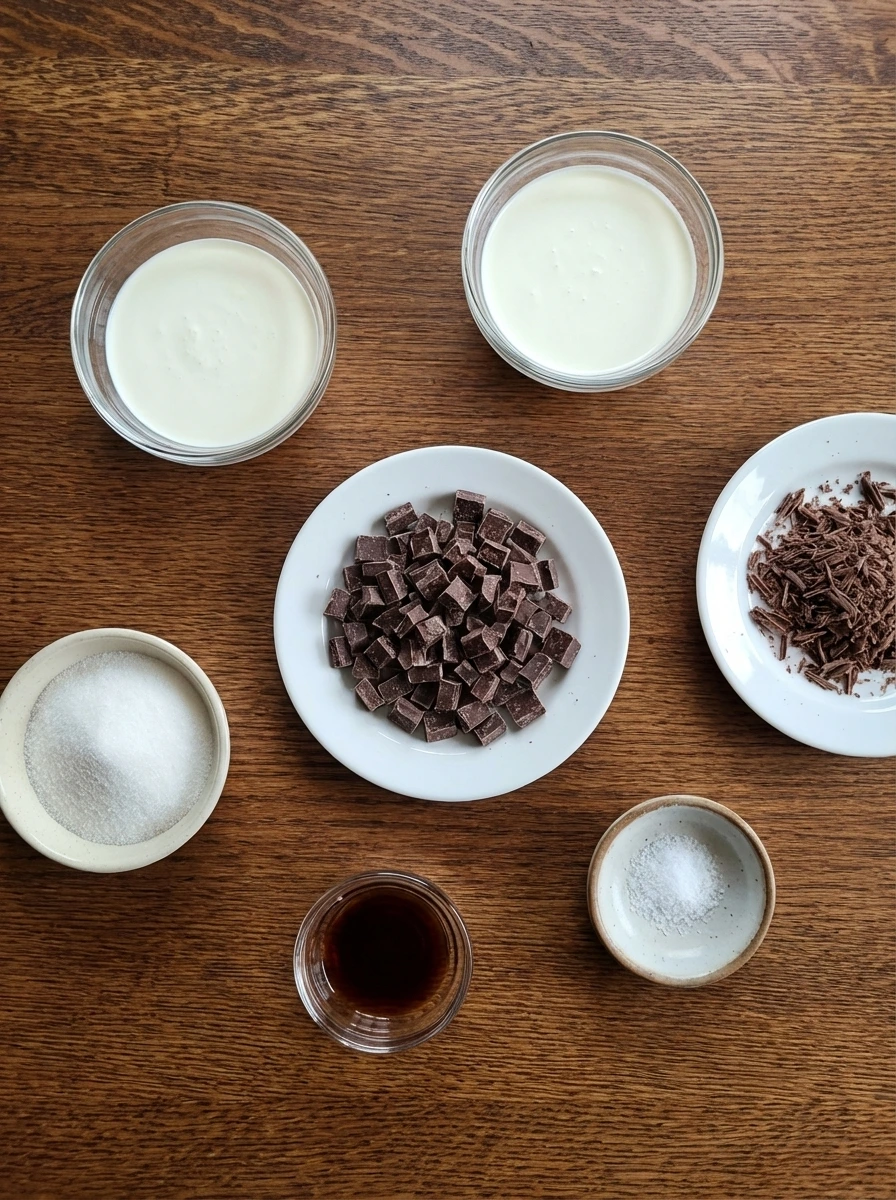
Here’s what I use for this recipe and you can always make substitutions if you prefer.
- semi sweet chocolate: Melts into the base and gives the mousse deep chocolate flavor.
- heavy cream: Creates the silky chocolate mixture and the airy whipped texture.
- granulated sugar: Sweetens the mousse and balances the dark chocolate notes.
- vanilla extract: Rounds out the flavor and adds warmth.
- fine sea salt: Sharpens the chocolate flavor and keeps the mousse from tasting flat.
- chocolate shavings: Adds a soft finish and a little texture on top.
Tools You’ll Need
- saucepan: Melts the chocolate with cream into a smooth base.
- mixing bowl: Holds the whipped cream and the folded mousse mixture.
- hand mixer or whisk: Whips the cream until soft peaks form.
- ramekins: Portion the mousse into individual servings for chilling.
Instructions
Step 1: Melt the chocolate with cream
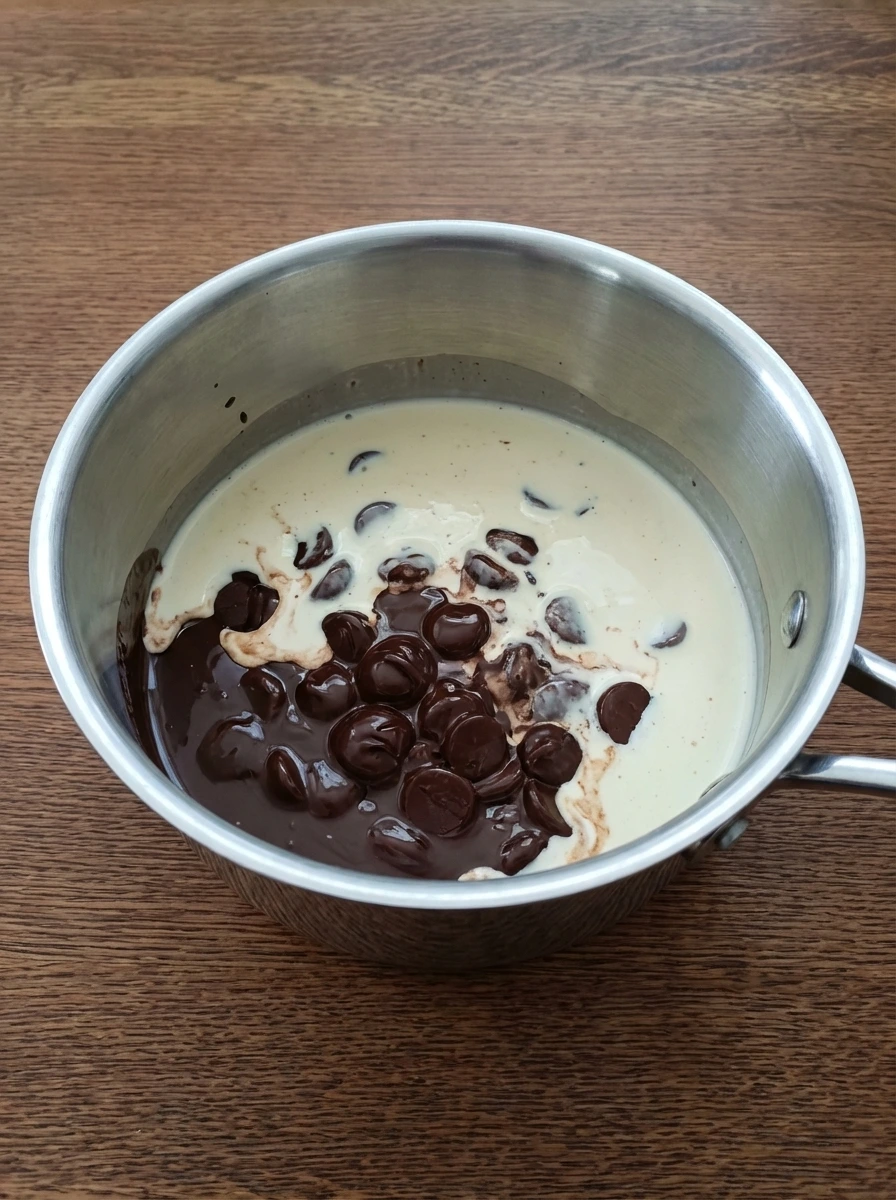
Chocolate pieces soften into a glossy dark pool as warm cream is added and the mixture changes from separate pieces into a smooth base with a few tiny unmelted streaks that quickly disappear. The color deepens and the texture turns thick and shiny while the surface stays slightly uneven in a natural homemade way.
Tip: Warm the cream gently so the chocolate melts smoothly without turning grainy.
Step 2: Whip the cream until airy
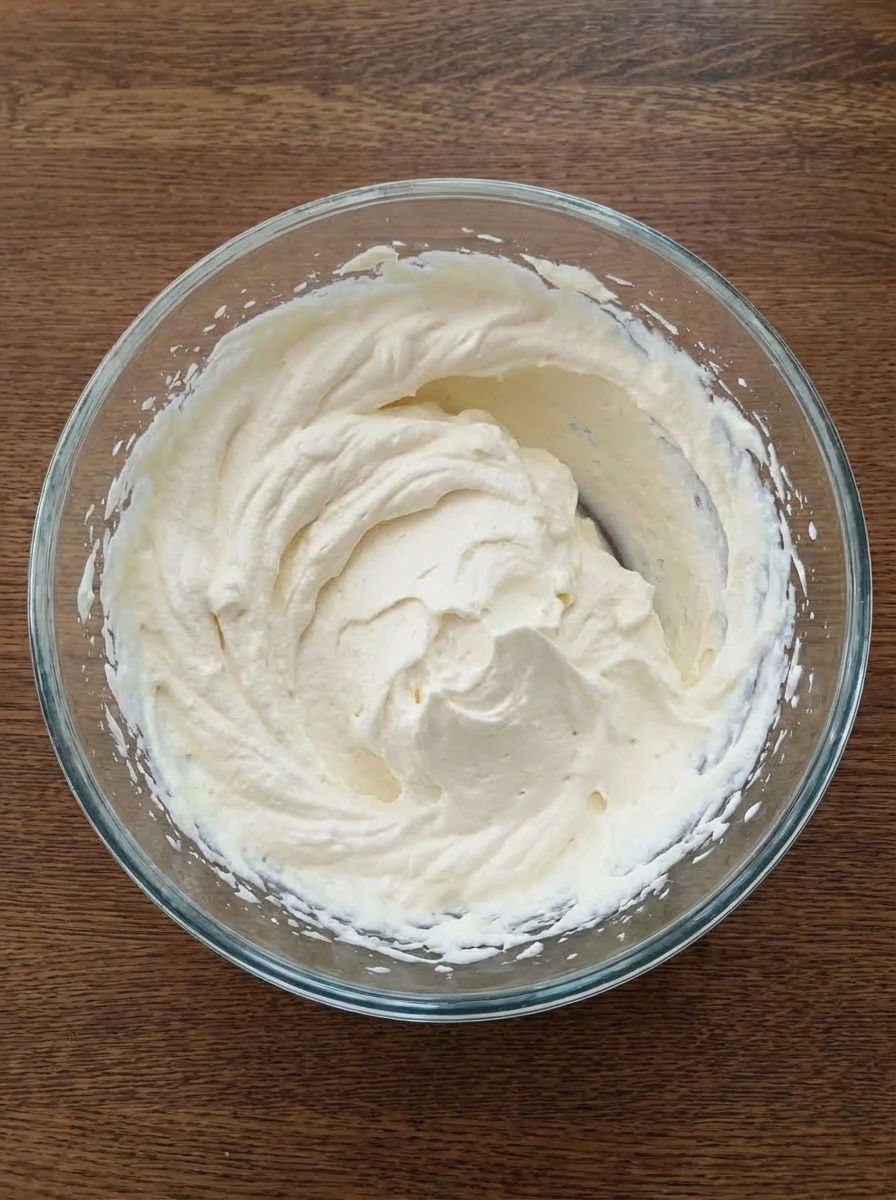
The remaining cream changes from loose liquid into soft billowy peaks and the surface holds gentle ridges that slump slightly instead of standing stiff. It looks lighter in color and fuller in volume and the shape stays loose and natural rather than perfectly smooth.
Tip: Stop at soft peaks so the mousse stays light after folding.
Step 3: Fold the chocolate into the whipped cream
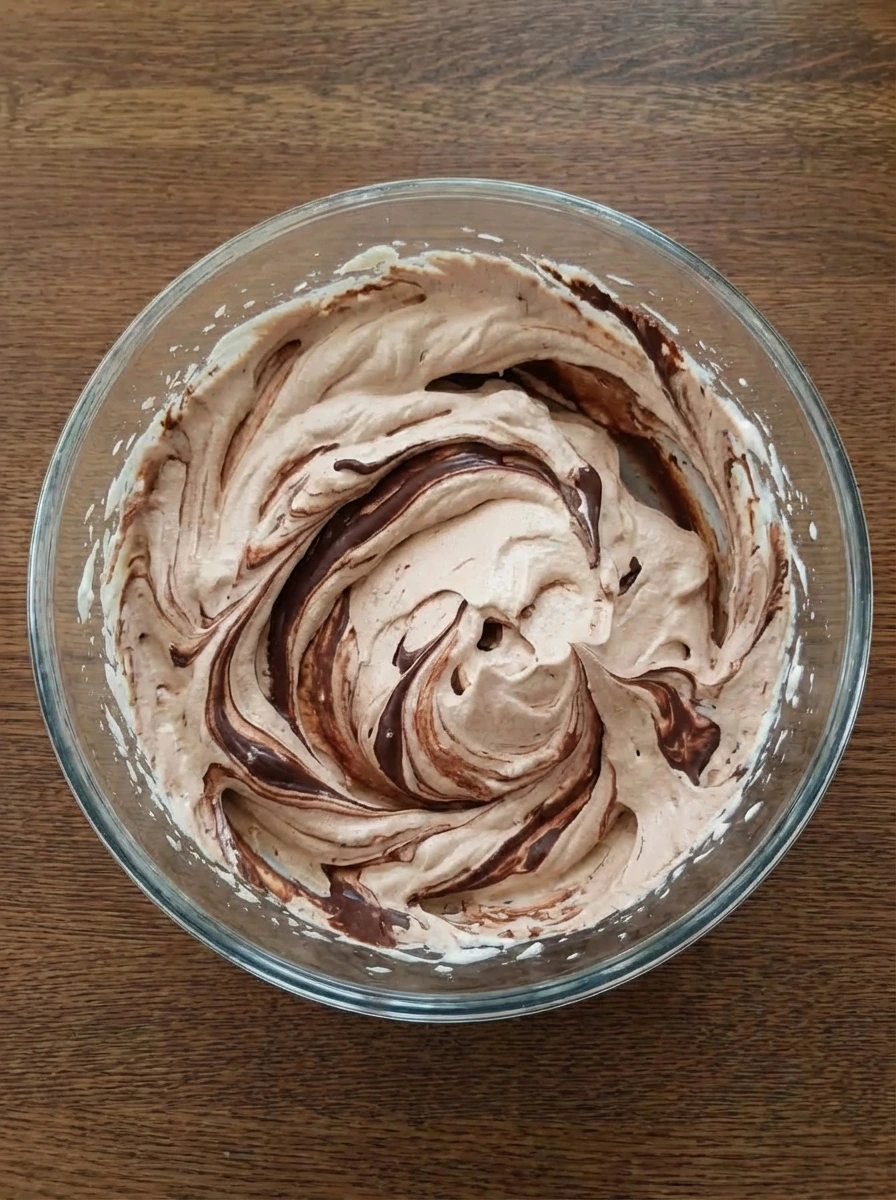
The dark chocolate base is folded through the whipped cream and the mixture shifts from white and brown streaks into a marbled cloud and then into a light cocoa color with soft ribbons. A few darker trails remain near the edges and the mousse looks thick and fluffy with uneven folds across the top.
Tip: Fold slowly so the mixture stays fluffy instead of dense.
Step 4: Spoon the mousse into ramekins
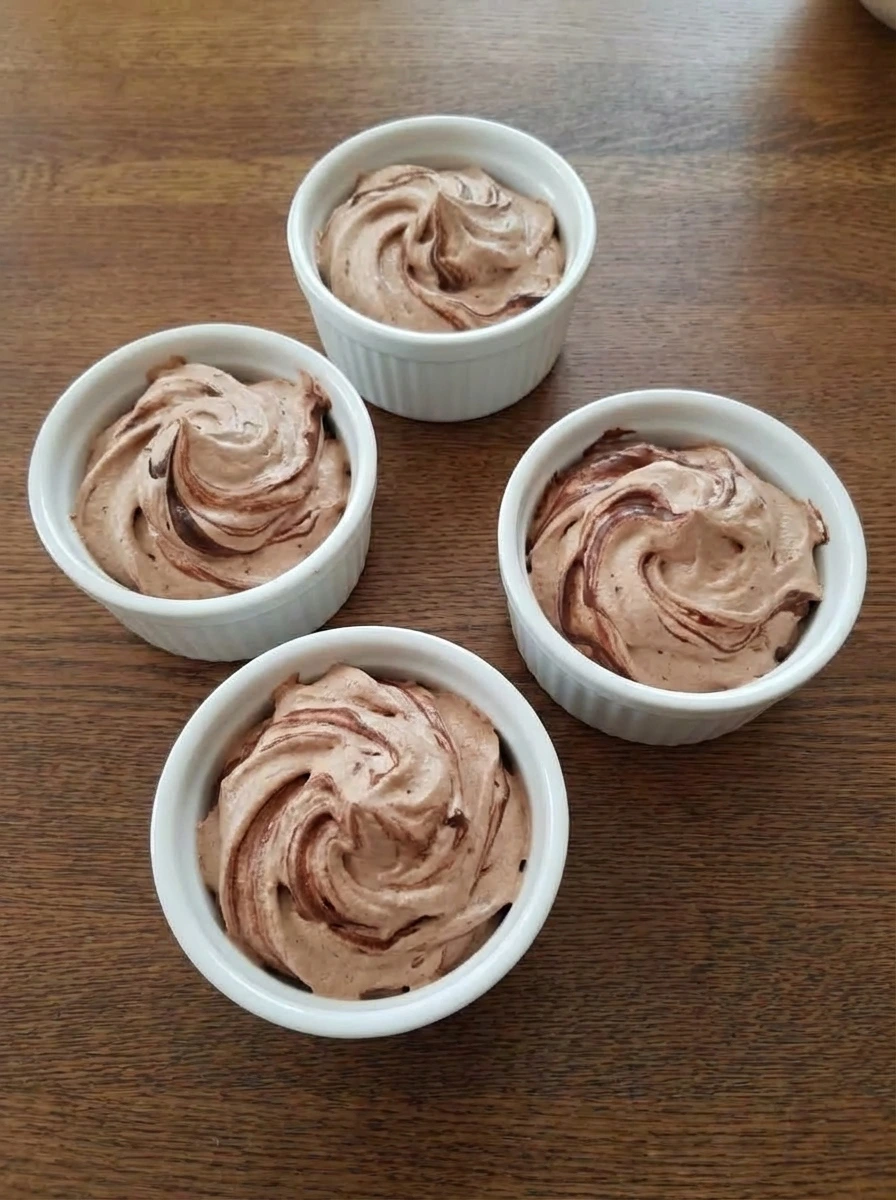
The mousse is divided into four ramekins and each portion settles with casual swirls and little peaks on top instead of a flat surface. The structure changes from one shared bowl of mousse into individual servings with natural variation in height and shape.
Tip: Leave the tops slightly swirled for a more relaxed homemade look.
Step 5: Chill and finish with chocolate shavings
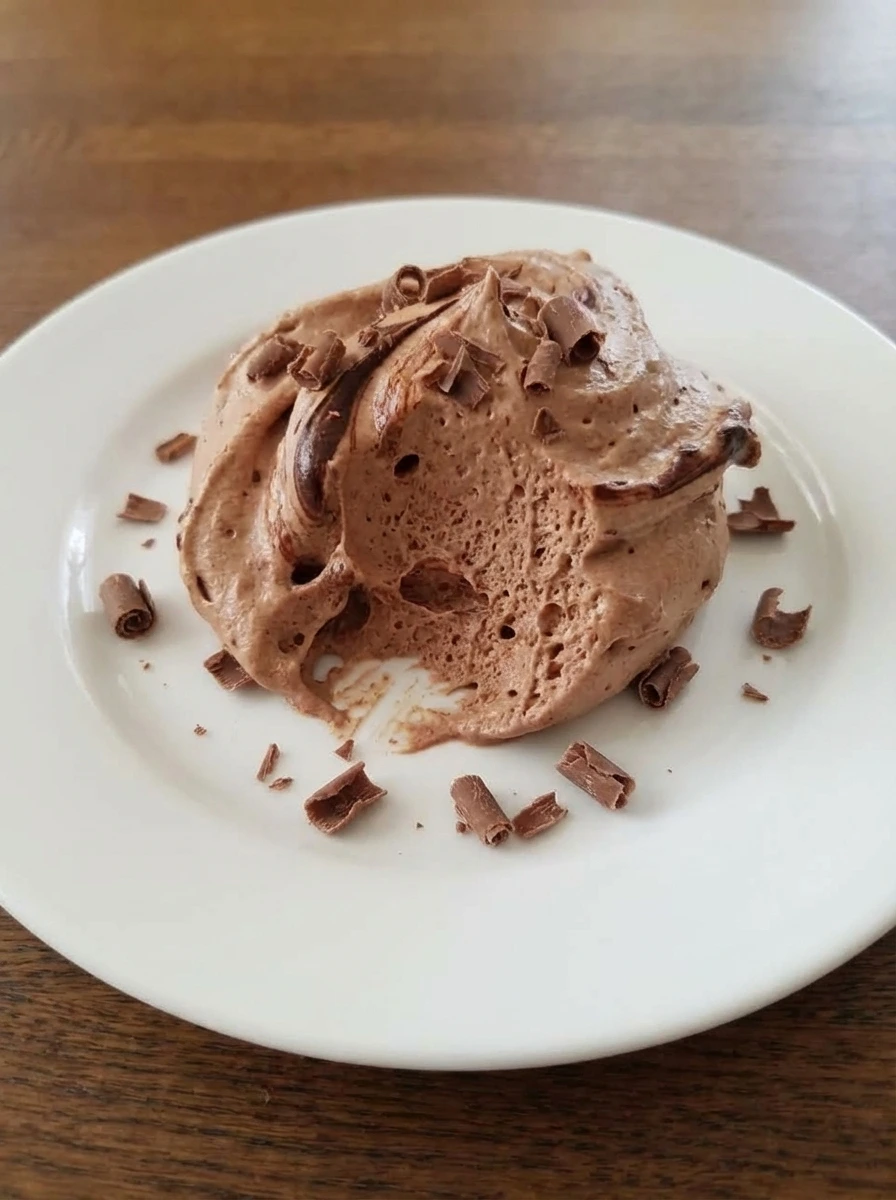
After chilling the mousse turns more structured while staying soft and the tops hold their swirls with a faint sheen. Chocolate shavings land unevenly across the surface and a few pieces begin to soften where they touch the mousse. The final look is rich and airy with small imperfections and a homemade finish that feels ready to serve.
Tip: Chill until just set so the mousse stays creamy and spoonable.
Pro Tips
- Use good chocolate for the best flavor and the smoothest finish.
- Let the melted chocolate cool slightly before folding so the cream stays airy.
- Chill the mousse long enough to set yet not so long that it turns overly firm.
- Top with chocolate shavings right before serving for the prettiest finish.
Storage Instructions
Cover the ramekins well and keep them in the fridge for up to three days. The mousse will stay rich and creamy and the flavor gets even better after a little time to rest. For the best texture add the chocolate shavings just before serving. That keeps the topping from going soft too early and helps the finish look fresh.
Frequently Asked Questions
Yes and it is actually better after a few hours in the fridge because the texture has time to set and the flavor becomes fuller.
Yes and the mousse will taste deeper and less sweet so you may want a little extra sugar if you prefer a softer chocolate flavor.
That usually happens when the cream is whipped too far or the chocolate is folded in too roughly and the air gets knocked out.
It keeps well for up to three days when covered and chilled and the texture stays best during that time.
Final Thoughts
So there you go. A recipe that is simple enough for a Tuesday night but good enough to serve at a gathering.
I have made this more times than I can count and it never disappoints. Save this one and share it with a friend and let me know in the comments if you made any fun changes.
I am always curious to see how people put their own spin on things.
Print
Easy Chocolate Mousse
- Total Time: 25 minutes
- Yield: 4 servings 1x
Description
This easy chocolate mousse is one of the best dessert ideas when you need something quick and simple yet still special. It turns a handful of ingredients into a rich fluffy treat that feels light and healthy enough for a balanced dessert plan. Serve it for a holiday or party and keep it in mind for meal prep when you want make ahead sweets that still taste fresh and homemade with very little effort.
Ingredients
- 6 ounces semi sweet chocolate
- 1 1/2 cups heavy cream
- 2 tablespoons granulated sugar
- 1 teaspoon vanilla extract
- 1 pinch fine sea salt
- 2 tablespoons chocolate shavings
Instructions
- Chocolate pieces soften into a glossy dark pool as warm cream is added and the mixture changes from separate pieces into a smooth base with a few tiny unmelted streaks that quickly disappear. The color deepens and the texture turns thick and shiny while the surface stays slightly uneven in a natural homemade way.
- The remaining cream changes from loose liquid into soft billowy peaks and the surface holds gentle ridges that slump slightly instead of standing stiff. It looks lighter in color and fuller in volume and the shape stays loose and natural rather than perfectly smooth.
- The dark chocolate base is folded through the whipped cream and the mixture shifts from white and brown streaks into a marbled cloud and then into a light cocoa color with soft ribbons. A few darker trails remain near the edges and the mousse looks thick and fluffy with uneven folds across the top.
- The mousse is divided into four ramekins and each portion settles with casual swirls and little peaks on top instead of a flat surface. The structure changes from one shared bowl of mousse into individual servings with natural variation in height and shape.
- After chilling the mousse turns more structured while staying soft and the tops hold their swirls with a faint sheen. Chocolate shavings land unevenly across the surface and a few pieces begin to soften where they touch the mousse. The final look is rich and airy with small imperfections and a homemade finish that feels ready to serve.
Notes
Pro Tips:
- Use good chocolate for the best flavor and the smoothest finish.
- Let the melted chocolate cool slightly before folding so the cream stays airy.
- Chill the mousse long enough to set yet not so long that it turns overly firm.
- Top with chocolate shavings right before serving for the prettiest finish.
Storage: Cover the ramekins well and keep them in the fridge for up to three days. The mousse will stay rich and creamy and the flavor gets even better after a little time to rest. For the best texture add the chocolate shavings just before serving. That keeps the topping from going soft too early and helps the finish look fresh.
- Prep Time: 15 minutes
- Cook Time: 10 minutes
- Category: Dessert
- Cuisine: French inspired
Nutrition
- Serving Size: 1 serving