This Classic New York Cheesecake is a great dessert to make when you are in the mood for something rich and tasty.
This yummy dessert is great for any occasion and it can be made for brunch dessert or even a holiday treat.
In this post we will show you how to make this recipe right at home with simple steps.
Ingredients
Here’s what I use for this recipe and you can always make substitutions if you prefer.
- graham cracker crumbs: forms the buttery crust base
- granulated sugar: sweetens the crust and the filling
- unsalted butter melted: coats the crumbs and helps the crust hold together
- fine sea salt: lightly seasons and balances sweetness
- cream cheese softened: creates the rich smooth filling
- sour cream: adds slight tang and silky texture
- heavy cream: loosens the filling and keeps it creamy
- large eggs: sets the filling into a sliceable custard
- vanilla extract: adds warm classic flavor
- fresh lemon juice: brightens the rich filling
- all purpose flour: helps stabilize the filling
- fresh strawberries sliced: simple garnish for the plated slices
- whipped cream: soft finishing garnish for serving
Tools You’ll Need
- mixing bowl: for the crust and the filling
- springform pan: holds the crust and filling while baking
- measuring cups and spoons: for accurate ingredient portions
- spatula: helps fold and smooth the filling
- knife: for cutting the cream cheese and slicing the cheesecake
Instructions
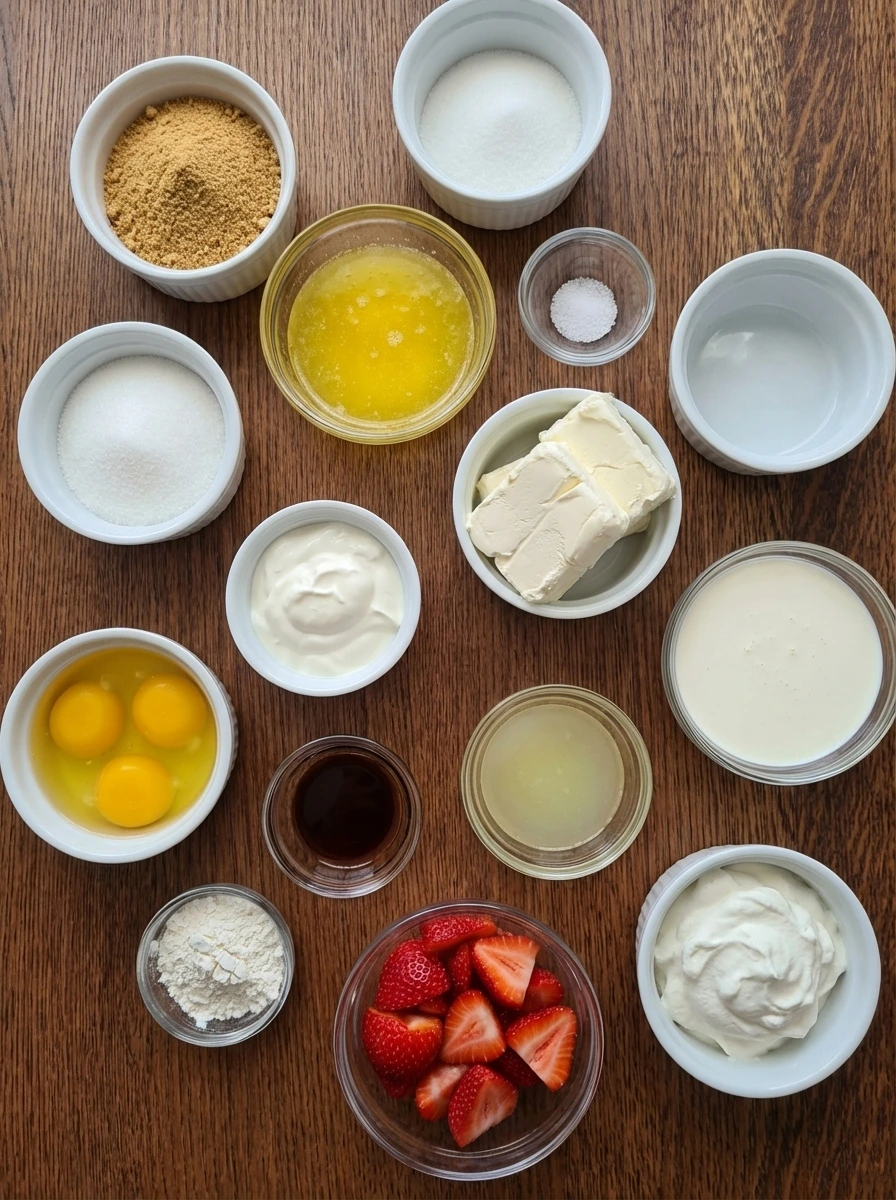
Step 1: Measure and gather the ingredients
Add the graham cracker crumbs to a wide mixing bowl and then measure the sugar melted butter and pinch of salt into the bowl in separate little piles before they are combined. The crumbs look dry and sandy while the butter sits glossy over one side and the sugar stays visible in a pale layer. At the same time place the softened cream cheese sour cream heavy cream eggs vanilla lemon juice and flour nearby in measured portions so the recipe can move in order without rushing. Nothing is mixed yet and the ingredients still look raw and separate.
Tip: Softened cream cheese should look pliable and slightly glossy instead of cold and firm.
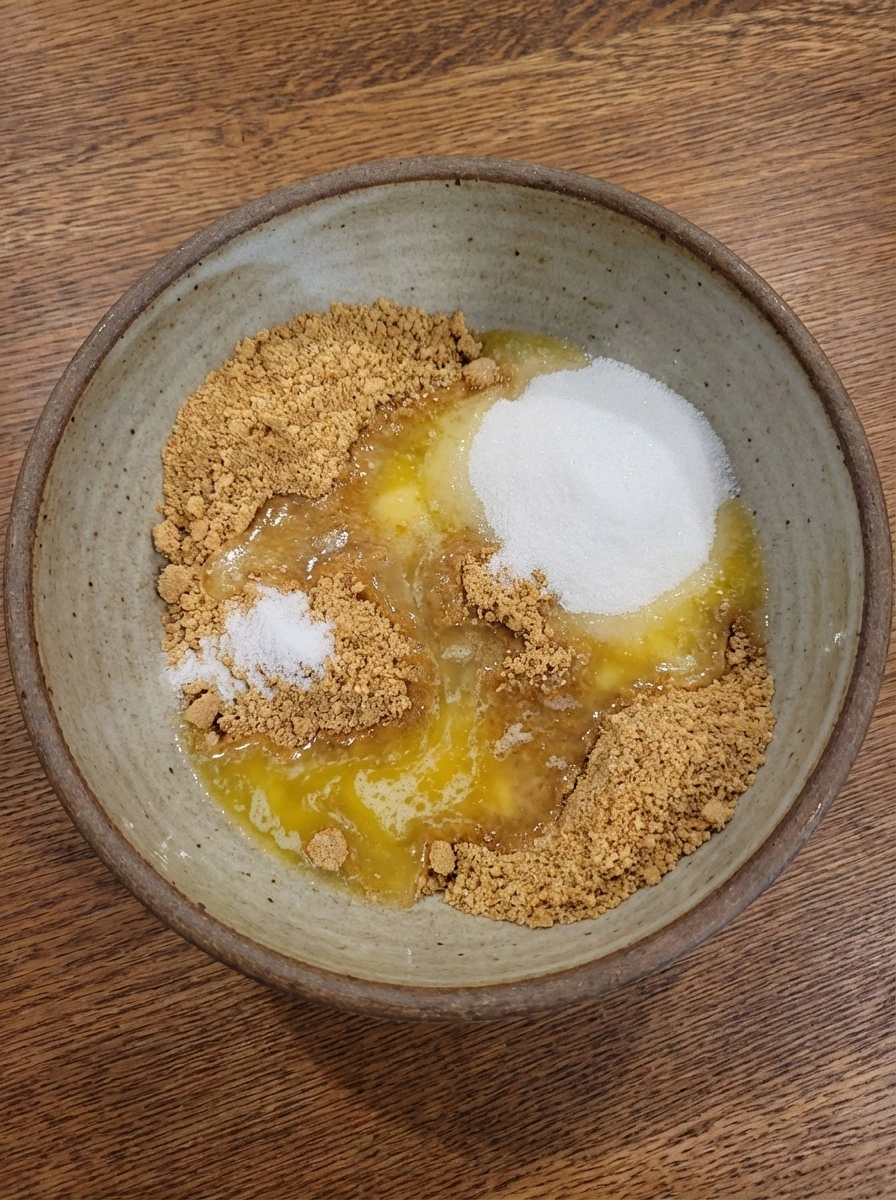
Step 2: Coat and mix the crust
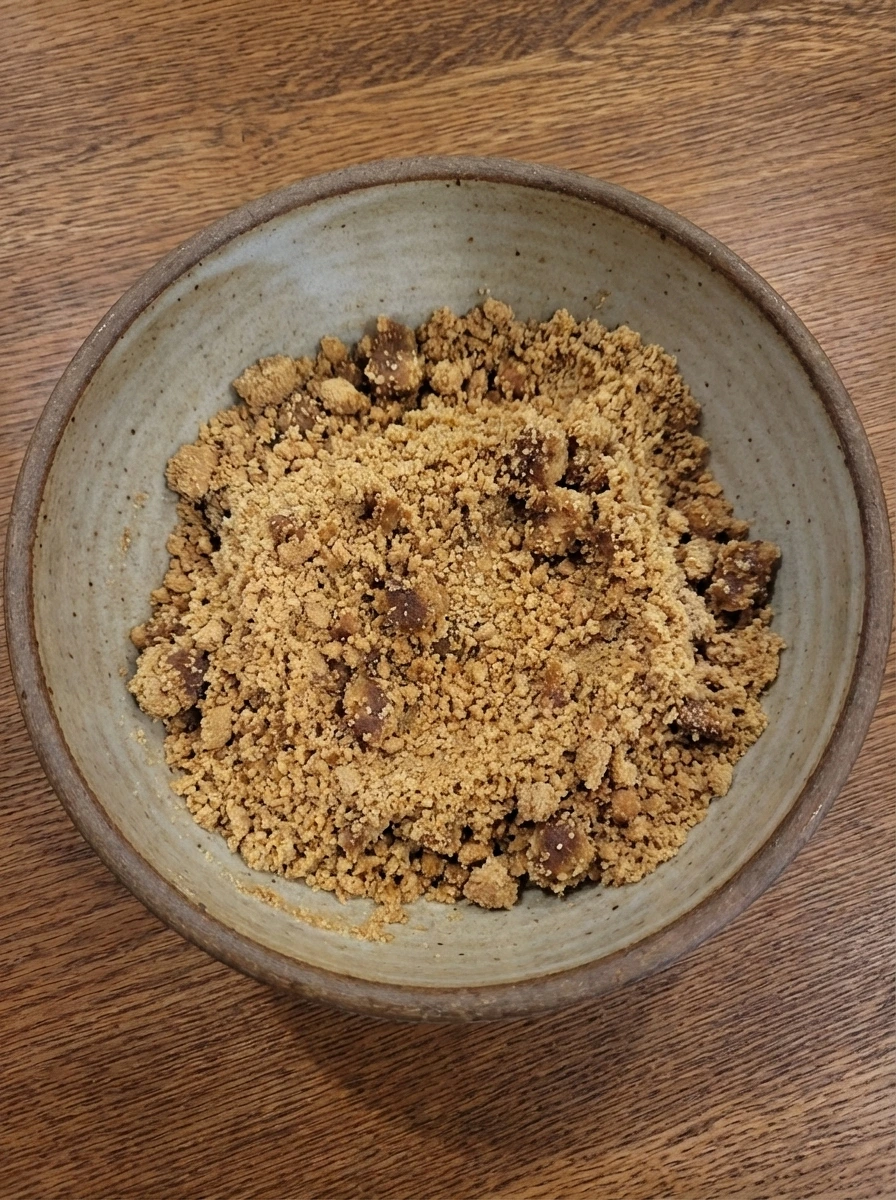
Stir the crumbs sugar and salt together and then pour the melted butter over them so the dry mixture starts to darken in patches. Keep mixing until the crumbs look evenly moistened with some slightly darker buttery clusters and a texture that holds together when pressed. This is the coating stage and it should look like damp sand rather than loose powder. A few crumb bits can stay a little chunkier for a homemade look.
Tip: If the crust still looks dusty add a small splash of melted butter and mix again.
Step 3: Arrange and press the crust
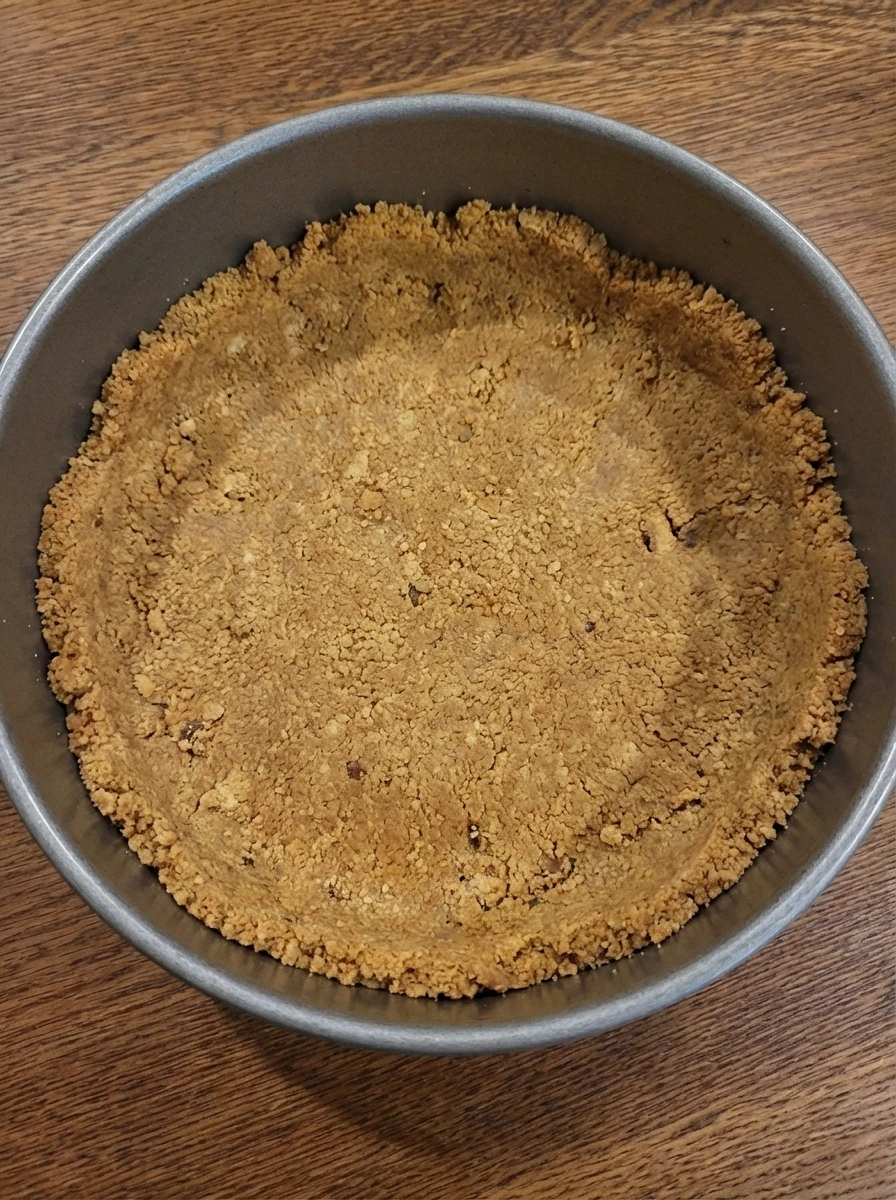
Scatter the buttered crumbs into a round springform pan and press them across the bottom and slightly up the sides in a casual even layer. The surface should look packed yet not perfectly flat and a few tiny crumb ridges around the edge make it feel homemade. Once pressed the crust changes from loose crumbs into a solid base that already hints at the final dessert. The color stays warm tan with a slightly darker tone from the butter.
Tip: Press firmly enough that the crumbs hold together though do not worry about making the surface perfectly smooth.
Step 4: Cut and soften the cream cheese base
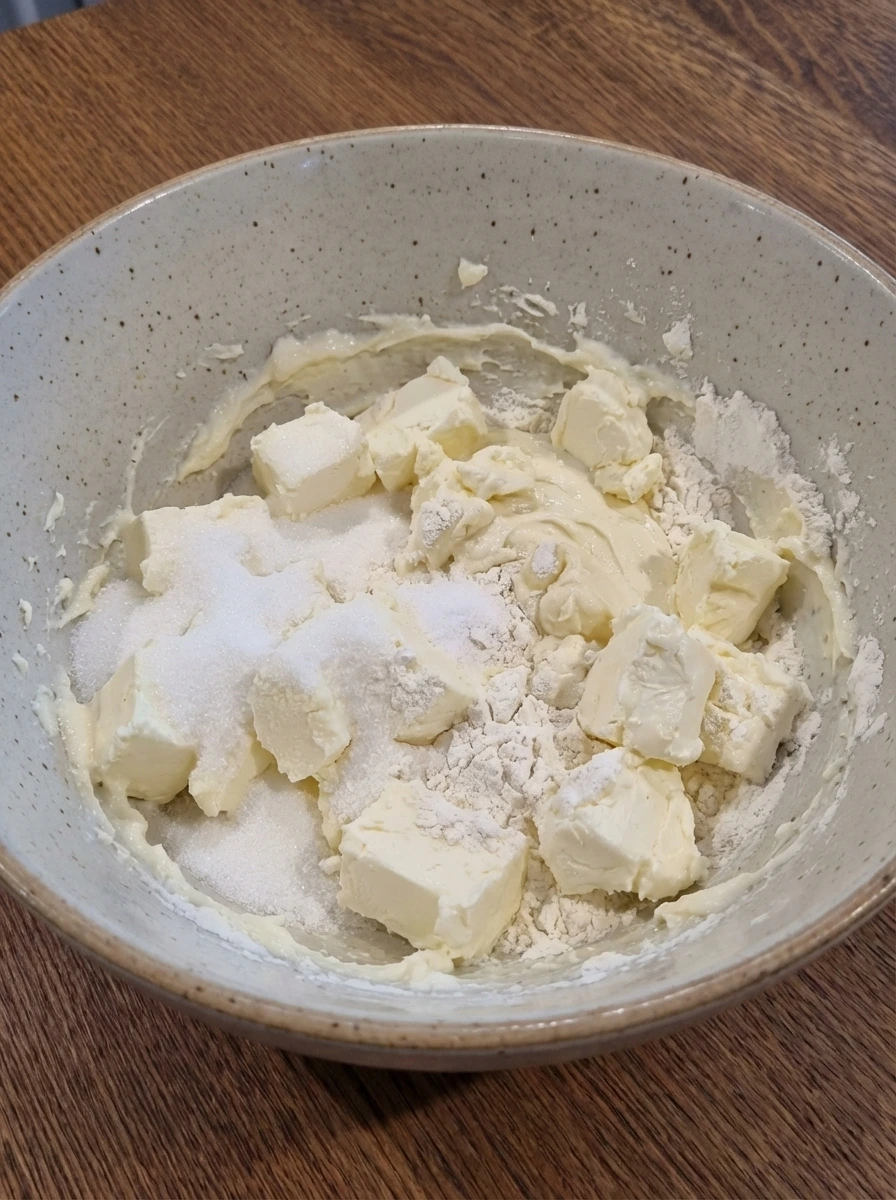
Cut the softened cream cheese into rough chunks and add them to a large bowl with part of the sugar and the flour and salt. As the mixture is worked together the sharp edges of the cream cheese begin to disappear and the thick mass turns from separate lumps into a softer pale mixture. This stage still looks dense and slightly uneven and that is fine. The goal is to start the filling with a smooth base before more liquid ingredients are added.
Tip: Breaking the cream cheese into chunks first helps it blend faster and more evenly.
Step 5: Mix in the creamy ingredients
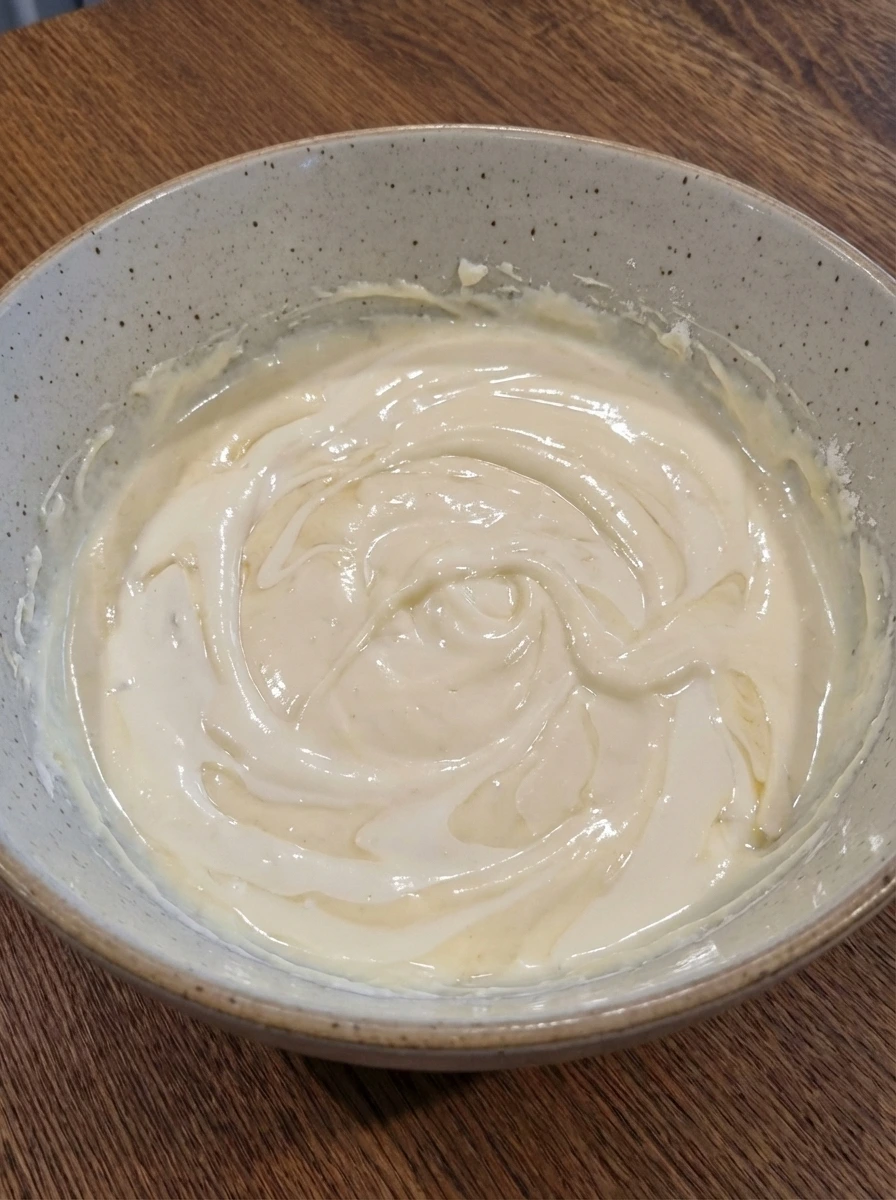
Add the sour cream heavy cream vanilla and lemon juice over the cream cheese mixture and fold and mix until the filling loosens and turns silkier. The color becomes a clean creamy ivory and the texture changes from stiff to glossy with soft ribbons that sink back into themselves. A few thicker streaks can remain for a moment before they disappear as the mixture comes together. This stage should look rich smooth and clearly more fluid than before.
Tip: Mix just until smooth so the filling stays creamy and does not become overly airy.
Step 6: Add the eggs and finish the batter
Crack in the eggs one at a time and fold each one into the filling until it disappears before adding the next. The batter turns even smoother and slightly looser and the surface looks glossy with a few tiny bubbles and a slow flowing movement. Once all the eggs are mixed in the batter should look fully combined and pourable though still thick and rich. This is the finished raw filling and it should not look curdled or grainy.
Tip: Adding the eggs one by one keeps the batter smooth and helps avoid overmixing.
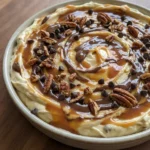
Step 7: Assemble the cheesecake
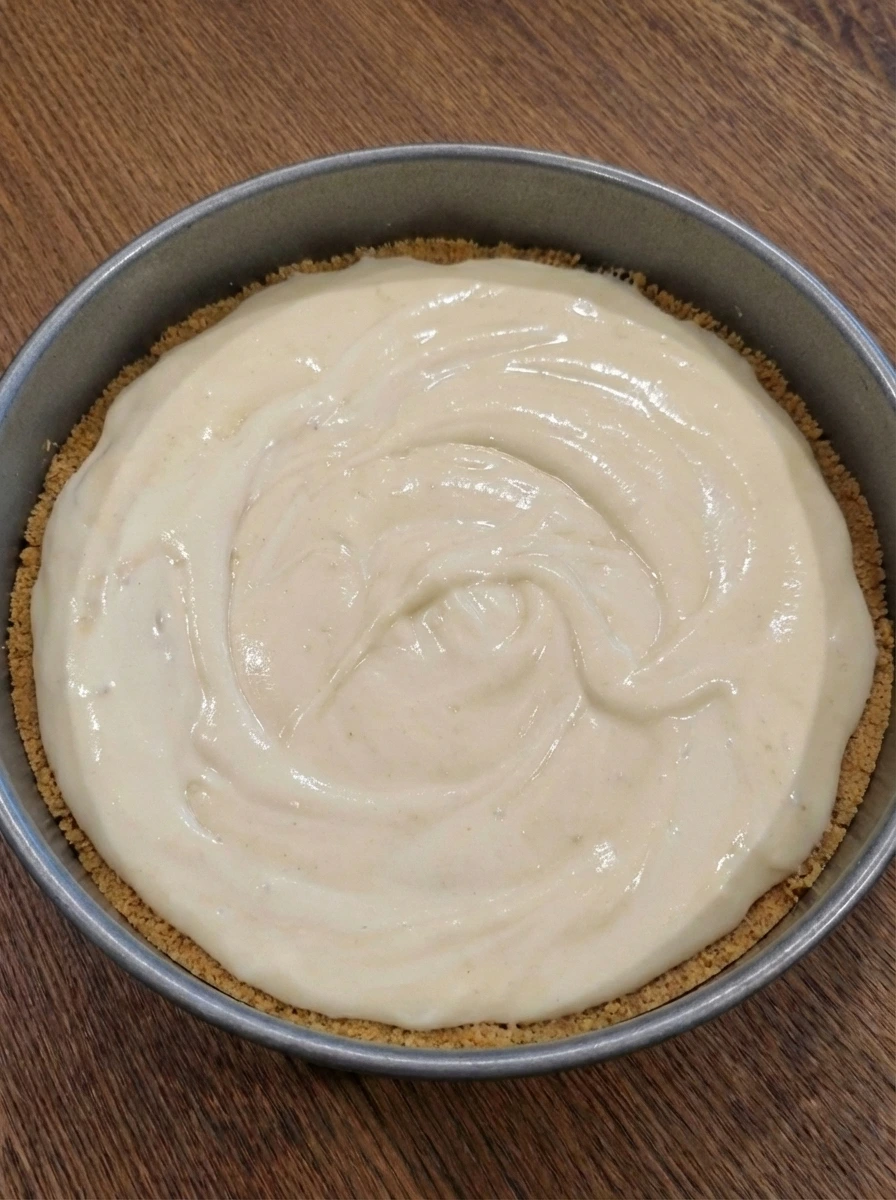
Pour the filling over the crust in the pan so the pale batter spreads outward and settles into the crumb shell. Gently nudge it into an even layer while leaving the top slightly natural rather than perfectly flat and let a few tiny air bubbles stay visible. The cheesecake now looks fully assembled with a clear contrast between the tan crust and the creamy filling. The batter sits thick and level and it is ready for baking.
Tip: A few light taps help settle the filling without making the surface look too perfect.
Step 8: Bake until softly set
As the cheesecake bakes the filling changes from glossy raw batter into a softly set custard. The top loses its wet shine and turns matte with a pale cream color and a few faint golden spots beginning to appear near the edges. The center should still have a slight wobble while the outer ring looks more settled and gently puffed. This is the stage where the cheesecake moves from raw to cooked without becoming dry.
Tip: Stop baking when the center still jiggles softly since it will continue to set as it cools.
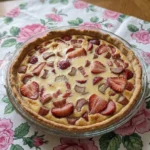
Step 9: Cool and chill until firm
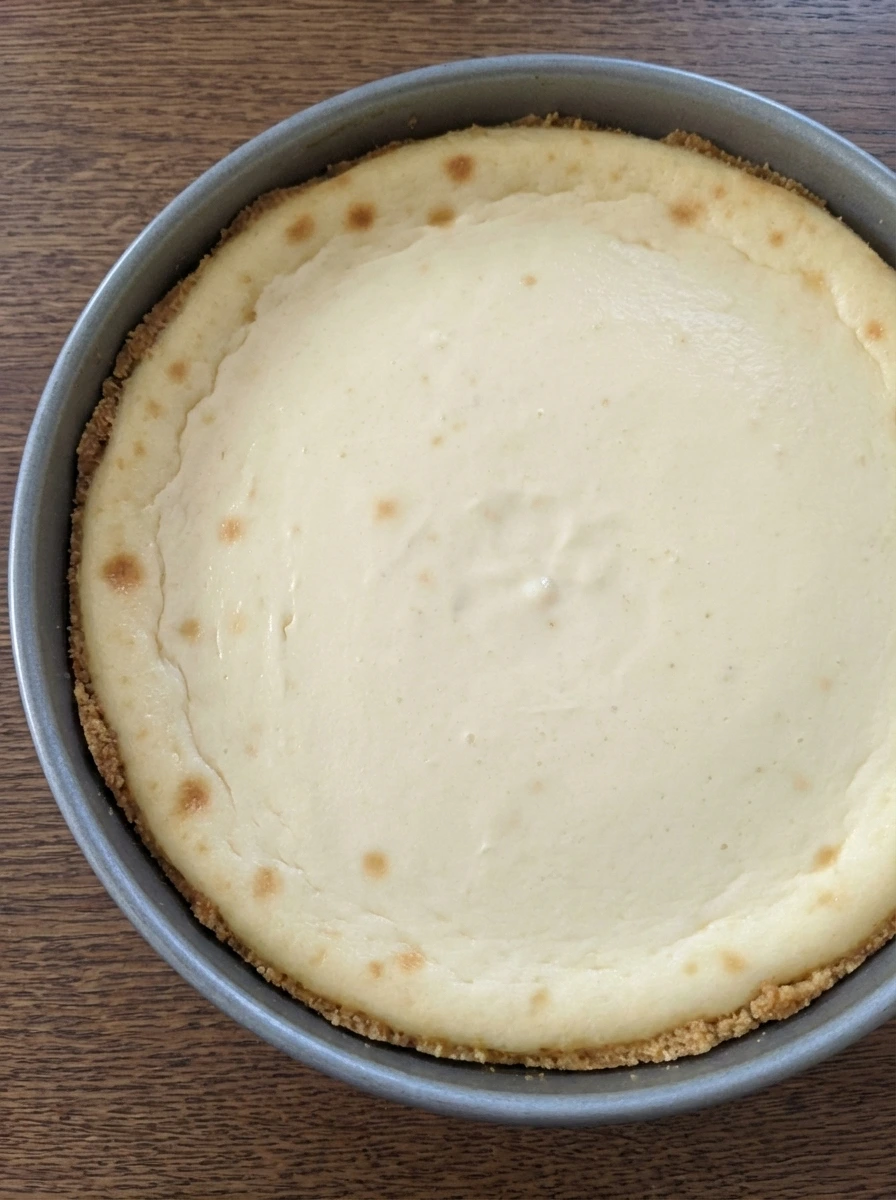
As the cheesecake cools the center settles and the slight puffing eases back into a flatter surface. After chilling the filling becomes dense and smooth and the top develops a more polished look with gentle natural ripples and light uneven golden patches. The crust firms against the sides and the whole cheesecake looks cleanly set and sliceable. The color stays creamy with a subtle toasted finish on top.
Tip: Chilling fully gives the slices clean edges and the classic dense New York texture.
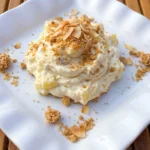
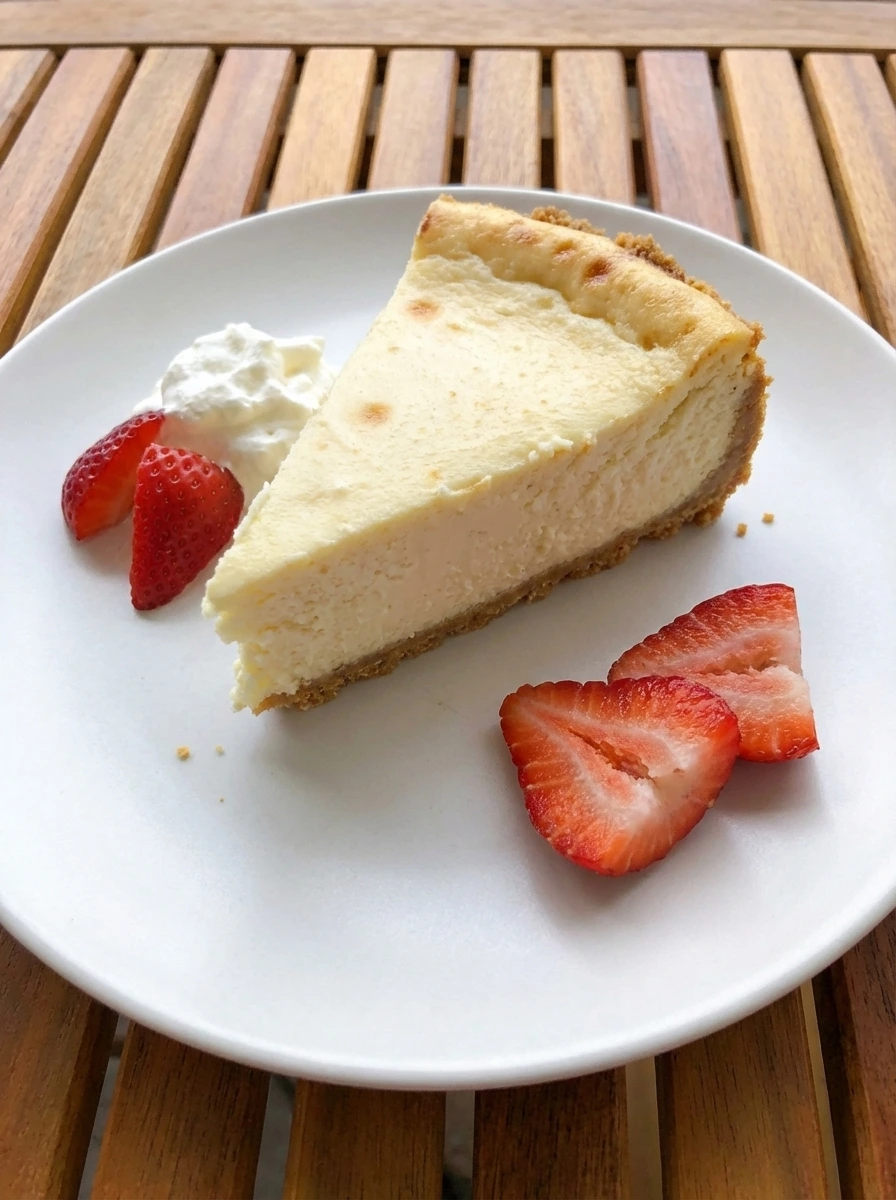
Step 10: Slice plate and garnish
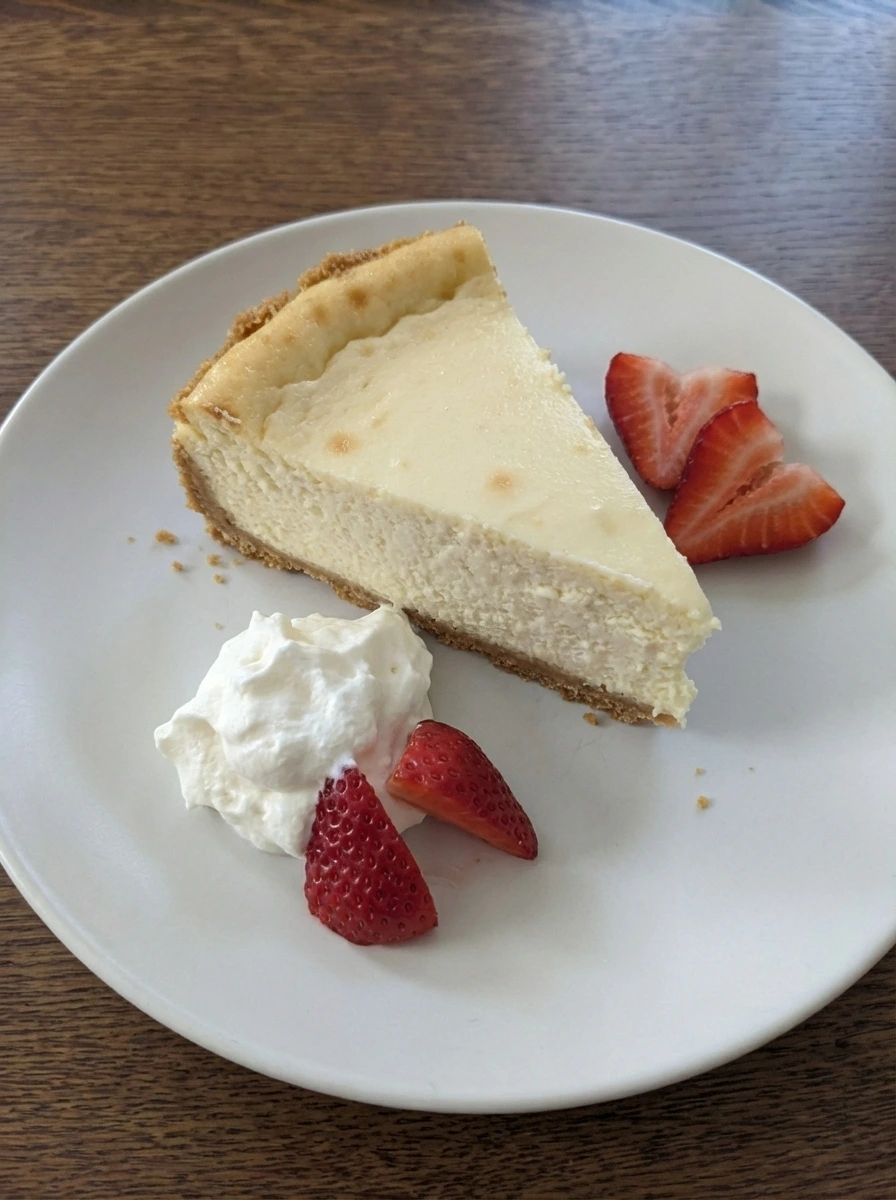
Release the chilled cheesecake and cut a thick slice so the inside shows a dense creamy ivory center above the buttery crust. Place the slice on a matte white ceramic dessert plate and finish it with a loose spoonful of whipped cream and a few sliced strawberries scattered beside and partly against the slice. The final plated cheesecake looks fully cooked and ready to serve with a lightly golden top a rich smooth middle and natural homemade variation in texture and color. Nothing looks too neat and that slight imperfection makes it even more inviting.
Tip: Wipe the knife between cuts for cleaner slices while keeping the garnish relaxed and natural.
Pro Tips
- Bring the cream cheese sour cream and eggs to room temperature so the filling blends smoothly.
- Mix the filling until creamy though do not overwork it once the eggs go in.
- Bake until the center still has a gentle wobble so the texture stays dense and silky.
- Chill the cheesecake fully before slicing so each piece holds its shape cleanly.
Storage Instructions
Store the cheesecake covered in the refrigerator for up to 5 days. For longer storage wrap individual slices well and freeze for up to 2 months and then thaw in the refrigerator before serving.
Frequently Asked Questions
Why did my cheesecake crack on top?
Cracks usually happen when the filling is mixed too much or baked a little too long. Pull it when the center still wobbles slightly and let it cool gradually.
Can I make Classic New York Cheesecake a day ahead?
Yes and it is even better after a full chill. Make it the day before and keep it covered in the refrigerator until serving time.
Can I use cookies instead of graham crackers for the crust?
Yes. Vanilla wafers or digestive biscuits work well and give the crust a slightly different flavor while keeping the same texture.
How do I know when the cheesecake is done?
The edges should look set and the center should jiggle softly when nudged. It will continue to firm up as it cools and chills.
Final Thoughts
So there you go. A cheesecake that is simple enough for a Tuesday night but good enough to serve at a gathering.
I have made this more times than I can count and it never disappoints. Save this one and share it with a friend and let me know in the comments if you made any fun changes.
I am always curious to see how people put their own spin on things.
Print
Classic New York Cheesecake
- Total Time: 8 hours 45 minutes
- Yield: 12 servings 1x
Description
This easy Classic New York Cheesecake gives you simple ideas for a rich dessert that feels special without being hard to make. It is quick to prepare even though it chills slowly and it stays one of the best homemade treats for a holiday brunch a party or a potluck. You can make it for meal prep slices or a weeknight dinner dessert and still enjoy a healthy homemade touch with real ingredients and balanced sweetness.
Ingredients
- 2 cups graham cracker crumbs
- 1 cup granulated sugar
- 8 tablespoons unsalted butter melted
- 1 pinch fine sea salt
- 32 ounces cream cheese softened
- 1 cup sour cream
- 1/2 cup heavy cream
- 4 large eggs
- 2 teaspoons vanilla extract
- 1 tablespoon fresh lemon juice
- 2 tablespoons all purpose flour
- 1/2 cup fresh strawberries sliced
- 1/2 cup whipped cream
Instructions
- Add the graham cracker crumbs to a wide mixing bowl and then measure the sugar melted butter and pinch of salt into the bowl in separate little piles before they are combined. The crumbs look dry and sandy while the butter sits glossy over one side and the sugar stays visible in a pale layer. At the same time place the softened cream cheese sour cream heavy cream eggs vanilla lemon juice and flour nearby in measured portions so the recipe can move in order without rushing. Nothing is mixed yet and the ingredients still look raw and separate.
- Stir the crumbs sugar and salt together and then pour the melted butter over them so the dry mixture starts to darken in patches. Keep mixing until the crumbs look evenly moistened with some slightly darker buttery clusters and a texture that holds together when pressed. This is the coating stage and it should look like damp sand rather than loose powder. A few crumb bits can stay a little chunkier for a homemade look.
- Scatter the buttered crumbs into a round springform pan and press them across the bottom and slightly up the sides in a casual even layer. The surface should look packed yet not perfectly flat and a few tiny crumb ridges around the edge make it feel homemade. Once pressed the crust changes from loose crumbs into a solid base that already hints at the final dessert. The color stays warm tan with a slightly darker tone from the butter.
- Cut the softened cream cheese into rough chunks and add them to a large bowl with part of the sugar and the flour and salt. As the mixture is worked together the sharp edges of the cream cheese begin to disappear and the thick mass turns from separate lumps into a softer pale mixture. This stage still looks dense and slightly uneven and that is fine. The goal is to start the filling with a smooth base before more liquid ingredients are added.
- Add the sour cream heavy cream vanilla and lemon juice over the cream cheese mixture and fold and mix until the filling loosens and turns silkier. The color becomes a clean creamy ivory and the texture changes from stiff to glossy with soft ribbons that sink back into themselves. A few thicker streaks can remain for a moment before they disappear as the mixture comes together. This stage should look rich smooth and clearly more fluid than before.
- Crack in the eggs one at a time and fold each one into the filling until it disappears before adding the next. The batter turns even smoother and slightly looser and the surface looks glossy with a few tiny bubbles and a slow flowing movement. Once all the eggs are mixed in the batter should look fully combined and pourable though still thick and rich. This is the finished raw filling and it should not look curdled or grainy.
- Pour the filling over the crust in the pan so the pale batter spreads outward and settles into the crumb shell. Gently nudge it into an even layer while leaving the top slightly natural rather than perfectly flat and let a few tiny air bubbles stay visible. The cheesecake now looks fully assembled with a clear contrast between the tan crust and the creamy filling. The batter sits thick and level and it is ready for baking.
- As the cheesecake bakes the filling changes from glossy raw batter into a softly set custard. The top loses its wet shine and turns matte with a pale cream color and a few faint golden spots beginning to appear near the edges. The center should still have a slight wobble while the outer ring looks more settled and gently puffed. This is the stage where the cheesecake moves from raw to cooked without becoming dry.
- As the cheesecake cools the center settles and the slight puffing eases back into a flatter surface. After chilling the filling becomes dense and smooth and the top develops a more polished look with gentle natural ripples and light uneven golden patches. The crust firms against the sides and the whole cheesecake looks cleanly set and sliceable. The color stays creamy with a subtle toasted finish on top.
- Release the chilled cheesecake and cut a thick slice so the inside shows a dense creamy ivory center above the buttery crust. Place the slice on a matte white ceramic dessert plate and finish it with a loose spoonful of whipped cream and a few sliced strawberries scattered beside and partly against the slice. The final plated cheesecake looks fully cooked and ready to serve with a lightly golden top a rich smooth middle and natural homemade variation in texture and color. Nothing looks too neat and that slight imperfection makes it even more inviting.
Notes
Pro Tips:
- Bring the cream cheese sour cream and eggs to room temperature so the filling blends smoothly.
- Mix the filling until creamy though do not overwork it once the eggs go in.
- Bake until the center still has a gentle wobble so the texture stays dense and silky.
- Chill the cheesecake fully before slicing so each piece holds its shape cleanly.
Storage: Store the cheesecake covered in the refrigerator for up to 5 days. For longer storage wrap individual slices well and freeze for up to 2 months and then thaw in the refrigerator before serving.
- Prep Time: 30 minutes
- Cook Time: 1 hour 15 minutes
- Category: Dessert
- Cuisine: American
Nutrition
- Serving Size: 1 serving