I honestly havent really shared many fruit dessert recipes in my blog but this Easy Blackberry Cobbler was one I had to share. This recipe is inspired by classic comfort baking and is easy to prepare and make and it is a super tasty dessert packed full of juicy berries and it is quite satisfying.
When people think about cobbler they sometimes assume it is complicated or time consuming but trust me on this when it is prepared in the right way it offers a rich sweet and slightly tart taste that is very comforting. This recipe is super tasty and quick to make and I recommend this dessert for those who want to enjoy a simple homemade treat.
Ingredients
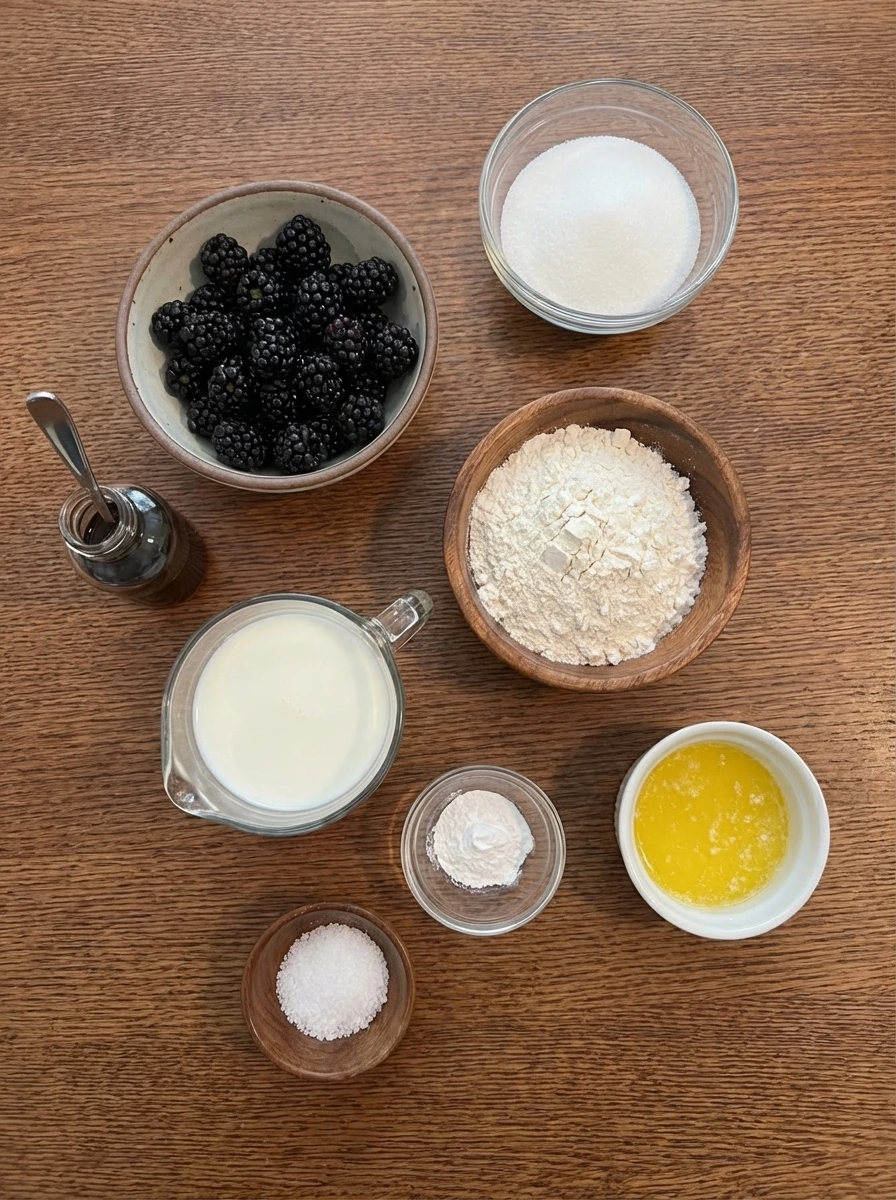
Here’s what I use for this recipe and you can always make substitutions if you prefer.
- blackberries: main fruit base
- granulated sugar: sweetens filling and batter
- all purpose flour: forms topping structure
- milk: creates batter texture
- unsalted butter: adds richness and browning
- baking powder: helps batter rise
- salt: balances flavor
- vanilla extract: adds aroma
Tools You’ll Need
- baking dish: for assembling and baking
- mixing bowl: for batter preparation
Instructions
Step 1: Prepare the blackberries
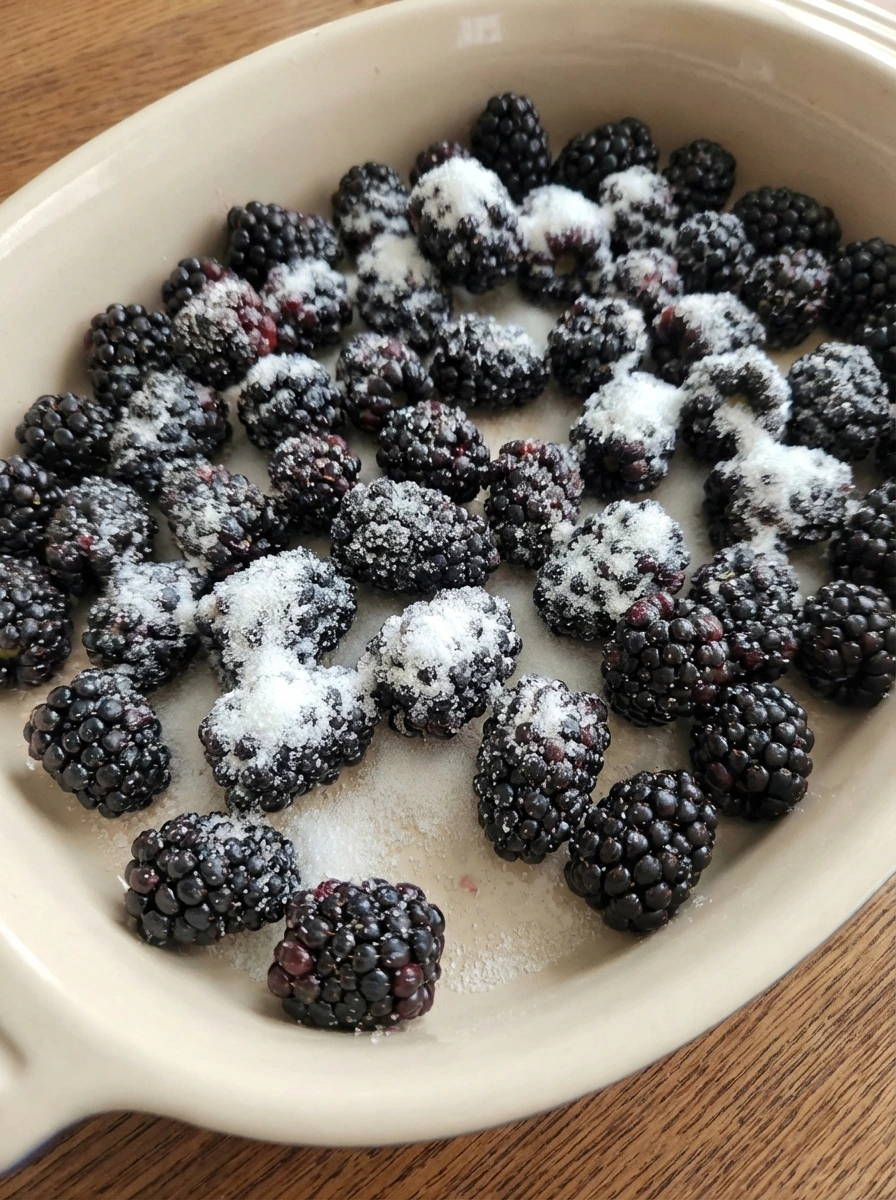
Fresh blackberries are placed into a baking dish and they appear plump and slightly glossy and some are larger while others are smaller creating a natural uneven layer. A portion of sugar is sprinkled over the berries and it lands unevenly so some areas look more coated while others still show the deep purple color.
Tip: Do not over mix here so the berries keep their shape.
Step 2: Start forming the juices
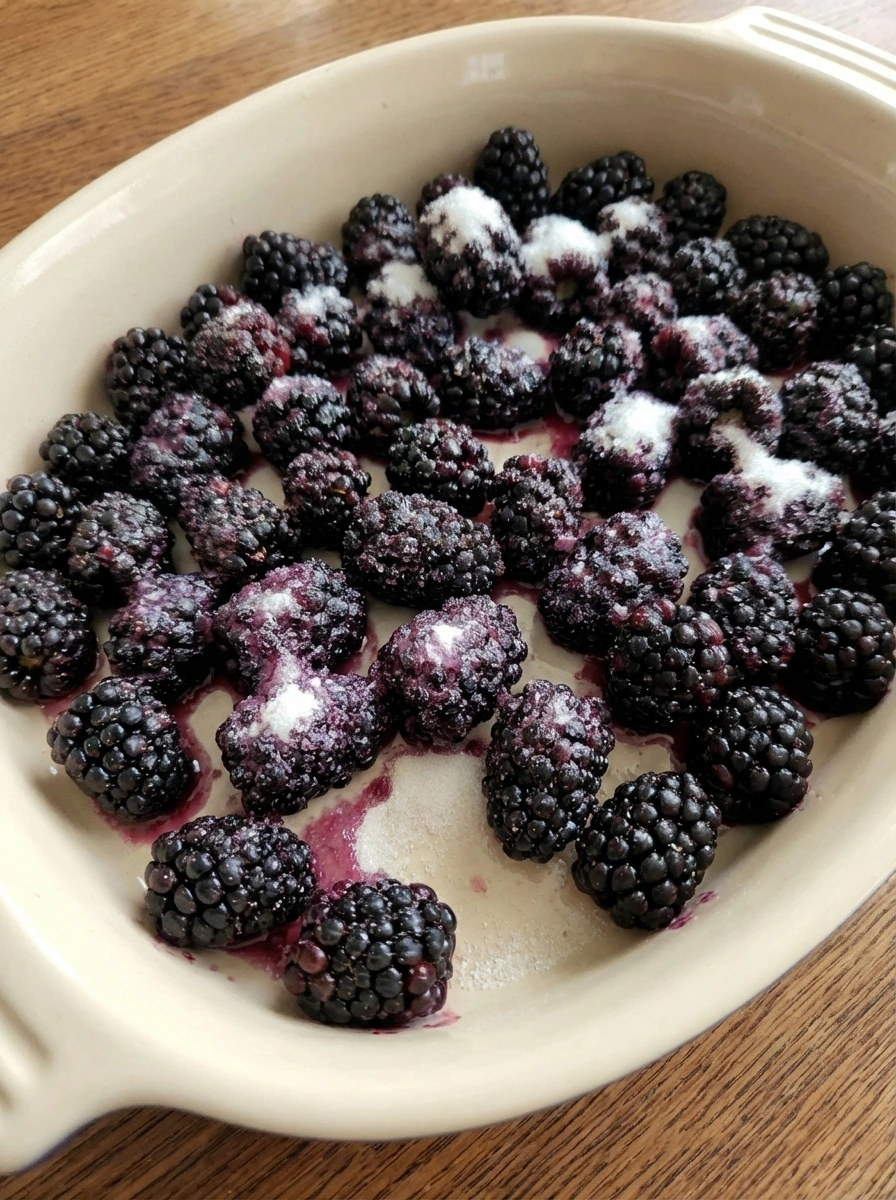
The sugared berries begin to release juices and a light syrup forms at the bottom and some berries look slightly softened while others remain firm. The mixture looks glossy and uneven with small pools of purple liquid forming around the fruit.
Tip: Letting this sit briefly helps deepen flavor.
Step 3: Mix the batter
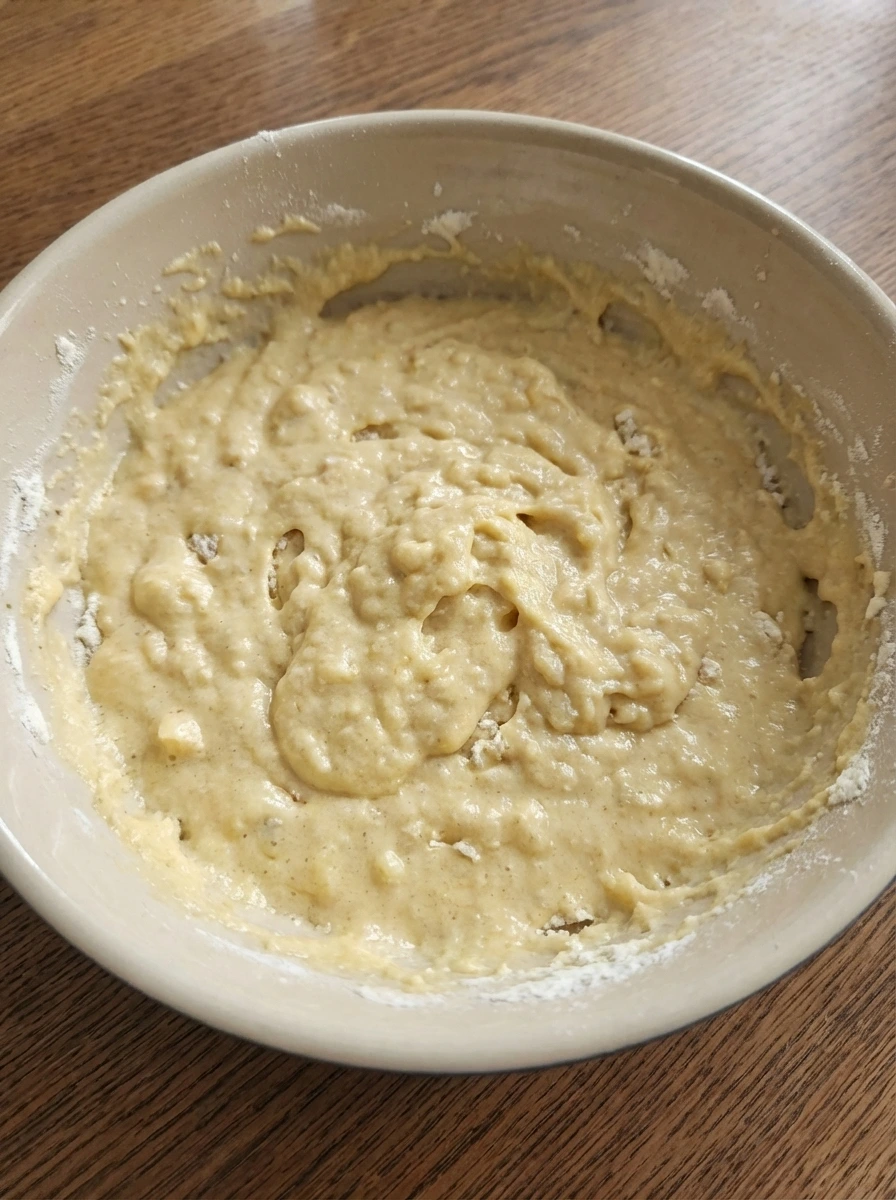
Flour sugar baking powder and salt are combined with milk and melted butter and vanilla and the mixture turns into a pale thick batter. The batter looks slightly lumpy and not perfectly smooth which gives it a homemade texture.
Tip: Avoid over mixing so the batter stays light.
Step 4: Pour batter over berries
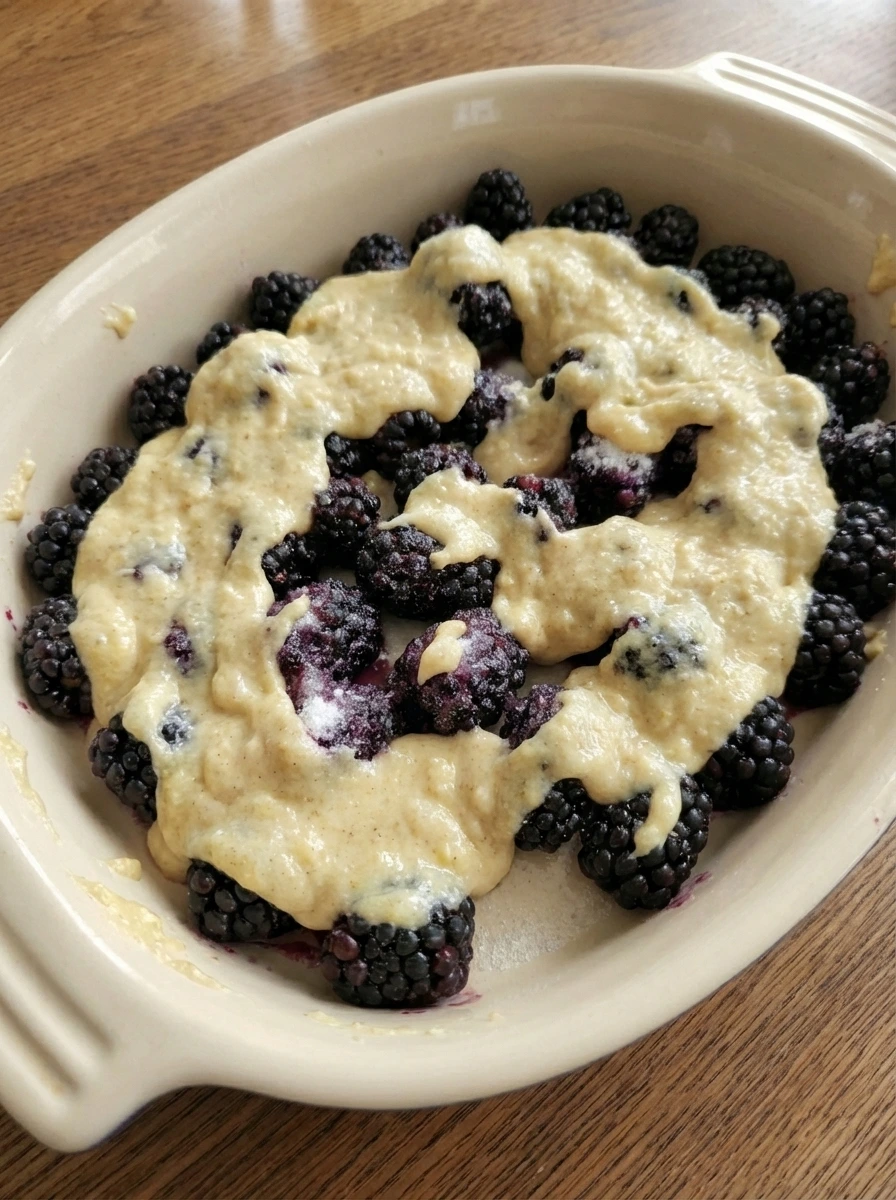
The batter is poured over the berry mixture and it spreads unevenly leaving some berries exposed while others are lightly covered. The surface looks patchy with batter pooling in some spots and thin in others.
Tip: Do not try to spread evenly for a rustic finish.
Step 5: Begin baking transformation
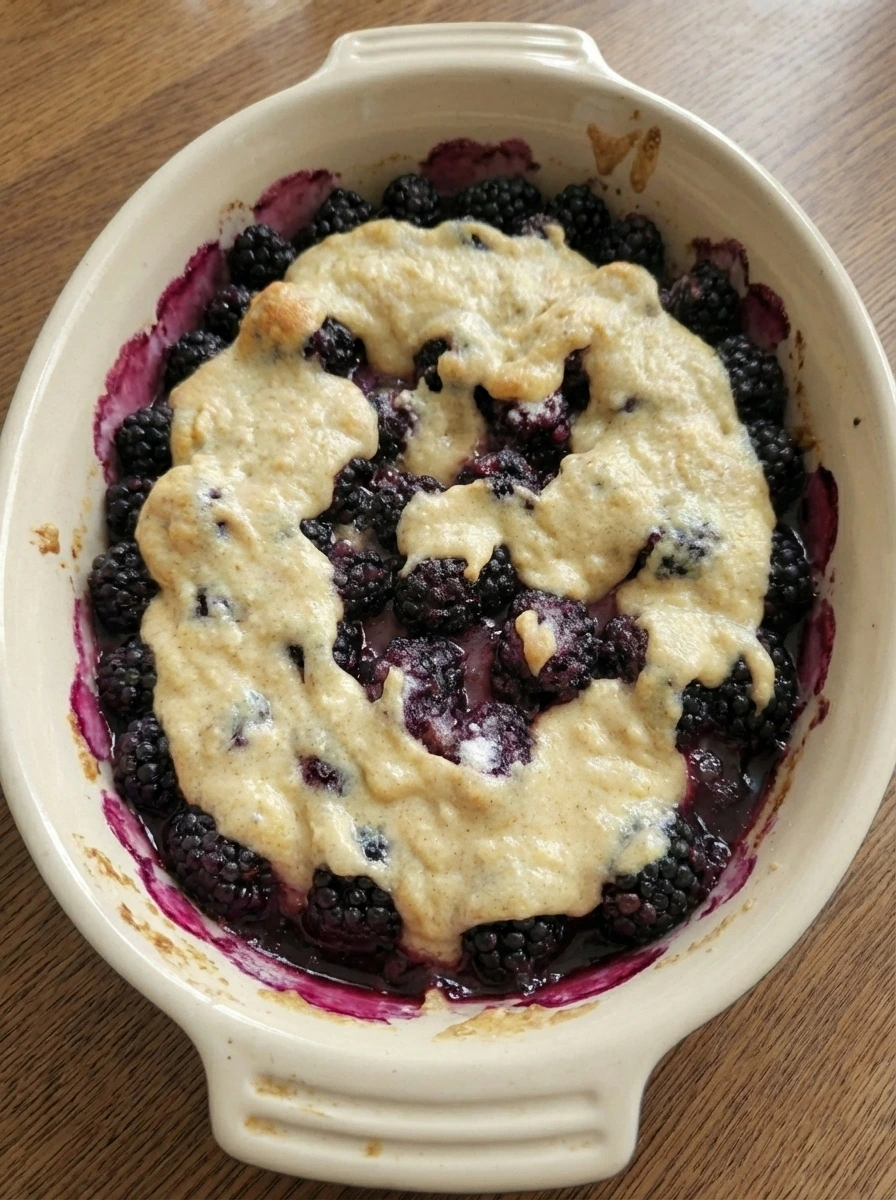
As it bakes the batter begins to puff and edges turn lightly golden while the berry juices bubble through gaps. Some areas rise higher than others creating a natural uneven surface.
Tip: Look for bubbling edges as a sign of progress.
Step 6: Develop golden crust
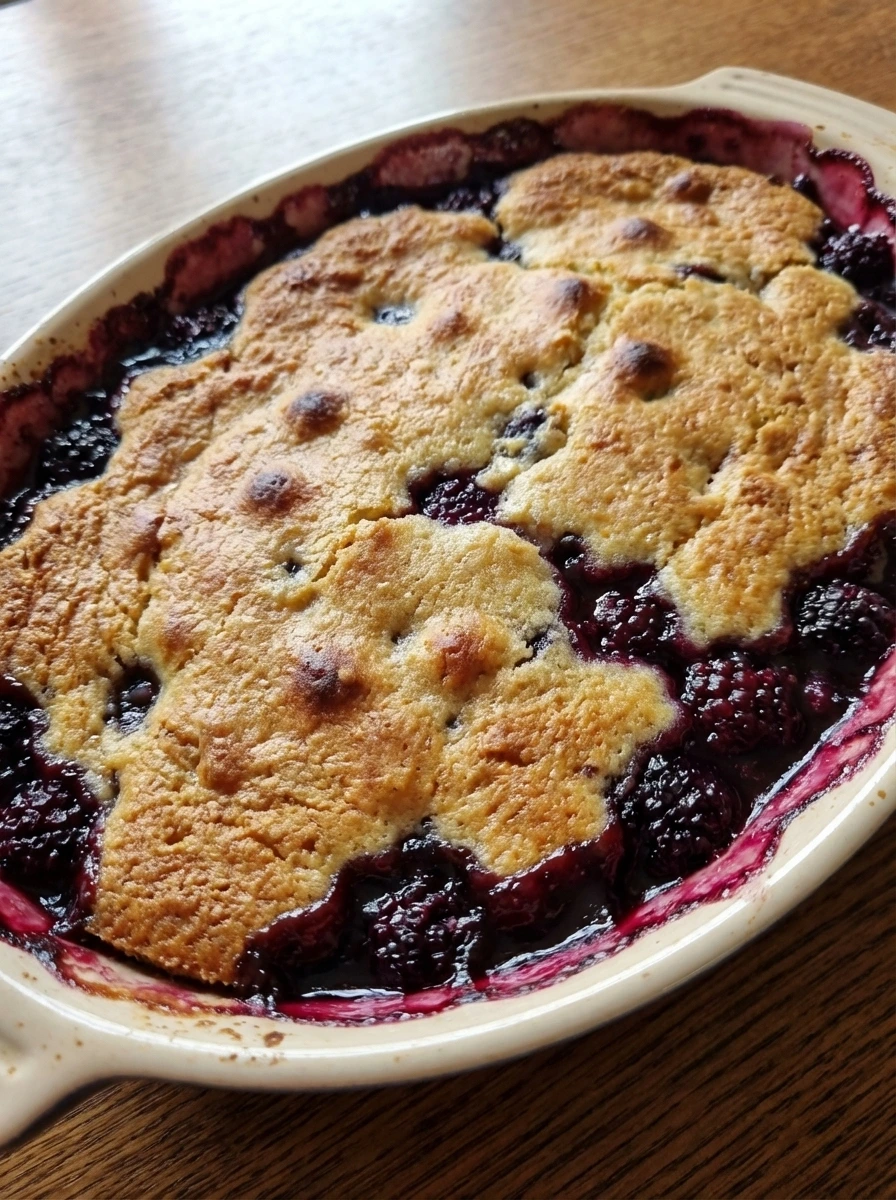
The top continues to brown and becomes deeper golden with some darker spots while the berries underneath look thick and glossy. The surface is slightly cracked and irregular giving a rustic appearance.
Tip: Do not remove too early or the crust will stay pale.
Step 7: Finish and set
The cobbler settles slightly and the bubbling slows leaving a thick rich berry filling beneath the crust. The texture looks soft yet structured with visible contrast between crisp top and juicy bottom.
Tip: Let it rest briefly so the filling thickens.
Step 8: Plate and serve
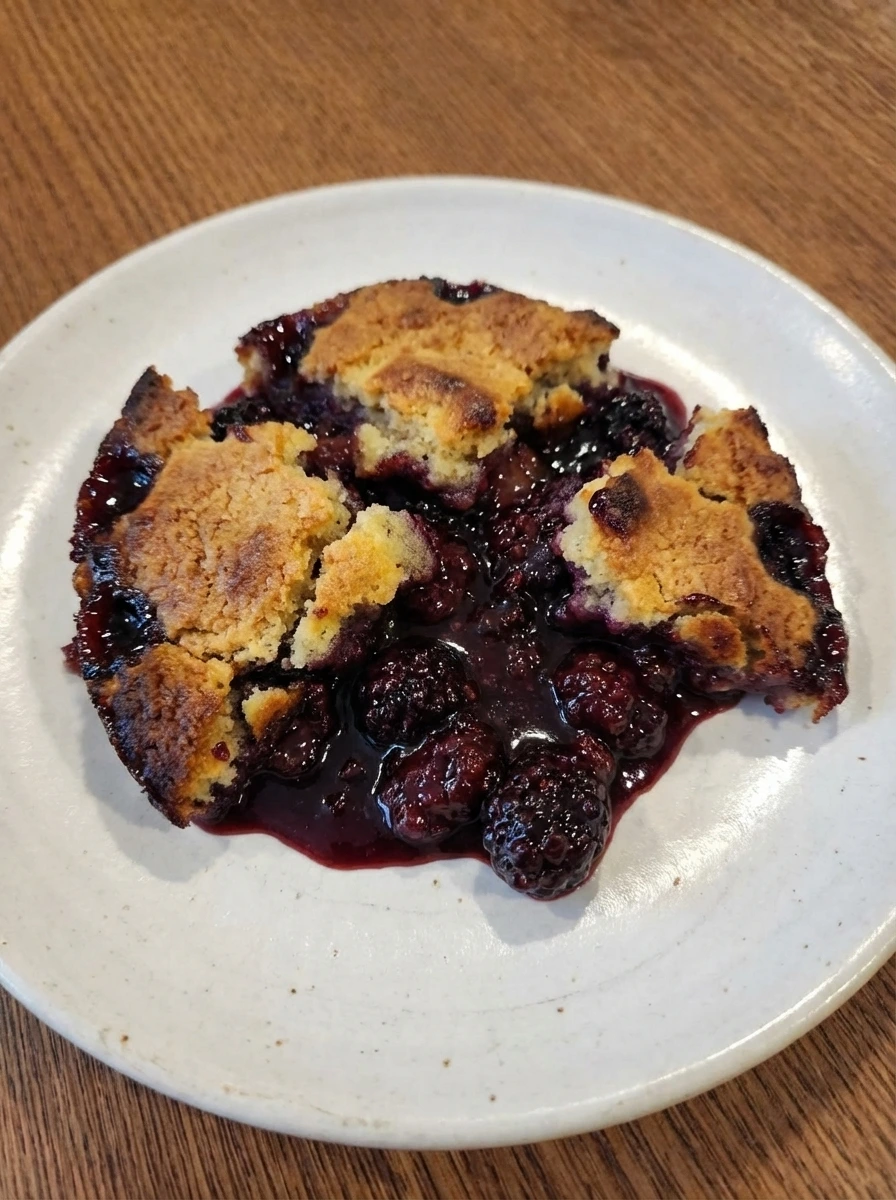
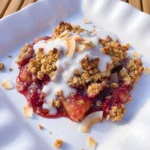
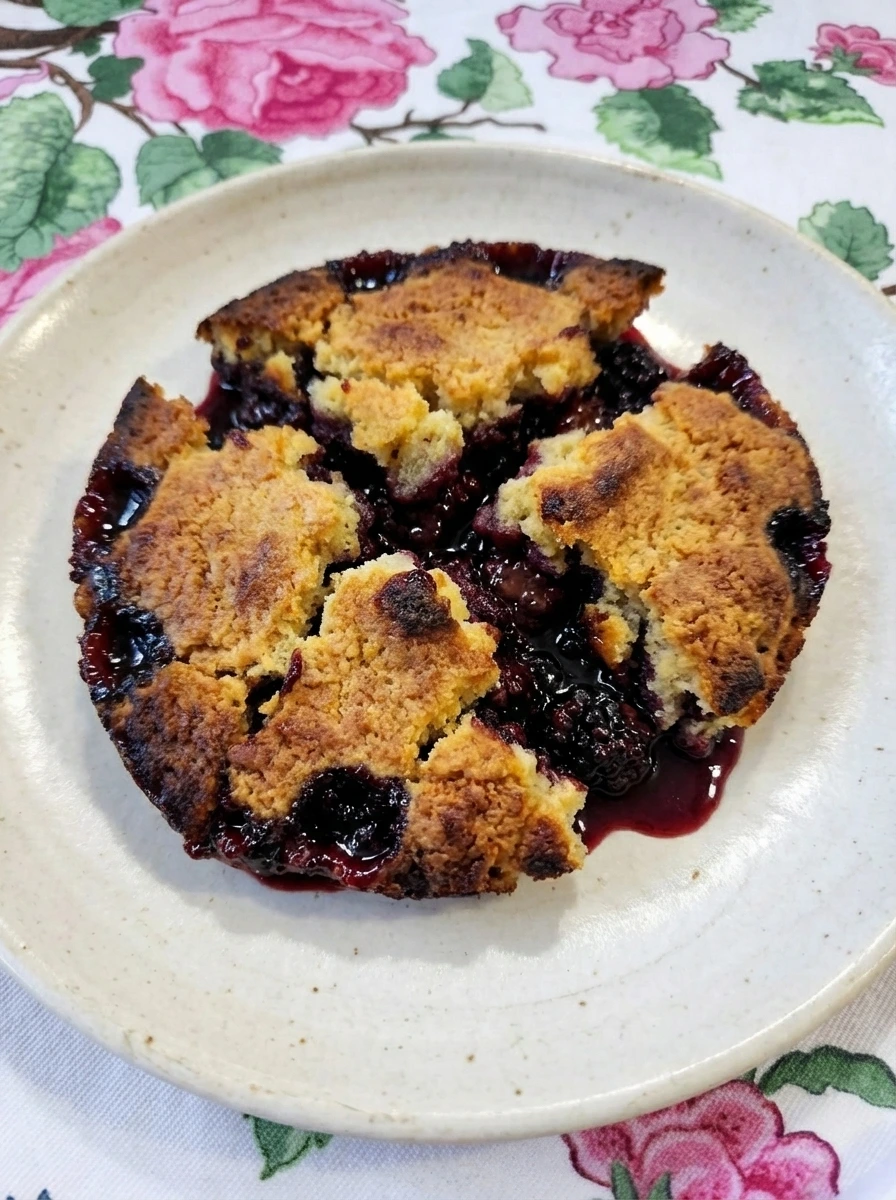
The cobbler is scooped onto a plate and the crust breaks naturally showing layers of golden topping and deep purple filling. The final dish looks rustic with uneven edges and glossy berry sauce peeking through making it ready to enjoy.
Tip: Serve warm for best texture and flavor.
Pro Tips
- Use ripe berries for better sweetness.
- Do not overmix batter.
- Allow resting time after baking.
- Let topping stay uneven for texture.
Storage Instructions
Store covered in refrigerator and reheat gently before serving.
Frequently Asked Questions
Can I use frozen blackberries ?
Yes but thaw and drain slightly to avoid excess liquid.
How do I know it is done ?
Look for golden crust and bubbling edges.
Can I reduce sugar ?
Yes adjust to taste depending on berry sweetness.
Can I add spices ?
Yes cinnamon or nutmeg works well.
Final Thoughts
This is the kind of recipe I wish I had found years ago. It would have saved me so many stressful dessert nights.
But now that I have it I make it all the time and I think you will too. If you enjoyed this check out some of my other popular recipes on the blog.
And leave a comment I read every single one and it really makes my day.
Print
Easy Blackberry Cobbler
- Total Time: 45 minutes
- Yield: 4 servings 1x
Description
This easy blackberry cobbler is the best choice for quick simple and healthy dessert ideas that fit weeknight dinner or holiday or potluck or brunch or party. It brings together juicy berries and a golden topping in a way that feels comforting and homemade. With simple steps and minimal effort this recipe delivers a delicious treat that everyone will love and it is perfect for meal prep or sharing.
Ingredients
- 3 cups blackberries
- 3/4 cup granulated sugar
- 1 cup all purpose flour
- 1 cup milk
- 1/2 cup melted unsalted butter
- 1 tsp baking powder
- 1/4 tsp salt
- 1 tsp vanilla extract
Instructions
- Fresh blackberries are placed into a baking dish and they appear plump and slightly glossy and some are larger while others are smaller creating a natural uneven layer. A portion of sugar is sprinkled over the berries and it lands unevenly so some areas look more coated while others still show the deep purple color.
- The sugared berries begin to release juices and a light syrup forms at the bottom and some berries look slightly softened while others remain firm. The mixture looks glossy and uneven with small pools of purple liquid forming around the fruit.
- Flour sugar baking powder and salt are combined with milk and melted butter and vanilla and the mixture turns into a pale thick batter. The batter looks slightly lumpy and not perfectly smooth which gives it a homemade texture.
- The batter is poured over the berry mixture and it spreads unevenly leaving some berries exposed while others are lightly covered. The surface looks patchy with batter pooling in some spots and thin in others.
- As it bakes the batter begins to puff and edges turn lightly golden while the berry juices bubble through gaps. Some areas rise higher than others creating a natural uneven surface.
- The top continues to brown and becomes deeper golden with some darker spots while the berries underneath look thick and glossy. The surface is slightly cracked and irregular giving a rustic appearance.
- The cobbler settles slightly and the bubbling slows leaving a thick rich berry filling beneath the crust. The texture looks soft yet structured with visible contrast between crisp top and juicy bottom.
- The cobbler is scooped onto a plate and the crust breaks naturally showing layers of golden topping and deep purple filling. The final dish looks rustic with uneven edges and glossy berry sauce peeking through making it ready to enjoy.
Notes
Pro Tips:
- Use ripe berries for better sweetness
- Do not overmix batter
- Allow resting time after baking
- Let topping stay uneven for texture
Storage: Store covered in refrigerator and reheat gently before serving.
- Prep Time: 15 minutes
- Cook Time: 30 minutes
- Category: Dessert
- Cuisine: American
Nutrition
- Serving Size: 1 serving