This Strawberry Upside Down Cake recipe is packed with flavor and so easy to make. It is a budget friendly recipe that you can make in 45 minutes or less. Make this sweet and fruity cake for dessert tonight.

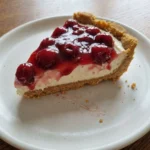
If you love fruity desserts then you are going to love this Strawberry Upside Down Cake recipe. It is a soft and buttery cake that is bright and flavorful and addictive. With a glossy strawberry topping like this you are going to want a slice while it is still a little warm.
If you are looking for other sweet dessert ideas like my Strawberry Upside Down Cake then also try a simple berry loaf or a classic fresh strawberry shortcake. Both of these are easy to make in less than an hour and that makes them perfect for a quick treat to share.
Ingredients
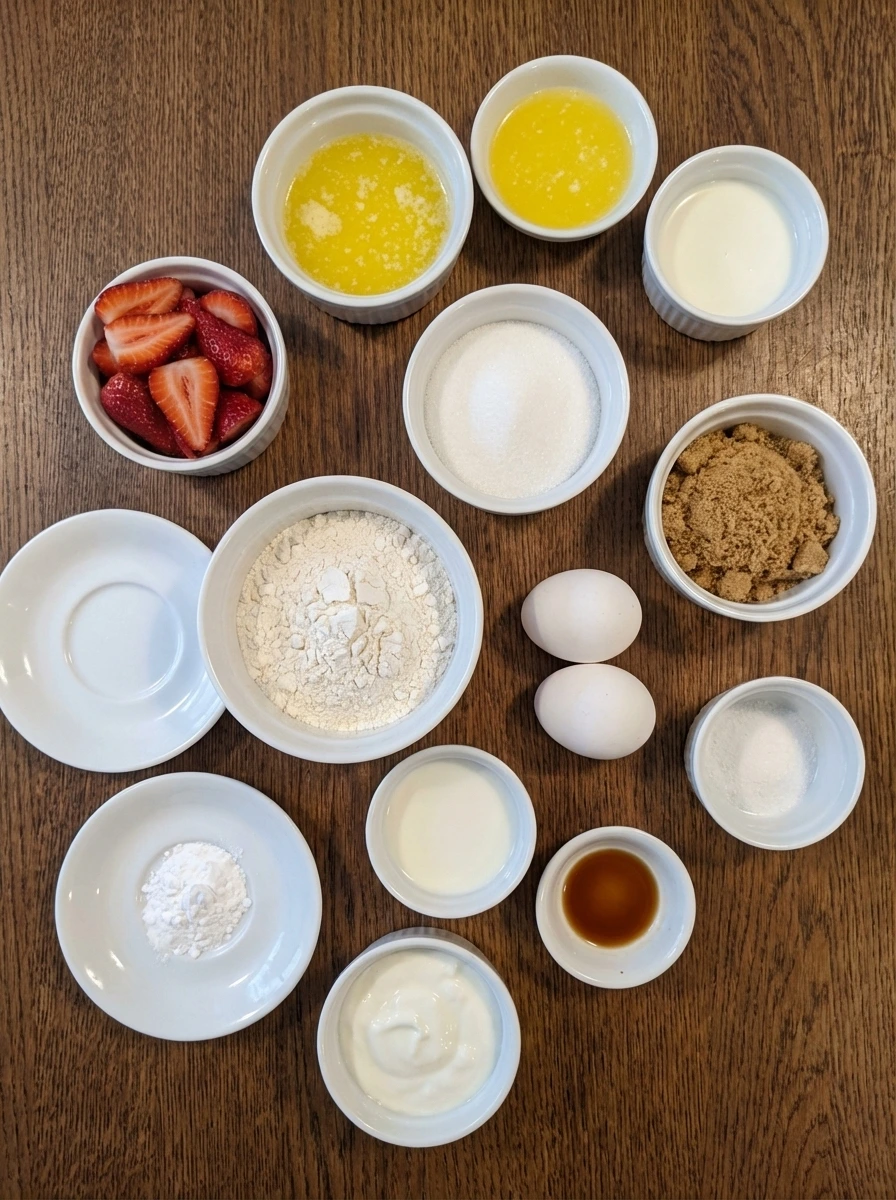
Here’s what I use for this recipe and you can always make substitutions if you prefer.
- strawberries: juicy topping that softens and turns glossy
- unsalted butter: adds richness and helps the topping caramelize
- light brown sugar: sweetens the fruit layer and deepens color
- all purpose flour: builds the cake structure
- baking powder: lifts the batter for a tender crumb
- salt: balances sweetness
- granulated sugar: sweetens the cake batter
- eggs: bind the batter and add richness
- milk: loosens the batter for smooth texture
- vanilla extract: adds warm flavor
- plain yogurt: keeps the crumb moist and soft
Tools You’ll Need
- baking dish: Used as the natural white dish for baking and serving
- mixing bowl: For bringing the batter together
- measuring cups and spoons: For accurate ingredient portions
Instructions
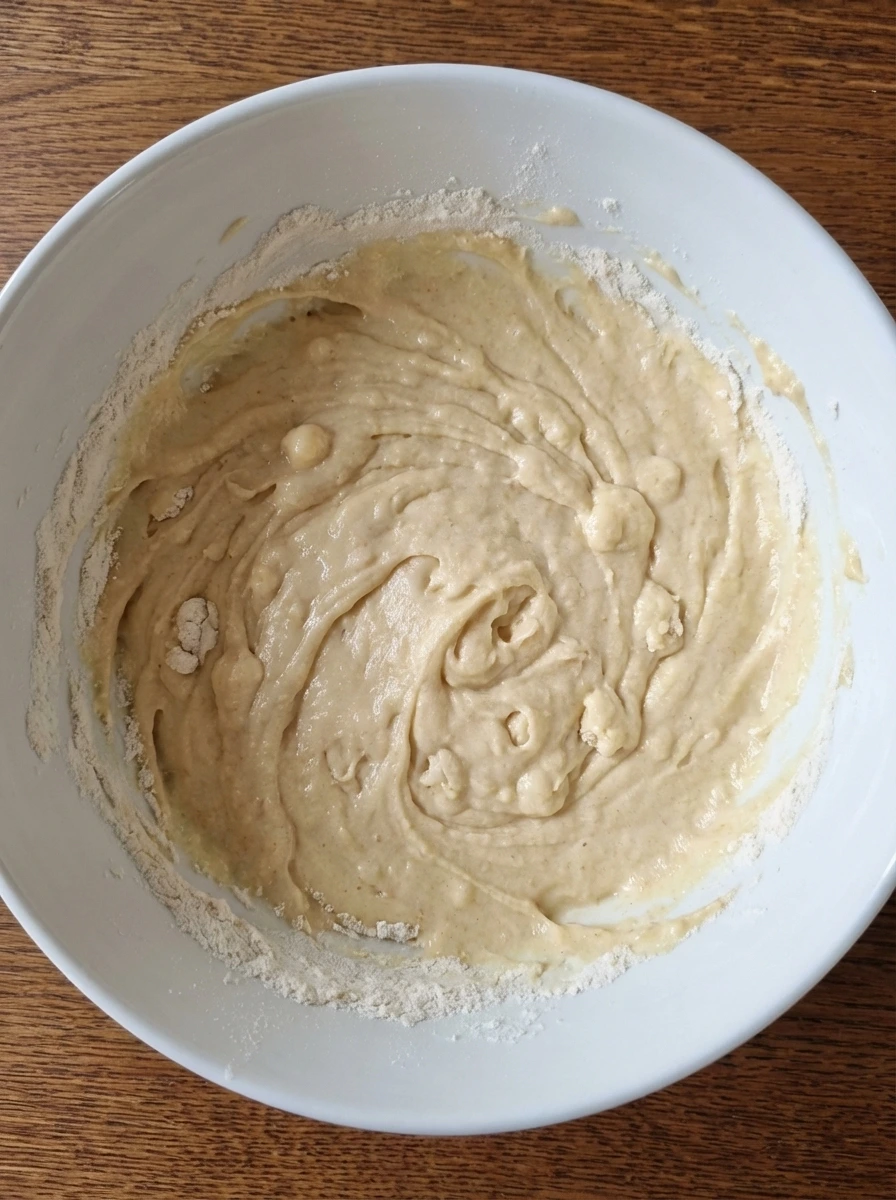
Step 1: Begin the Batter
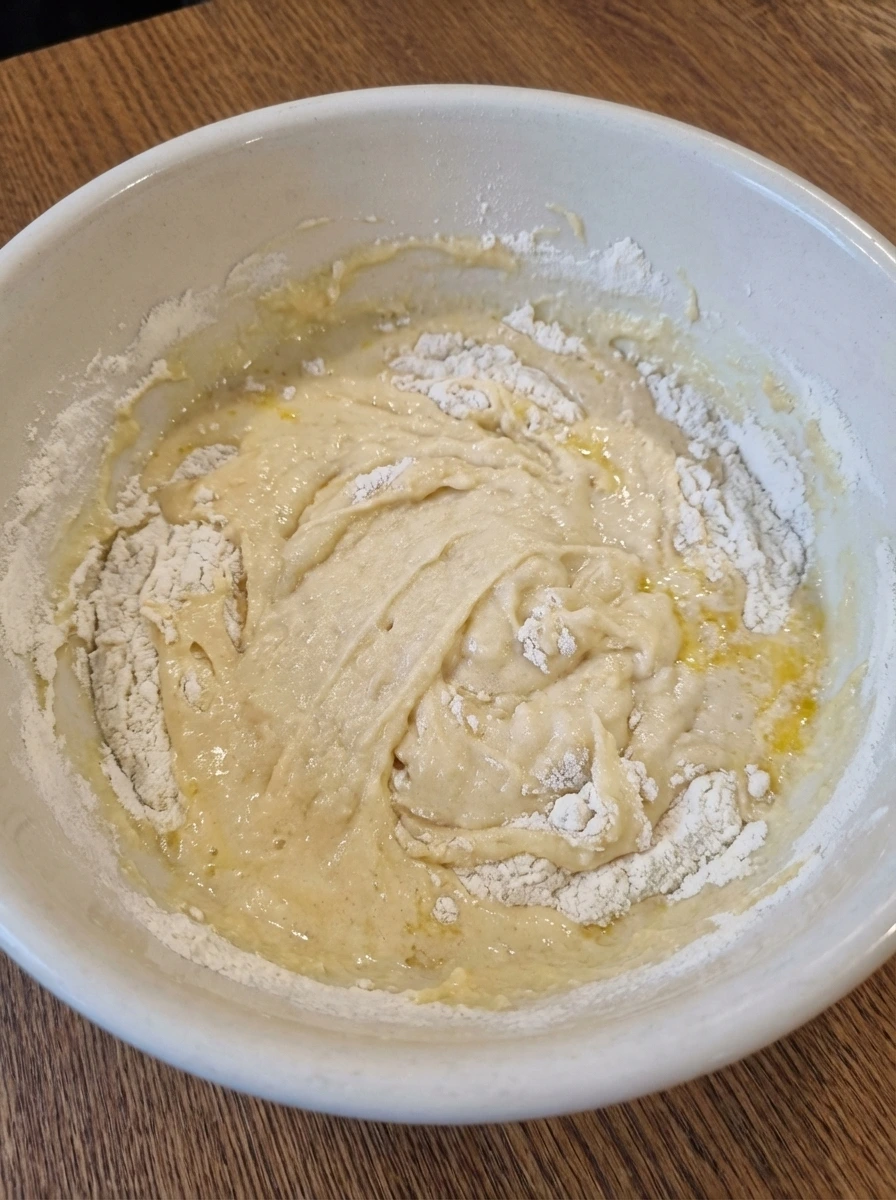
The flour mixture and wet mixture are poured together and the pale batter starts to come together in the natural white dish. Dry streaks still show through the center and around the edges so the mixture looks only partially combined and uneven.
Tip: Stop once the batter loses most of the loose dry patches so it stays tender.
Step 2: Coat the Strawberries
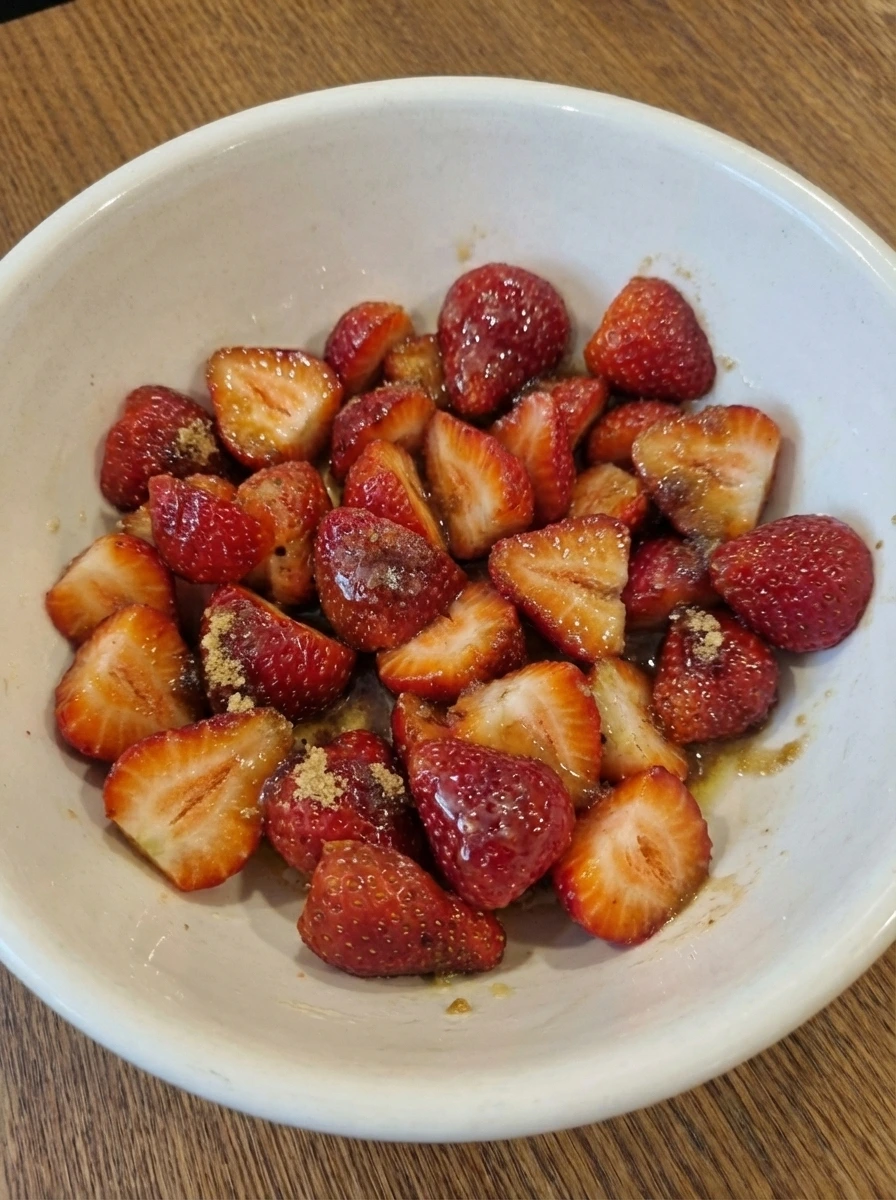
Melted butter and brown sugar are worked together until the mixture looks glossy and sandy and then it is spread under and around the strawberries. The fruit now looks lightly coated and deeper in color with shiny patches and uneven coverage.
Tip: Let some berries sit with more coating than others for a homemade finish.
Step 3: Soften the Fruit Layer
As the coated strawberries sit they begin to soften and release juice into the sugary layer. The bottom looks wetter and more syrupy and the berries settle into a looser uneven pattern with a slightly darker red tone.
Tip: A little resting time helps the fruit start turning jammy before the batter goes over it.
Step 4: Form the Batter Structure
The batter is mixed until smooth and thick enough to hold soft lines across the surface. It now looks creamy and structured instead of streaky and it falls in heavy folds with a few tiny lumps that keep it looking natural.
Tip: A few small lumps are fine and help avoid overmixing.
Step 5: Bind the Layers
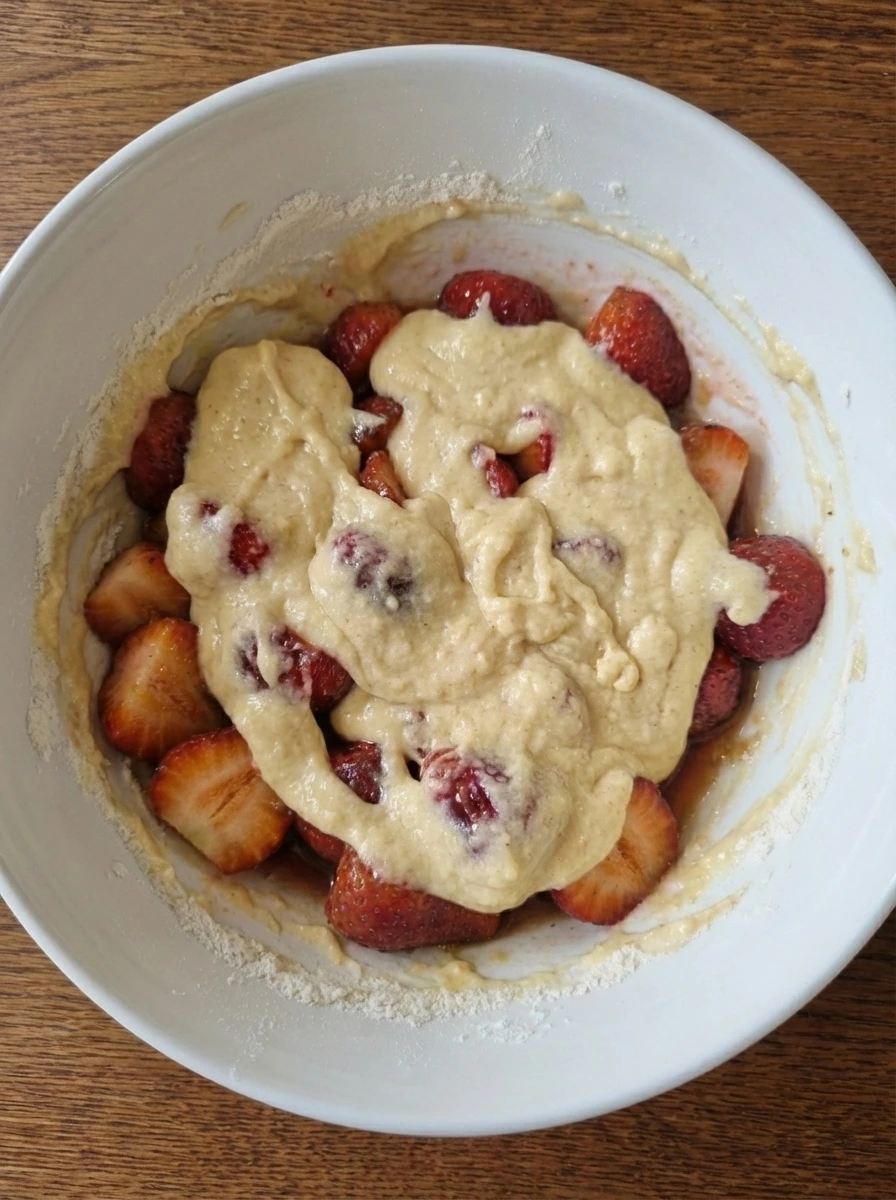
The thick batter is folded over the softened strawberries and spreads across the top in a loose uneven blanket. Some fruit still presses up near the edges and the batter settles with natural dips and slightly thicker spots.
Tip: Leave the surface a little uneven so the cake bakes with a homemade look.
Step 6: Assemble the Cake
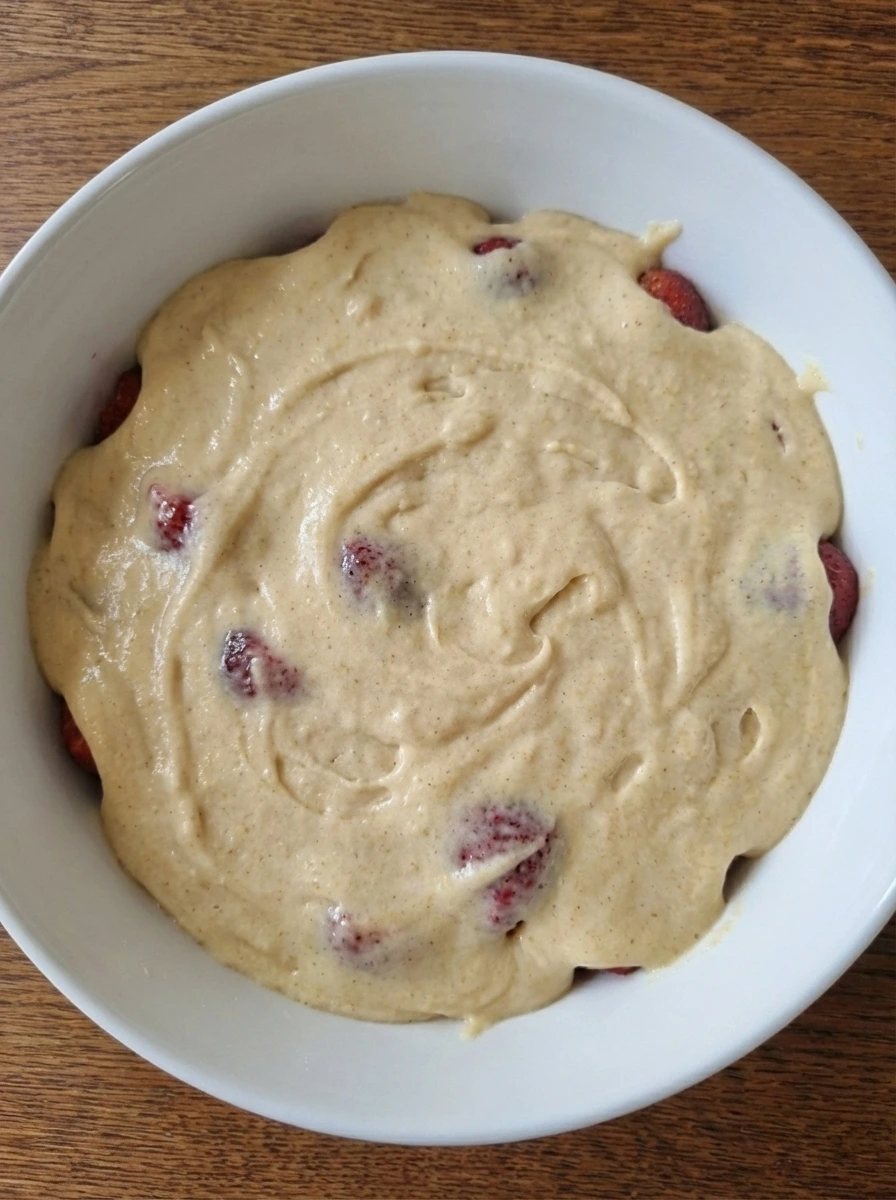
The full dish now looks clearly assembled with a fruit base and a cake layer resting above it as one complete unbaked dessert. The top is gently leveled but still casual with soft swirls and the edges show slight uneven thickness.
Tip: Do not smooth the top too much because a little texture bakes up beautifully.
Step 7: Bake Until Golden
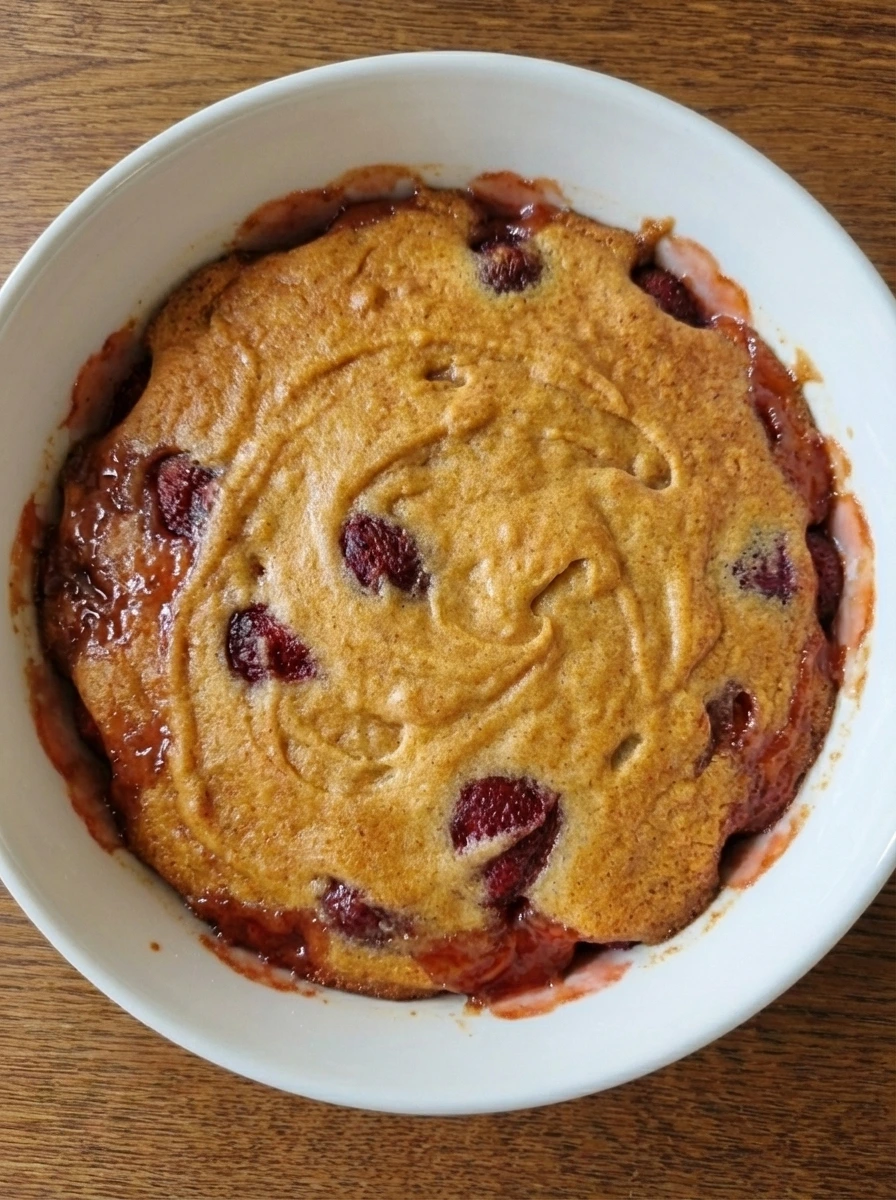
The cake bakes into a firm golden layer with light browning around the edges and deeper color in a few uneven patches. The fruit underneath turns glossy and jammy and a little syrup peeks out where the cake pulls back slightly.
Tip: Look for light browning and a set center rather than a perfectly even color.
Step 8: Plate and Serve
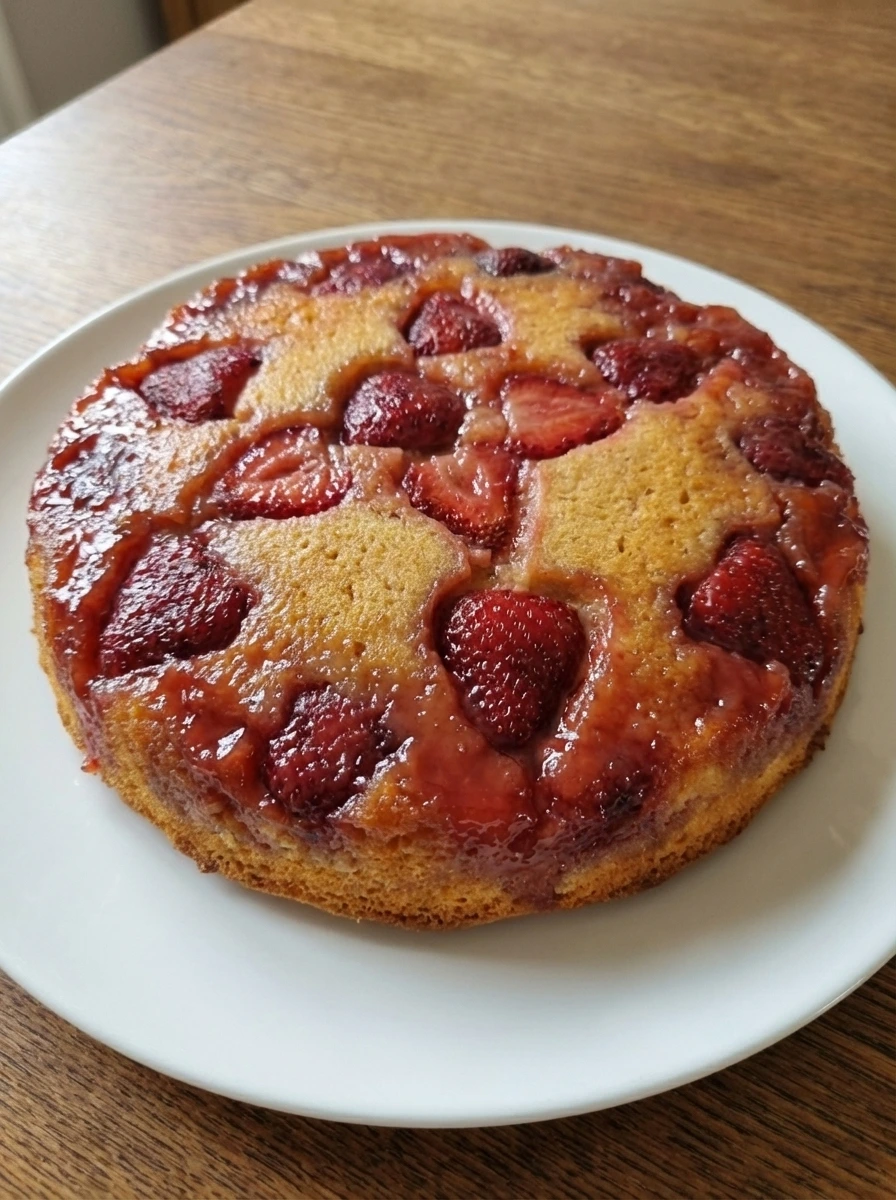
The finished cake is turned out onto a natural white dish and the strawberries now sit on top in a shiny uneven layer with casual overlap and little gaps. The crumb looks soft and fully cooked while the top shows non uniform red tones and light sticky gloss and the edges keep their homemade roughness.
Tip: Let it rest briefly before slicing so the fruit layer stays in place but still looks juicy.
Pro Tips
- Use ripe strawberries for the glossiest topping and the best natural sweetness.
- Do not overmix the batter once it looks thick and mostly smooth.
- Keep the strawberry layer loose and uneven so the top looks natural after turning.
- Let the cake cool slightly before plating so the fruit layer settles without sliding.
Storage Instructions
Store covered in the refrigerator for up to 3 days. The fruit layer will soften more over time and the cake is best served slightly warm or at room temperature.
Frequently Asked Questions
Can I use frozen strawberries?
Yes although fresh strawberries give the cleanest texture. If you use frozen berries thaw them first and drain extra liquid so the topping does not get too wet.
Why did my topping look uneven?
That is completely normal for this cake. The strawberries soften at different rates and the syrup settles naturally so the top should look rustic rather than perfectly even.
Can I make Strawberry Upside Down Cake ahead?
Yes you can bake it earlier in the day and serve it later. The fruit layer stays glossy and the crumb stays soft after it rests.
What should I serve with it?
It is lovely on its own or with a spoonful of yogurt or lightly sweetened whipped cream for a simple finish.
Final Thoughts
If you try this recipe then I really hope you love it as much as my family does. It has become one of those desserts we just keep coming back to no matter the season.
Drop a comment below and let me know how yours turned out. And if you are looking for more easy dessert ideas then make sure to bookmark this page.
I am always adding new recipes that are simple and satisfying and perfect for sharing.
Print
Strawberry Upside Down Cake
- Total Time: 45 minutes
- Yield: 4 servings 1x
Description
This Strawberry Upside Down Cake is one of the best easy dessert ideas when you want something quick simple and healthy enough to feel good about sharing. The soft cake and jammy fruit make it perfect for brunch and holiday tables and potluck trays and party slices. It also works for meal prep treats after a weeknight dinner when you want a homemade sweet without a complicated bake.
Ingredients
- 2 cups strawberries
- 1/2 cup unsalted butter
- 1/2 cup light brown sugar
- 1 1/4 cups all purpose flour
- 1 1/2 teaspoons baking powder
- 1/4 teaspoon salt
- 2/3 cup granulated sugar
- 2 large eggs
- 1/2 cup milk
- 1 teaspoon vanilla extract
- 1/4 cup plain yogurt
Instructions
- The flour mixture and wet mixture are poured together and the pale batter starts to come together in the natural white dish. Dry streaks still show through the center and around the edges so the mixture looks only partially combined and uneven.
- Melted butter and brown sugar are worked together until the mixture looks glossy and sandy and then it is spread under and around the strawberries. The fruit now looks lightly coated and deeper in color with shiny patches and uneven coverage.
- As the coated strawberries sit they begin to soften and release juice into the sugary layer. The bottom looks wetter and more syrupy and the berries settle into a looser uneven pattern with a slightly darker red tone.
- The batter is mixed until smooth and thick enough to hold soft lines across the surface. It now looks creamy and structured instead of streaky and it falls in heavy folds with a few tiny lumps that keep it looking natural.
- The thick batter is folded over the softened strawberries and spreads across the top in a loose uneven blanket. Some fruit still presses up near the edges and the batter settles with natural dips and slightly thicker spots.
- The full dish now looks clearly assembled with a fruit base and a cake layer resting above it as one complete unbaked dessert. The top is gently leveled but still casual with soft swirls and the edges show slight uneven thickness.
- The cake bakes into a firm golden layer with light browning around the edges and deeper color in a few uneven patches. The fruit underneath turns glossy and jammy and a little syrup peeks out where the cake pulls back slightly.
- The finished cake is turned out onto a natural white dish and the strawberries now sit on top in a shiny uneven layer with casual overlap and little gaps. The crumb looks soft and fully cooked while the top shows non uniform red tones and light sticky gloss and the edges keep their homemade roughness.
Notes
Pro Tips:
- Use ripe strawberries for the glossiest topping and the best natural sweetness.
- Do not overmix the batter once it looks thick and mostly smooth.
- Keep the strawberry layer loose and uneven so the top looks natural after turning.
- Let the cake cool slightly before plating so the fruit layer settles without sliding.
Storage: Store covered in the refrigerator for up to 3 days. The fruit layer will soften more over time and the cake is best served slightly warm or at room temperature.
- Prep Time: 15 minutes
- Cook Time: 30 minutes
- Category: Dessert
- Cuisine: American
Nutrition
- Serving Size: 1 serving