

This Honey Mustard Baked Chicken Thighs recipe is packed with flavor and so easy to make. It is a budget friendly recipe that you can make in 45 minutes or less. Make this sweet and tangy chicken recipe for dinner tonight.
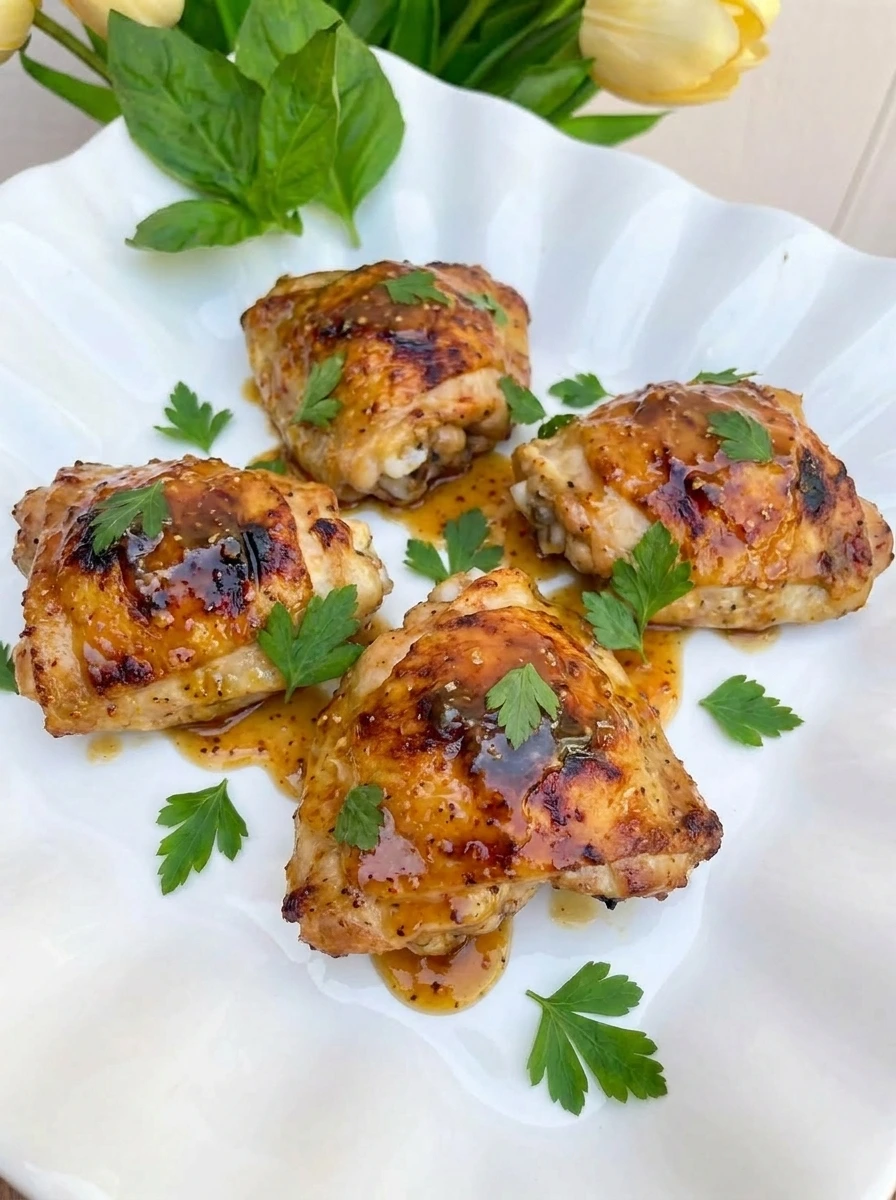
If you love saucy chicken recipes then you are going to love this Honey Mustard Baked Chicken Thighs recipe. It is a simple baked chicken dinner that feels hearty and flavorful and comforting and if you want something fresh to serve alongside it then try Simple Avocado Toast for an easy side style idea with bright flavor. If you are looking for other easy family favorites to keep in your meal plan then this Honey Mustard Baked Chicken Thighs recipe is a great place to start.
It brings together juicy chicken and a glossy homemade glaze in a way that feels dependable and cozy for any busy night.
Ingredients
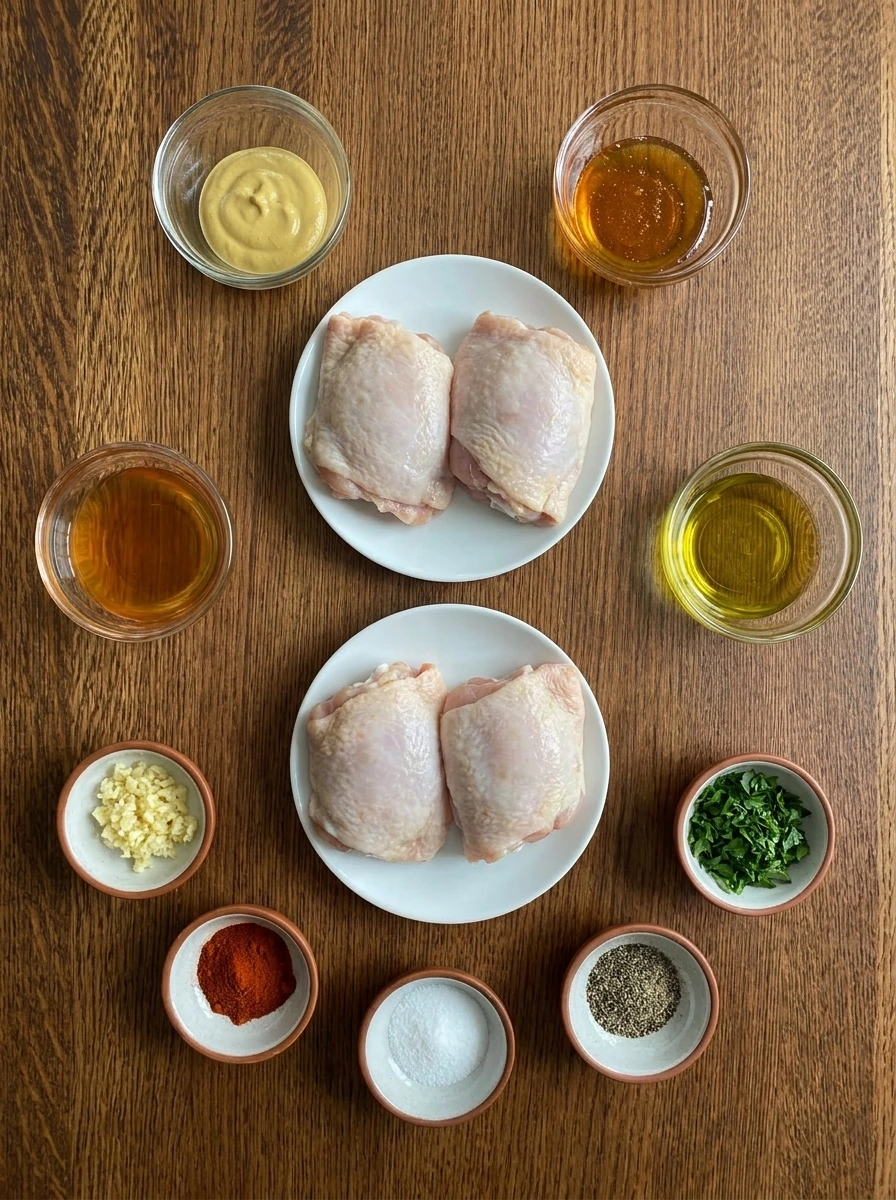
Here’s what I use for this recipe and you can always make substitutions if you prefer.
- bone-in skin-on chicken thighs: The main protein and the skin helps the tops turn golden and crisp while the meat stays juicy.
- Dijon mustard: Adds sharp tang and gives the glaze its bold mustard flavor.
- honey: Brings sweetness and helps the glaze turn glossy and lightly caramelized.
- olive oil: Helps the glaze spread evenly and encourages browning.
- garlic: Adds savory depth and warmth to balance the sweetness.
- paprika: Adds gentle color and a mild smoky note.
- salt: Seasoning that brings out the flavor of the chicken and glaze.
- black pepper: Adds mild heat and rounds out the sauce.
- apple cider vinegar: Brightens the glaze and keeps the sweet mustard flavor balanced.
- fresh parsley: Fresh finishing garnish that adds color right before serving.
Tools You’ll Need
- mixing bowl: Used to combine the honey mustard glaze and coat the chicken.
- glass or ceramic baking dish: Holds the chicken in a single layer so the glaze can bake and thicken.
- measuring cups and spoons: Helps portion the glaze ingredients accurately.
Instructions
Step 1: Mix the honey mustard glaze
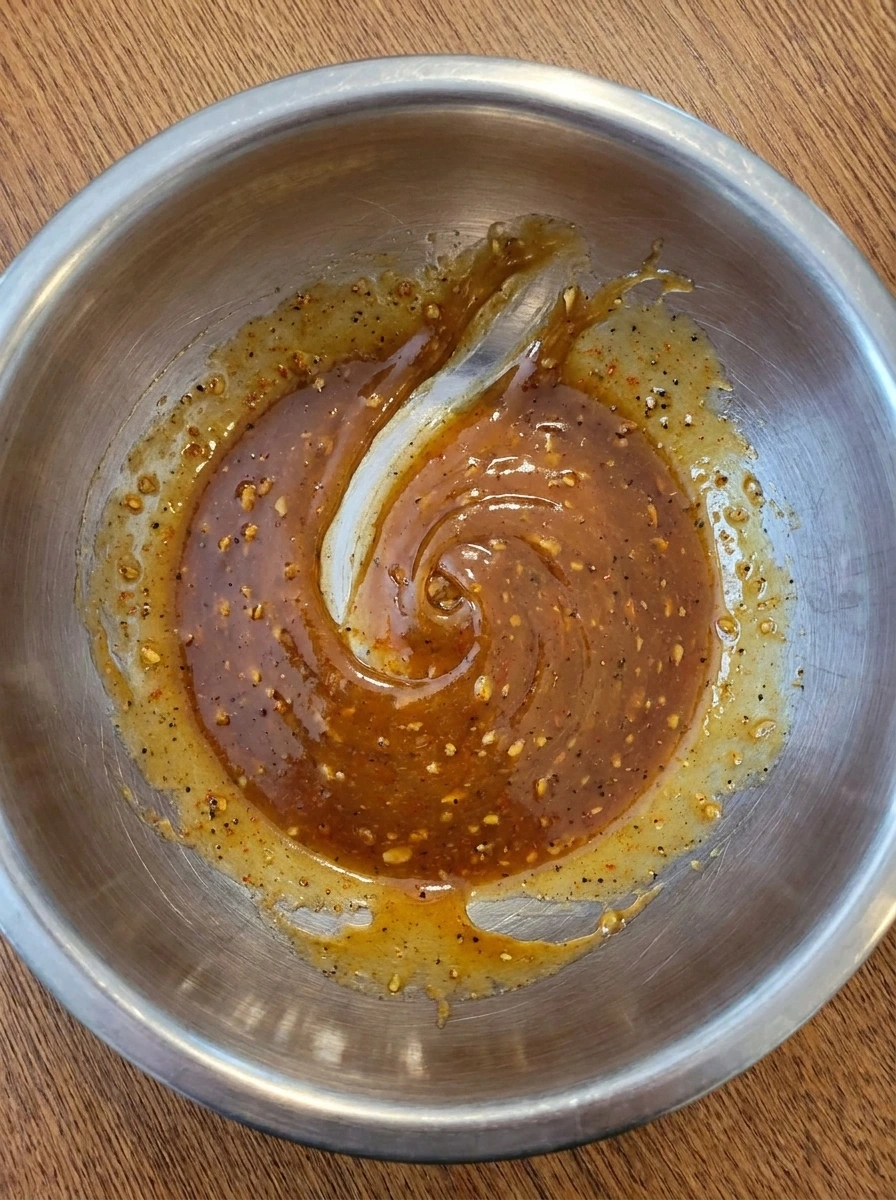
Whisk together the Dijon mustard and honey and olive oil and garlic and paprika and salt and black pepper and apple cider vinegar until the mixture looks thick and glossy and evenly blended. The glaze should look smooth with a rich yellow color and light amber streaks worked in fully so it is ready to cling to the chicken.
Tip: If the honey is thick then let it sit at room temperature first so the glaze blends more easily.
Step 2: Coat the chicken thighs
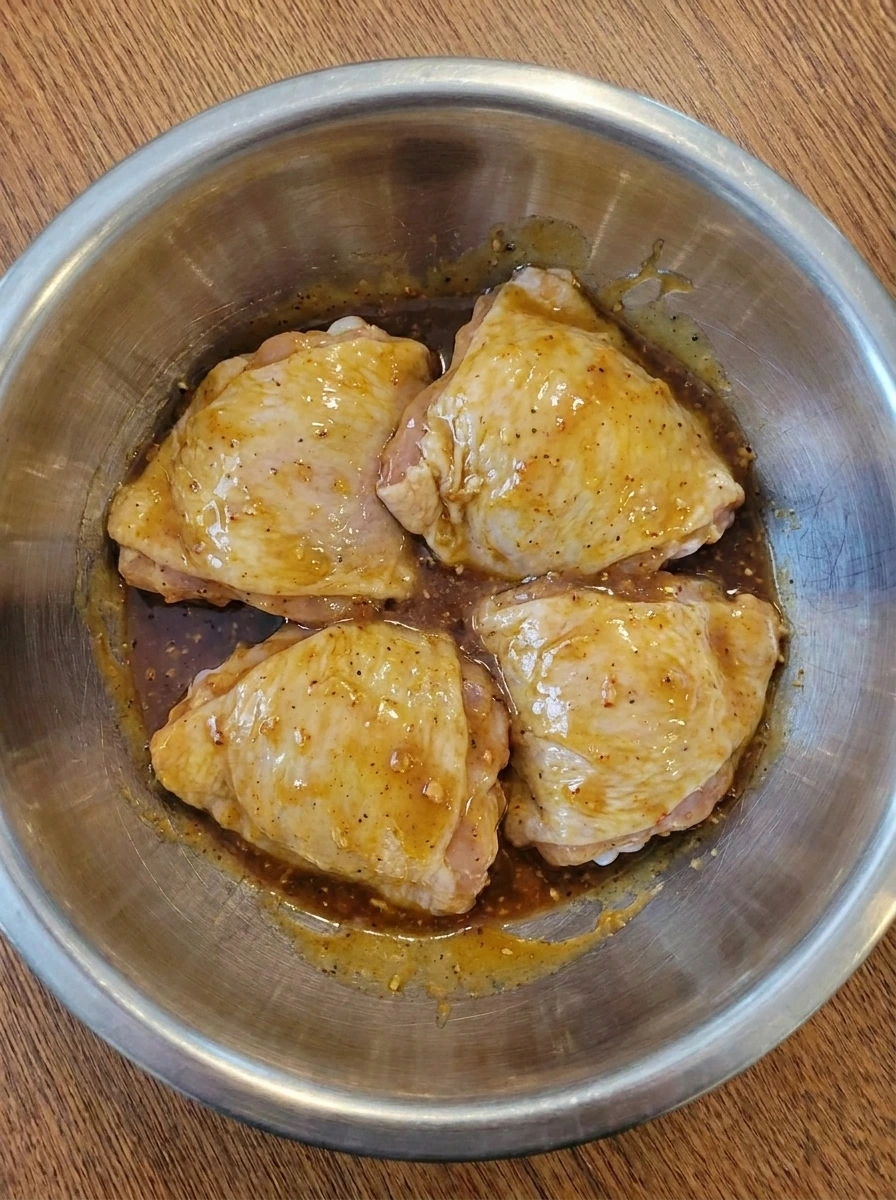
Add the four chicken thighs and turn them until the glaze coats the tops and sides in an uneven layer. Some thicker pockets of sauce should collect in the folds while other areas stay lightly covered. At this stage the chicken changes from plain raw pieces to glossy seasoned pieces with visible mustard color and specks of seasoning across the skin.
Tip: Make sure some glaze gets tucked around the edges of each thigh for the best flavor in every bite.
Step 3: Arrange the glazed chicken for baking
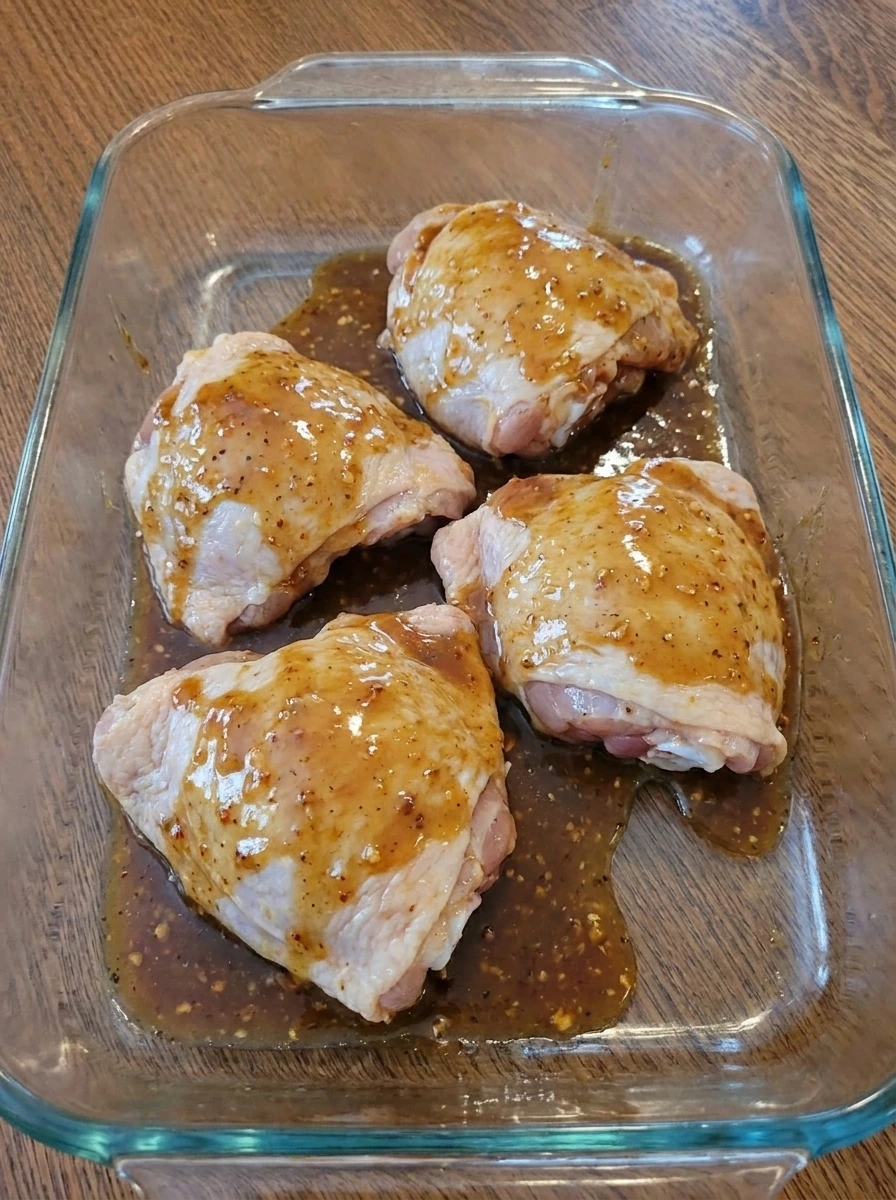
Transfer the chicken thighs into a baking dish skin side up and spoon the extra glaze over the tops. Let the pieces sit with natural spacing and slight overlap so the sauce settles into the corners and around the base. This step creates a more structured layout and makes the sauce look thicker where it pools under the chicken and thinner where it slides over the skin.
Tip: Leave a little room between the pieces so the skin can brown instead of steaming.
Step 4: Bake until the glaze turns glossy and brown
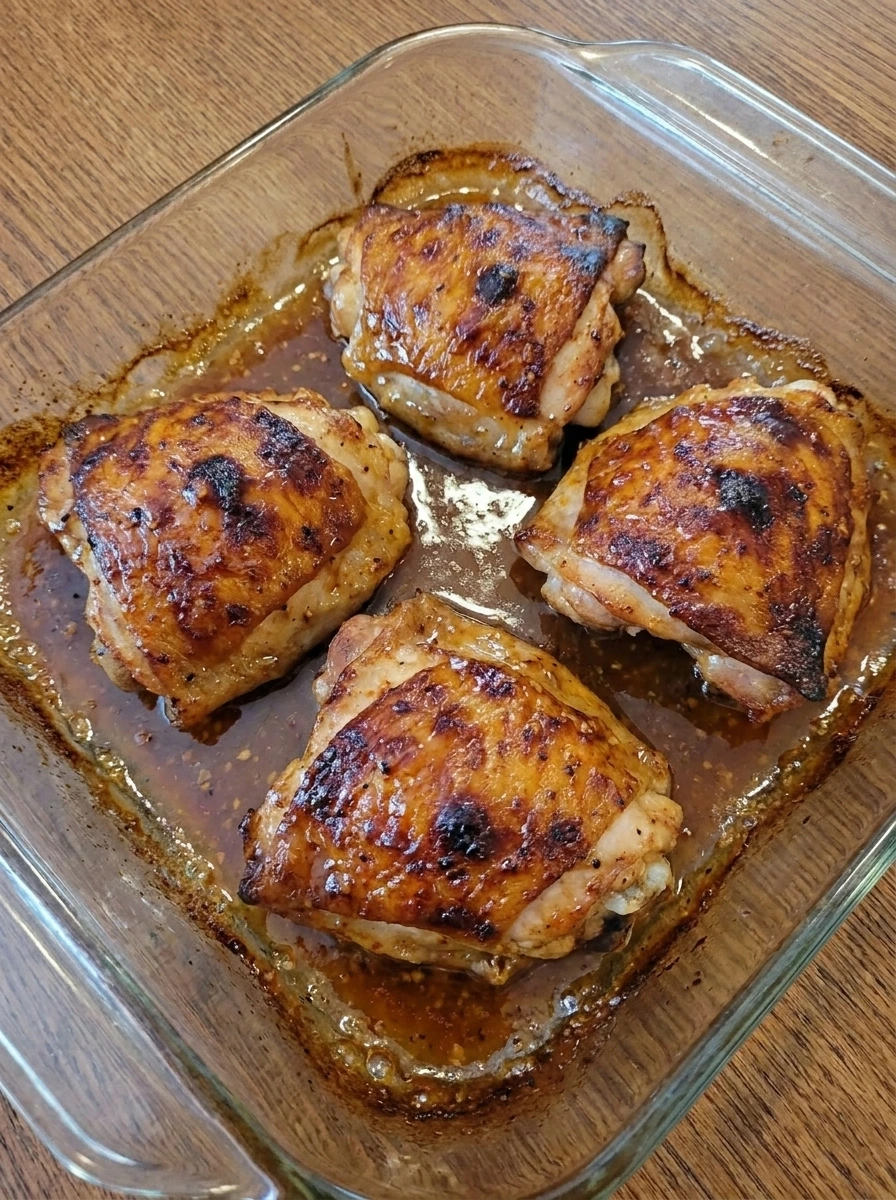
Bake the chicken until the skin tightens and the glaze darkens from bright yellow to deep golden amber. The edges should look a little sticky and caramelized while the tops develop browned spots and the sauce around the chicken thickens. Now the dish looks fully cooked with visible texture changes from soft raw skin to roasted skin with uneven color and juicy looking surfaces.
Tip: Bake until the thickest part of the chicken reaches a safe temperature of 165 degrees Fahrenheit.
Step 5: Plate and finish with parsley
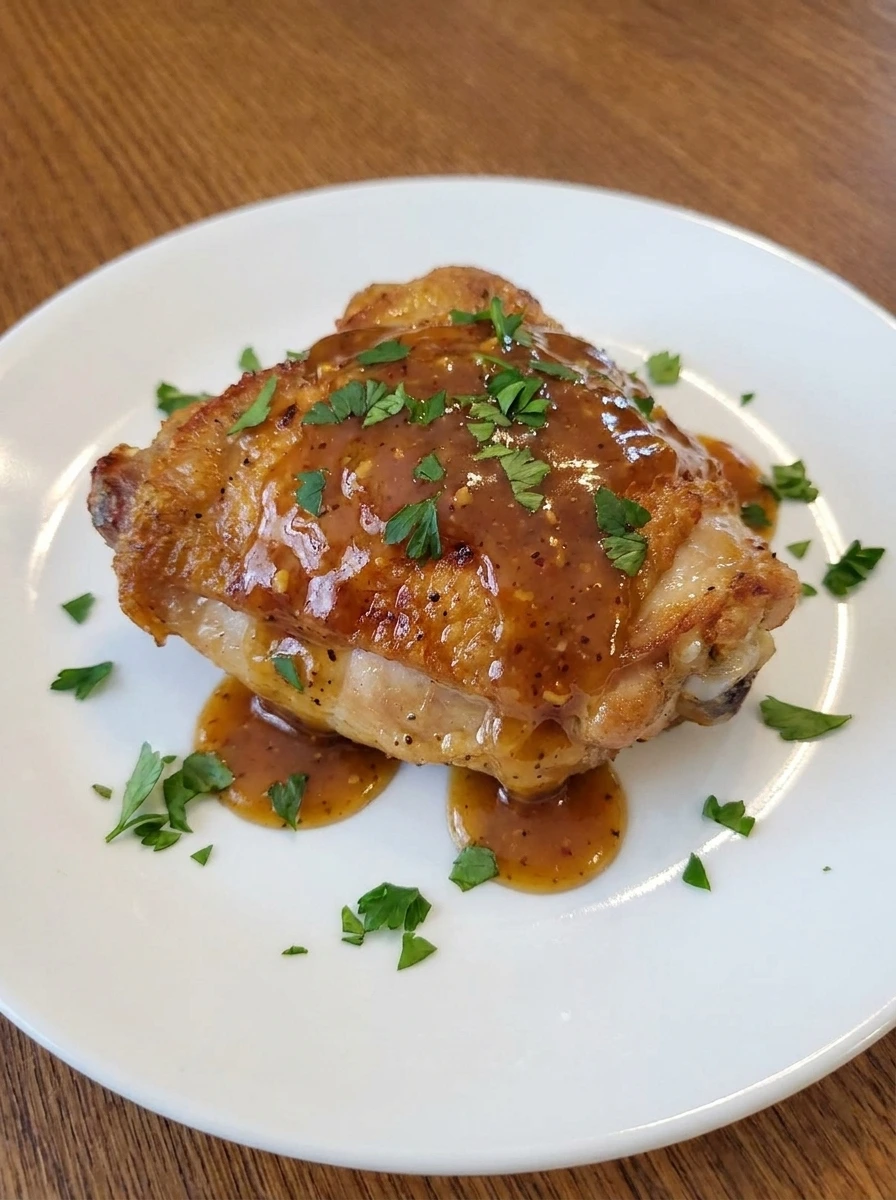
Move one chicken thigh onto a plate for serving and spoon a little of the thickened glaze over the top then scatter chopped parsley loosely over the surface. The final portion should look glossy and browned and homemade with crisp edges and non uniform color. This last change brings in fresh green contrast and turns the chicken from a baking dish dinner into a finished plate ready to serve.
Tip: Spoon over only a little extra glaze so the browned skin still stays visible.
Pro Tips
- Pat the chicken dry before coating so the glaze sticks better.
- Use skin on thighs for the best mix of juicy meat and golden browned edges.
- Do not crowd the baking dish or the chicken may steam instead of brown.
- Let the chicken rest for a few minutes before serving so the juices stay in the meat.
Storage Instructions
Store leftover chicken in an airtight container in the refrigerator for up to 4 days. The glaze will thicken as it cools and the flavor stays rich and balanced. Reheat gently until warmed through so the chicken stays juicy and spoon any extra sauce from the container over the top before serving.
Frequently Asked Questions
Yes and they will cook a little faster so start checking early to avoid overcooking.
Yes and you can mix the glaze and coat the chicken earlier in the day then bake when you are ready for dinner.
Roasted vegetables and rice and potatoes and a crisp salad all work well with the sweet and tangy glaze.
The chicken is ready when the thickest part reaches 165 degrees Fahrenheit and the glaze looks thick and browned.
Final Thoughts
If you try this recipe then I really hope you love it as much as my family does. It has become one of those dinners we just keep coming back to and if you want something fresh to pair with it then try Simple Avocado Toast and if you want a cozy treat for later then save Homemade Cinnamon Rolls.
And if you are looking for more easy meal ideas then make sure to bookmark this page. I am always adding new recipes that are simple and satisfying and perfect for busy weeknights.
Print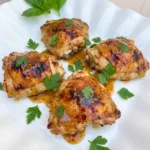
Honey Mustard Baked Chicken Thighs
- Total Time: 45 minutes
- Yield: 4 servings 1x
Description
Honey Mustard Baked Chicken Thighs are the easy answer when you need quick dinner ideas that still feel special. This simple recipe turns a few pantry staples into the best sweet and tangy glaze for juicy chicken with golden edges. It is a healthy option for busy weeknight dinner plans and it also works beautifully for meal prep or a casual holiday table. Serve it with vegetables or potatoes for a cozy meal everyone will want again.
Ingredients
- 4 bone-in skin-on chicken thighs
- 1/4 cup Dijon mustard
- 3 tablespoons honey
- 1 tablespoon olive oil
- 2 cloves minced garlic
- 1 teaspoon paprika
- 1 teaspoon salt
- 1/2 teaspoon black pepper
- 1 tablespoon apple cider vinegar
- 1 tablespoon chopped fresh parsley
Instructions
- Whisk together the Dijon mustard and honey and olive oil and garlic and paprika and salt and black pepper and apple cider vinegar until the mixture looks thick and glossy and evenly blended. The glaze should look smooth with a rich yellow color and light amber streaks worked in fully so it is ready to cling to the chicken.
- Add the four chicken thighs and turn them until the glaze coats the tops and sides in an uneven layer. Some thicker pockets of sauce should collect in the folds while other areas stay lightly covered. At this stage the chicken changes from plain raw pieces to glossy seasoned pieces with visible mustard color and specks of seasoning across the skin.
- Transfer the chicken thighs into a baking dish skin side up and spoon the extra glaze over the tops. Let the pieces sit with natural spacing and slight overlap so the sauce settles into the corners and around the base. This step creates a more structured layout and makes the sauce look thicker where it pools under the chicken and thinner where it slides over the skin.
- Bake the chicken until the skin tightens and the glaze darkens from bright yellow to deep golden amber. The edges should look a little sticky and caramelized while the tops develop browned spots and the sauce around the chicken thickens. Now the dish looks fully cooked with visible texture changes from soft raw skin to roasted skin with uneven color and juicy looking surfaces.
- Move one chicken thigh onto a plate for serving and spoon a little of the thickened glaze over the top then scatter chopped parsley loosely over the surface. The final portion should look glossy and browned and homemade with crisp edges and non uniform color. This last change brings in fresh green contrast and turns the chicken from a baking dish dinner into a finished plate ready to serve.
Notes
Pro Tips:
- Pat the chicken dry before coating so the glaze sticks better.
- Use skin on thighs for the best mix of juicy meat and golden browned edges.
- Do not crowd the baking dish or the chicken may steam instead of brown.
- Let the chicken rest for a few minutes before serving so the juices stay in the meat.
Storage: Store leftover chicken in an airtight container in the refrigerator for up to 4 days. The glaze will thicken as it cools and the flavor stays rich and balanced. Reheat gently until warmed through so the chicken stays juicy and spoon any extra sauce from the container over the top before serving.
- Prep Time: 15 minutes
- Cook Time: 30 minutes
- Category: Dinner
- Cuisine: American
Nutrition
- Serving Size: 1 serving