When you want something different from classic chocolate desserts, these Fudgy Chocolate Brownies offer a delicious twist. This fudgy chocolate brownie recipe is rich, simple, and packed with deep chocolate flavor, perfect for cozy nights or special gatherings.

This recipe is perfect for birthdays, holiday dessert trays, a casual party, or as a weeknight dessert. If you want more brownie ideas, these are the kind you can dress up with chocolate chunks, nuts, or a simple dusting of cocoa.
They are the sort of brownies people reach for twice because the centers stay soft and dense while the top gets that pretty crackly finish. Once you make a pan, it is easy to see why this recipe becomes a regular favorite.
Ingredients
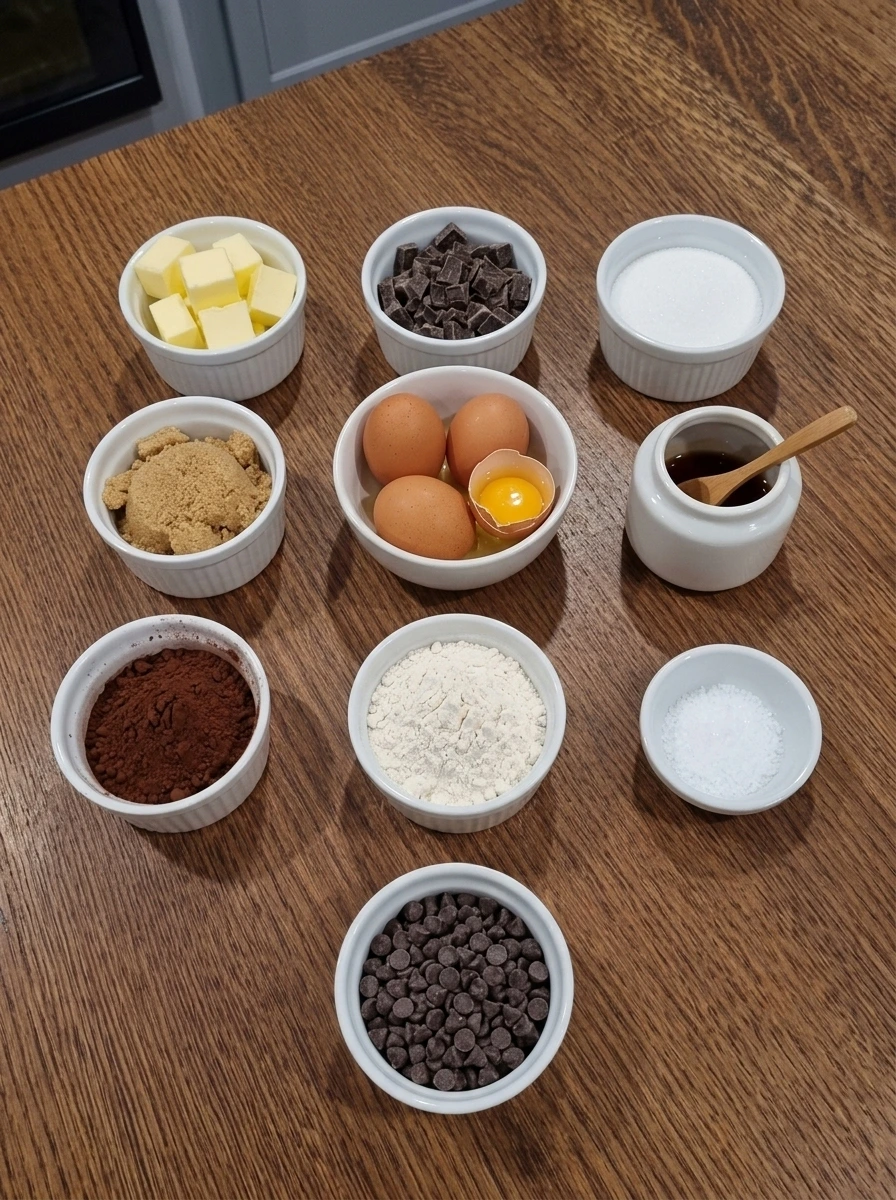
Here’s what I use for this recipe and you can always make substitutions if you prefer.
- unsalted butter: Butter gives the brownies their rich flavor and helps create a dense, fudgy texture.
- semi sweet chocolate: Chopped chocolate melts into the batter for deeper chocolate flavor and a smooth finish.
- granulated sugar: Granulated sugar sweetens the brownies and helps form a delicate crackly top.
- light brown sugar: Brown sugar adds moisture and a soft, chewy texture.
- large eggs: Eggs bind the batter and give the brownies structure while keeping the center rich.
- vanilla extract: Vanilla rounds out the chocolate flavor and adds warmth.
- unsweetened cocoa powder: Cocoa powder intensifies the chocolate taste and dark color.
- all purpose flour: Flour provides just enough structure so the brownies hold together without turning cakey.
- fine sea salt: Salt balances the sweetness and sharpens the chocolate flavor.
- semi sweet chocolate chips: Chocolate chips add pockets of melted chocolate throughout the brownies.
Tools You’ll Need
- white rectangular ceramic baking dish: Use an 8 x 8 inch size for thick brownies.
- whisk: For blending the wet mixture until glossy.
- mixing spatula: Helpful for folding the batter gently.
- measuring cups and spoons: For accurate ingredient portions.
- knife: Use for cutting neat brownie squares.
Instructions
Step 1: Measure and combine the dry ingredients
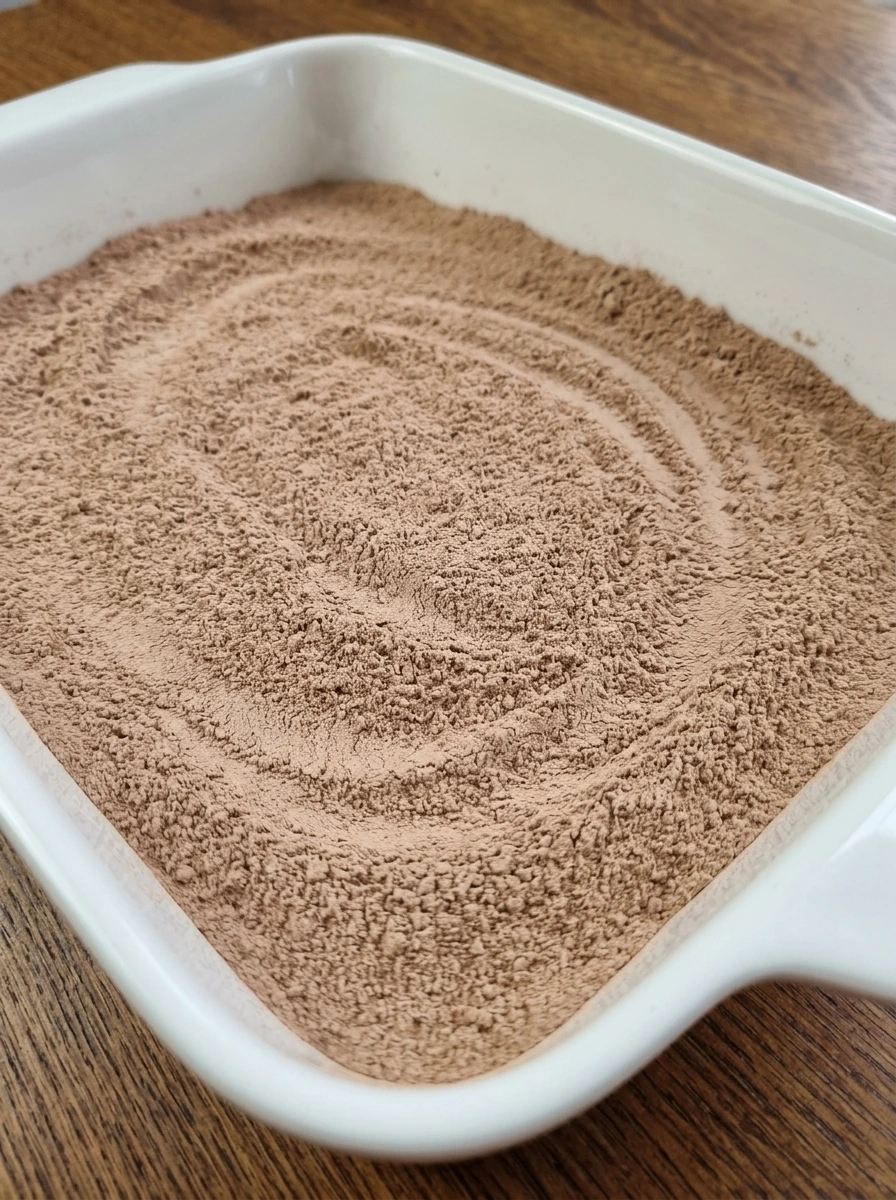
Start by adding the cocoa powder, flour, and fine sea salt to a white rectangular ceramic baking dish. At first, the ingredients sit in soft separate piles, with the cocoa looking deep brown and powdery while the flour stays pale and light. Whisk them together until the color becomes even and uniform. The mixture should look airy, loose, and fully dry, with no streaks of white flour or darker cocoa left behind.
Tip: Whisk slowly around the corners so dry pockets do not stay hidden.
Step 2: Whisk the wet mixture until glossy
In the same white rectangular ceramic baking dish, combine the melted butter, chopped chocolate, granulated sugar, brown sugar, eggs, and vanilla. As you whisk, the butter and chocolate blend into the sugars and eggs, changing from streaky and separated to dark, smooth, and shiny. Keep whisking until the mixture looks thick and glossy. The surface should appear silky with a rich chocolate color, and the sugars should no longer look grainy or dry around the edges.
Tip: Whisk until the mixture looks glossy because that helps with the shiny top later.
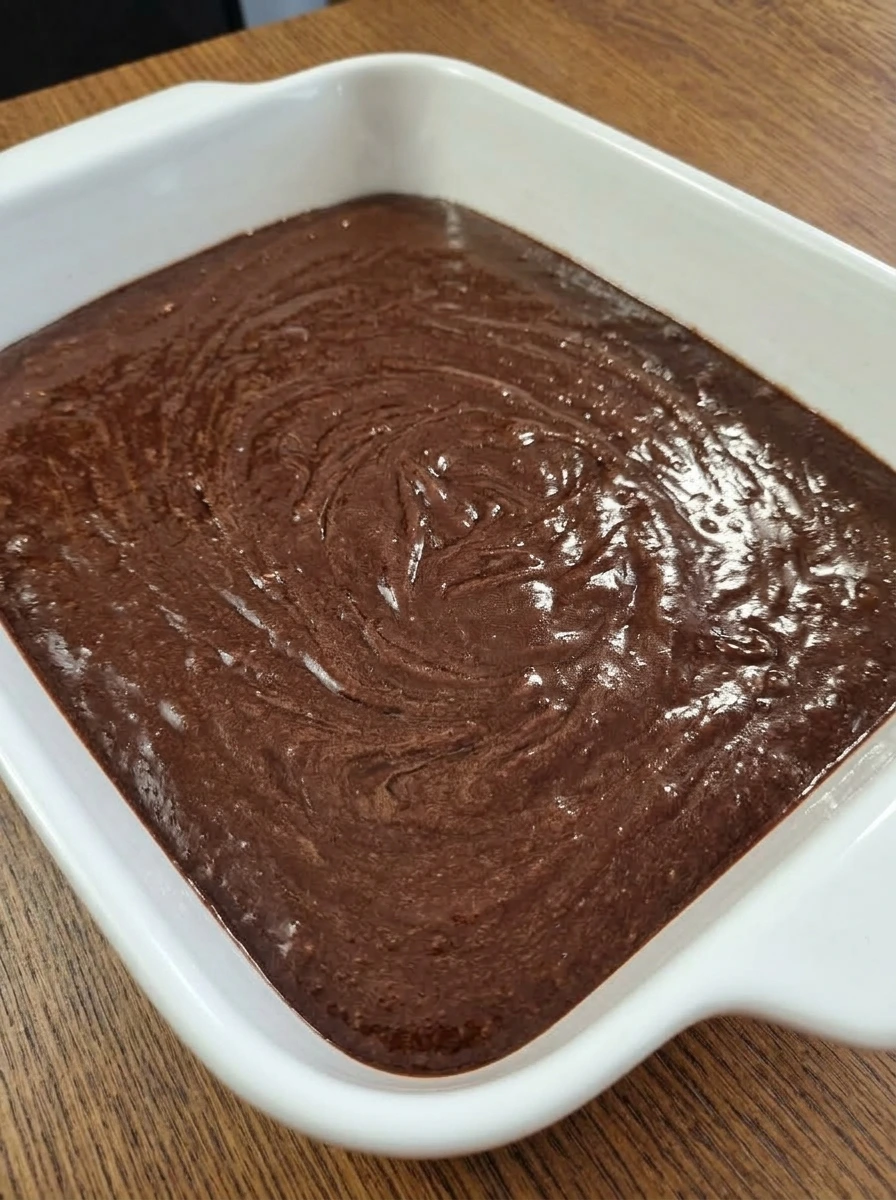
Step 3: Fold the dry mixture into the chocolate base
Sprinkle the dry mixture over the glossy chocolate base and begin folding gently. At first, dry streaks sit on top, but as you fold, the batter turns darker, thicker, and more cohesive. By the end of this step, the mixture should look like a dense brownie batter. It will be heavy, smooth, and deeply chocolatey, with a slow moving texture that holds soft folds on the surface for a moment before settling.
Tip: Stop folding as soon as no dry streaks remain so the brownies stay dense and fudgy.
Step 4: Fold in the chocolate chips
Add the chocolate chips and fold them through the batter until they are evenly scattered. The batter stays thick and dark, but now you can see small glossy chocolate pieces peeking through every fold. This step gives the mixture more texture and creates visible pockets of chocolate throughout the pan. The surface should still look smooth overall, with the chips distributed from edge to edge.
Tip: Reserve a small handful of chips for the top if you want a more bakery style look.
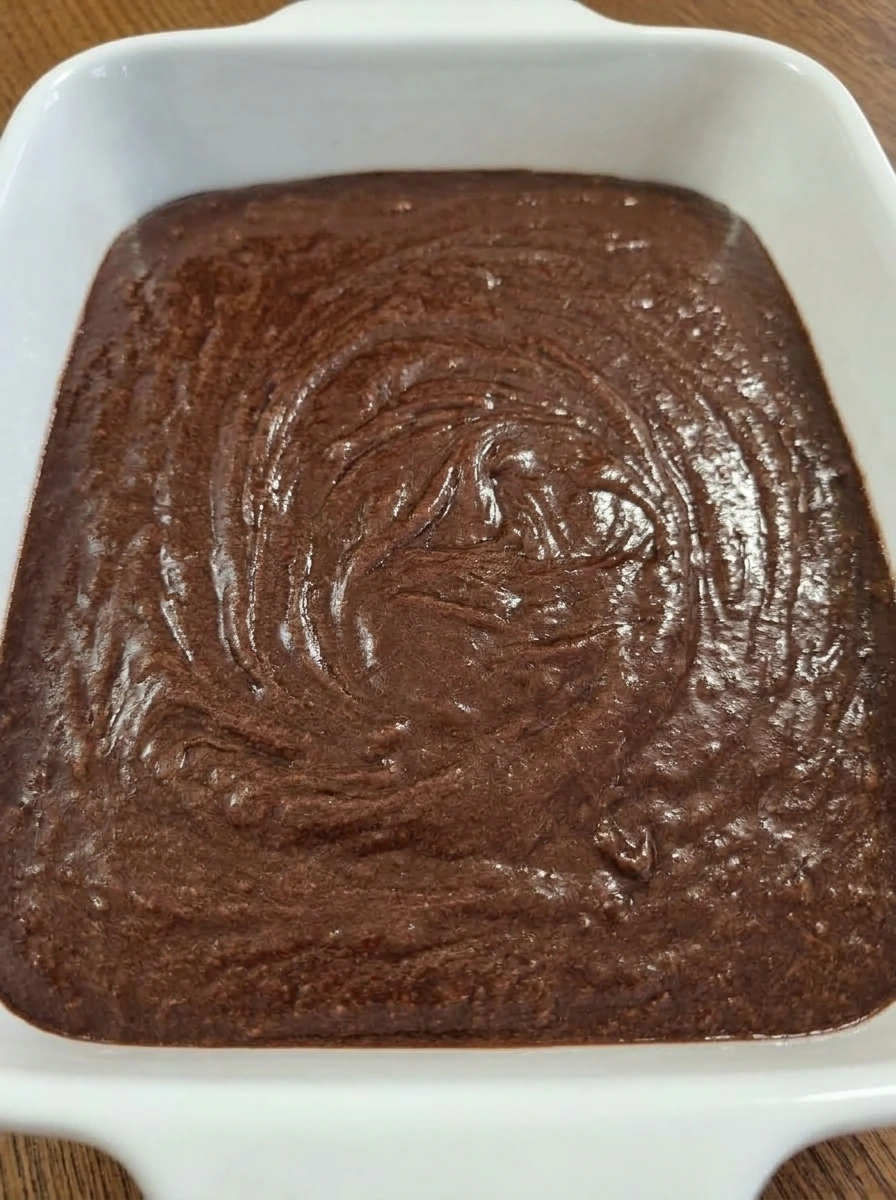
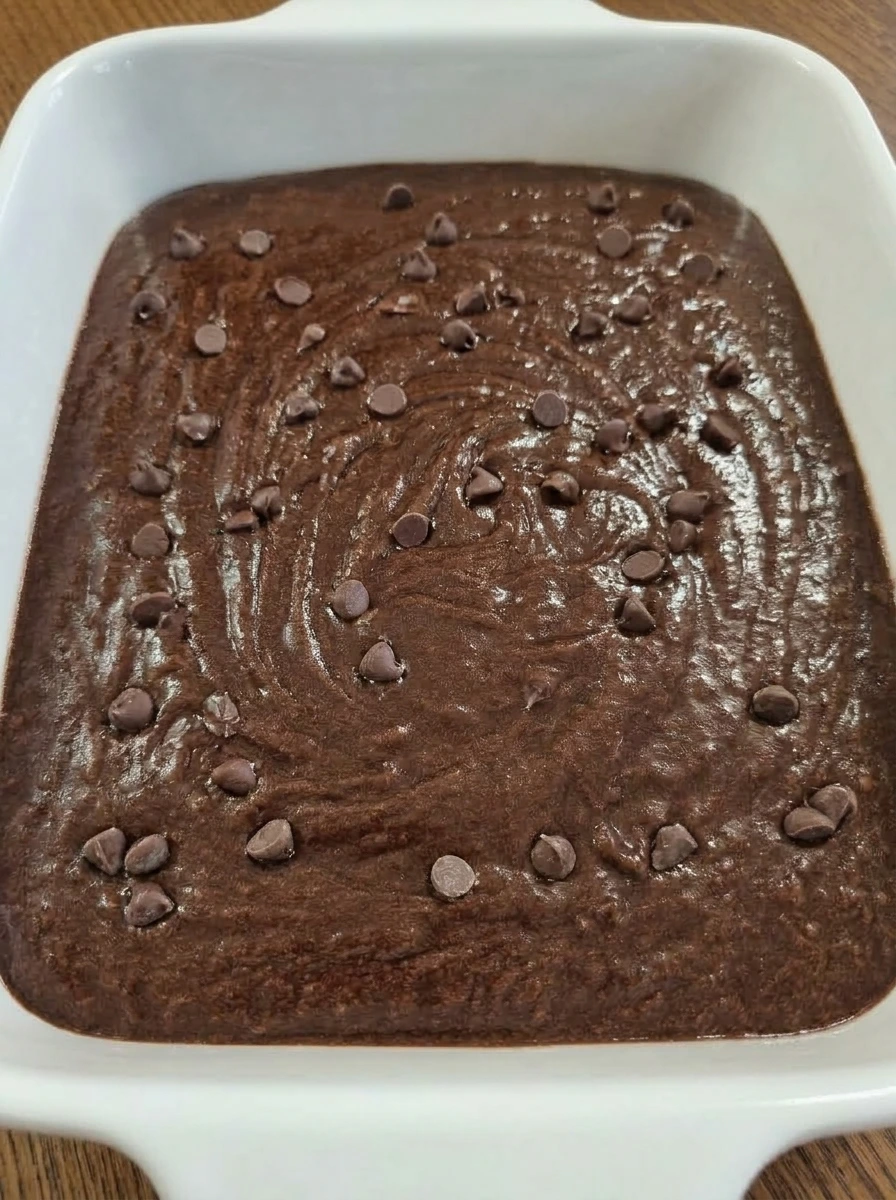
Step 5: Spread and smooth the batter in the dish
Spread the batter evenly into the white rectangular ceramic baking dish and smooth the top. The mixture should reach the corners in an even layer, looking thick, level, and slightly glossy. Add the last few chocolate chips across the top so they are visible without overcrowding the surface. At this point the batter is fully assembled and still uncooked, with a rich dark color and a neat, ready to bake appearance.
Tip: Use a small offset spatula or spoon to press the batter into the corners evenly.
Step 6: Cool the baked brownies until set
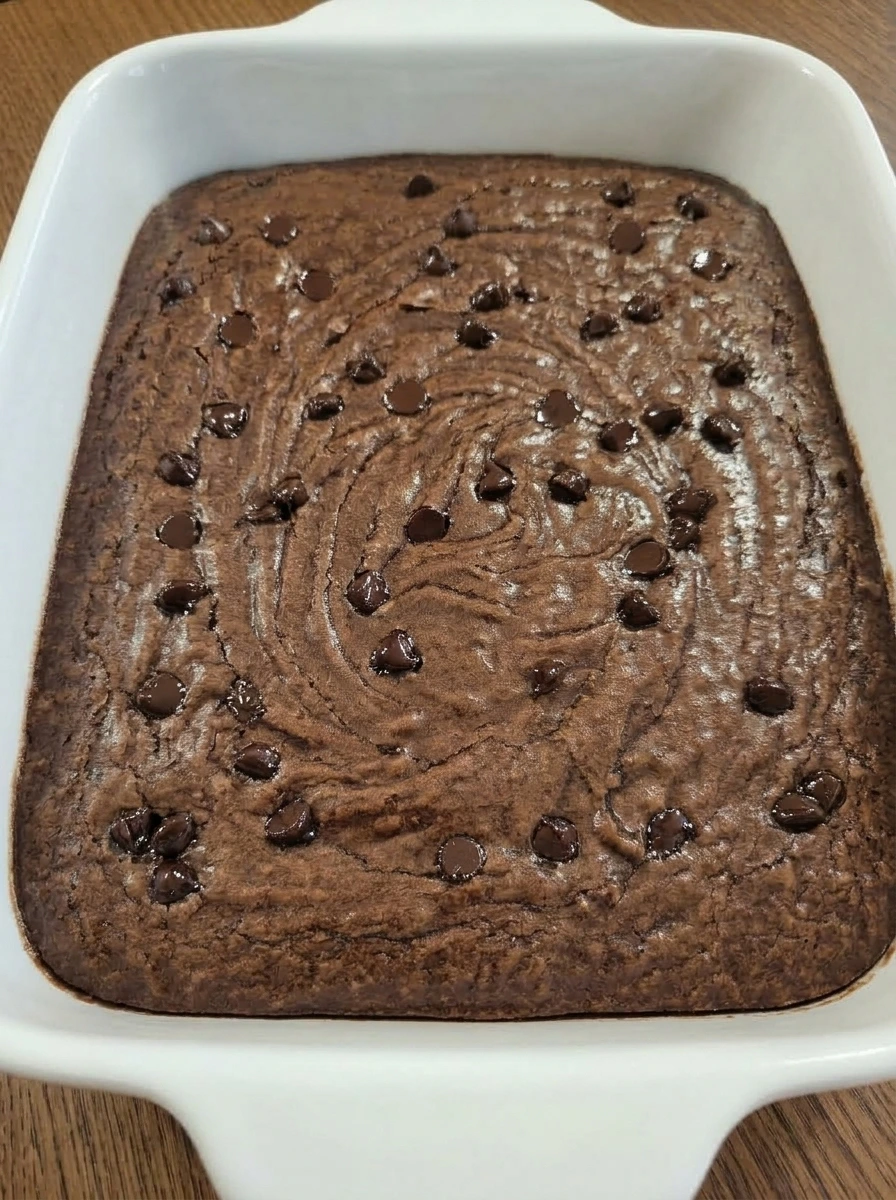
After baking, let the brownies cool completely in the same white rectangular ceramic baking dish. The batter has now changed into a firm slab with a darker surface, delicate crackly top, and slightly pulled edges. As the brownies rest, the center settles and the top loses its shine, turning into that classic fudgy brownie finish. The chocolate chips on top soften into glossy spots while the whole pan becomes neat and easy to slice.
Tip: Let the brownies cool fully before cutting so the squares stay clean and dense.
Step 7: Cut the brownies into neat squares
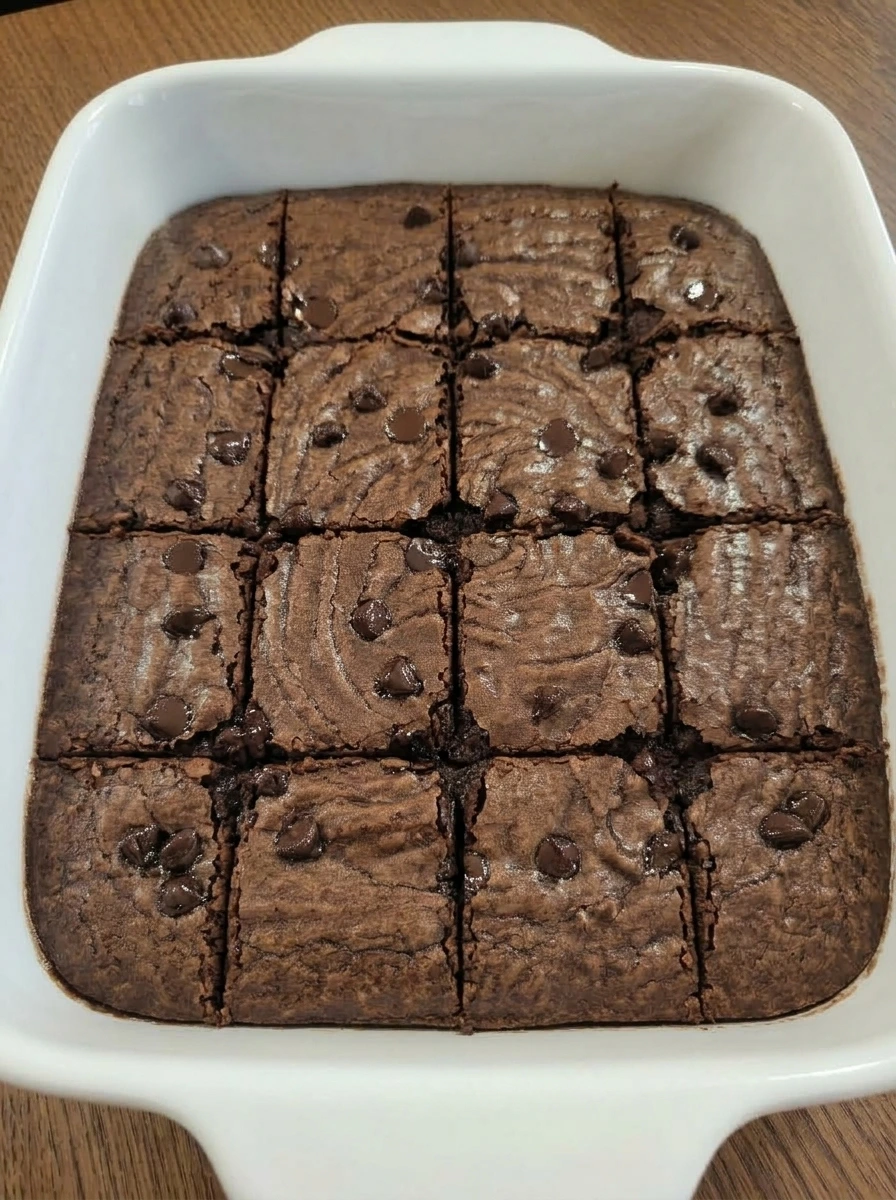
Once cooled, cut the brownie slab into even squares right in the white rectangular ceramic baking dish. The knife lines reveal a dense center that looks darker and softer than the top. Each square should hold its shape while showing those fudgy edges and moist middle. The contrast between the delicate top and rich interior becomes clear as the pieces separate from one another.
Tip: Wipe the knife between cuts for cleaner edges.
Step 8: Plate and garnish the brownies

Lift out a few brownie squares and arrange them for serving. The finished brownies look rich and dense, with crackly tops, straight edges, and soft dark centers that show their fudgy texture. For the final touch, add a light dusting of cocoa powder over the top. The plated brownies are now ready to serve, with a simple finish that makes the chocolate color and texture stand out even more.
Tip: A tiny dusting of cocoa is enough to finish the plate without overpowering the brownies.
Pro Tips
- Use room temperature eggs so the wet mixture blends smoothly and evenly.
- Do not overmix once the flour goes in or the brownies can lose some of their fudgy texture.
- For the cleanest slices, cool the brownies completely before cutting.
- A handful of extra chocolate chips on top gives the finished brownies a prettier bakery style look.
Storage Instructions
Store the brownies in an airtight container in the fridge for up to 5 days. For longer storage, wrap individual squares tightly and freeze them for up to 2 months. The brownies stay freshest when they are protected from air and kept in a single layer or with parchment between layers. To enjoy again, let them come to room temperature or warm them briefly until the center softens slightly.
Frequently Asked Questions
How do I keep brownies fudgy instead of cakey?
Use the ingredient amounts as written and avoid adding extra flour. Mix only until the dry ingredients disappear so the batter stays dense. Letting the brownies cool completely also helps the center set into that rich fudgy texture.
Can I add nuts to this recipe?
Yes, chopped walnuts or pecans work very well in these brownies. Fold them in at the same time as the chocolate chips so they distribute evenly through the batter. Keep the amount moderate so the brownies still hold their soft, dense texture.
Why do brownies need to cool before cutting?
The brownies continue to set as they cool, which makes the texture more even and the slices cleaner. Cutting too early can cause the centers to look overly loose and the edges to tear. A full cooling period is worth the wait for neat, fudgy squares.
Can I make these brownies ahead of time?
Yes, these brownies are a great make ahead dessert. Their texture stays rich and satisfying for days, and many people think the flavor is even better the next day. Just store them well so they do not dry out.
Final Thoughts
So there you go. A recipe that is simple enough for a Tuesday night but good enough to serve at a gathering.
I have made these fudgy chocolate brownies more times than I can count and they never disappoint. Save this one, share it with a friend, and let me know in the comments if you made any fun changes.
I am always curious to see how people put their own spin on things.
Print
Fudgy Chocolate Brownies
- Total Time: 45 minutes
- Yield: 4 servings
Description
Looking for the best fudgy chocolate brownies? This one is quick, easy, and deeply chocolatey with a rich center and shiny top. Whether you are after healthy dessert ideas for portion friendly meal prep or a simple party treat, this delivers every time. Great for weeknight dinner dessert, holiday trays, potluck tables, brunch spreads, and celebrations. Save this easy brownie recipe for your next party!
Ingredients
- 1 cup unsalted butter
- 6 ounces, chopped semi sweet chocolate
- 1 cup granulated sugar
- 1/2 cup light brown sugar
- 3 large eggs
- 2 teaspoons vanilla extract
- 3/4 cup unsweetened cocoa powder
- 3/4 cup all purpose flour
- 1/2 teaspoon fine sea salt
- 3/4 cup semi sweet chocolate chips
Instructions
- Start by adding the cocoa powder, flour, and fine sea salt to a white rectangular ceramic baking dish. At first, the ingredients sit in soft separate piles, with the cocoa looking deep brown and powdery while the flour stays pale and light. Whisk them together until the color becomes even and uniform. The mixture should look airy, loose, and fully dry, with no streaks of white flour or darker cocoa left behind.
- In the same white rectangular ceramic baking dish, combine the melted butter, chopped chocolate, granulated sugar, brown sugar, eggs, and vanilla. As you whisk, the butter and chocolate blend into the sugars and eggs, changing from streaky and separated to dark, smooth, and shiny. Keep whisking until the mixture looks thick and glossy. The surface should appear silky with a rich chocolate color, and the sugars should no longer look grainy or dry around the edges.
- Sprinkle the dry mixture over the glossy chocolate base and begin folding gently. At first, dry streaks sit on top, but as you fold, the batter turns darker, thicker, and more cohesive. By the end of this step, the mixture should look like a dense brownie batter. It will be heavy, smooth, and deeply chocolatey, with a slow moving texture that holds soft folds on the surface for a moment before settling.
- Add the chocolate chips and fold them through the batter until they are evenly scattered. The batter stays thick and dark, but now you can see small glossy chocolate pieces peeking through every fold. This step gives the mixture more texture and creates visible pockets of chocolate throughout the pan. The surface should still look smooth overall, with the chips distributed from edge to edge.
- Spread the batter evenly into the white rectangular ceramic baking dish and smooth the top. The mixture should reach the corners in an even layer, looking thick, level, and slightly glossy. Add the last few chocolate chips across the top so they are visible without overcrowding the surface. At this point the batter is fully assembled and still uncooked, with a rich dark color and a neat, ready to bake appearance.
- After baking, let the brownies cool completely in the same white rectangular ceramic baking dish. The batter has now changed into a firm slab with a darker surface, delicate crackly top, and slightly pulled edges. As the brownies rest, the center settles and the top loses its shine, turning into that classic fudgy brownie finish. The chocolate chips on top soften into glossy spots while the whole pan becomes neat and easy to slice.
- Once cooled, cut the brownie slab into even squares right in the white rectangular ceramic baking dish. The knife lines reveal a dense center that looks darker and softer than the top. Each square should hold its shape while showing those fudgy edges and moist middle. The contrast between the delicate top and rich interior becomes clear as the pieces separate from one another.
- Lift out a few brownie squares and arrange them for serving. The finished brownies look rich and dense, with crackly tops, straight edges, and soft dark centers that show their fudgy texture. For the final touch, add a light dusting of cocoa powder over the top. The plated brownies are now ready to serve, with a simple finish that makes the chocolate color and texture stand out even more.
Notes
Pro Tips:
- Use room temperature eggs so the wet mixture blends smoothly and evenly.
- Do not overmix once the flour goes in or the brownies can lose some of their fudgy texture.
- For the cleanest slices, cool the brownies completely before cutting.
- A handful of extra chocolate chips on top gives the finished brownies a prettier bakery style look.
Storage: Store the brownies in an airtight container in the fridge for up to 5 days. For longer storage, wrap individual squares tightly and freeze them for up to 2 months. The brownies stay freshest when they are protected from air and kept in a single layer or with parchment between layers. To enjoy again, let them come to room temperature or warm them briefly until the center softens slightly.
- Prep Time: 15 minutes
- Cook Time: 30 minutes
- Category: Dessert
- Cuisine: American