


Fresh from the holiday kitchen comes a batch of Italian Christmas Cookies that brings classic flavor to your dessert table. These cookies are soft inside with a lightly sweet finish and they fit right into busy December baking plans. If you love christmas cookies, this recipe gives you an easy way to create a homemade favorite.
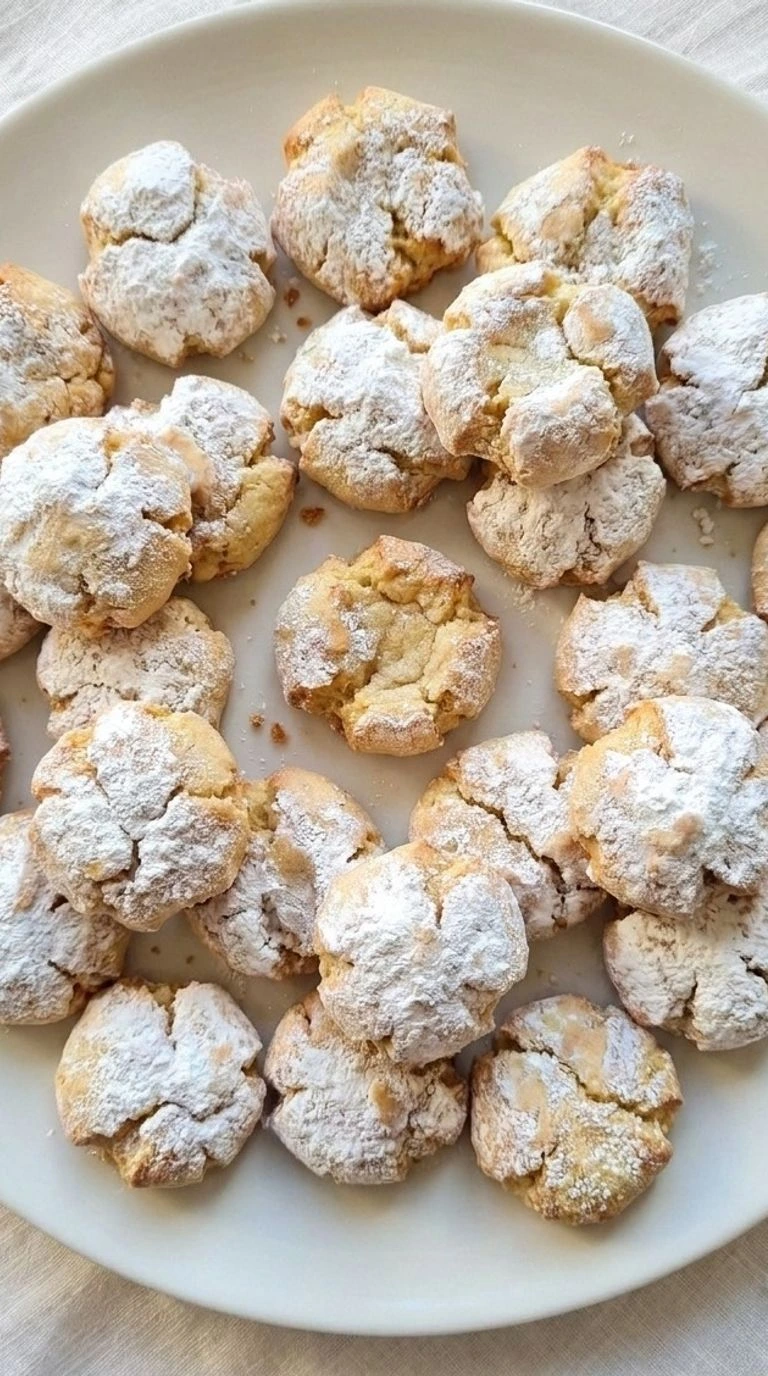
We make these treats when the season calls for easy christmas cookies simple enough for family baking days. They pair well with other festive desserts like our Vintage Christmas Cookies and bring that familiar sugar cookie style everyone enjoys. Holiday baking feels special because small recipes can create big memories.
These Italian style holiday cookies are a lovely choice when you want christmas cookies easy enough for beginners but still full of traditional charm.
Ingredients
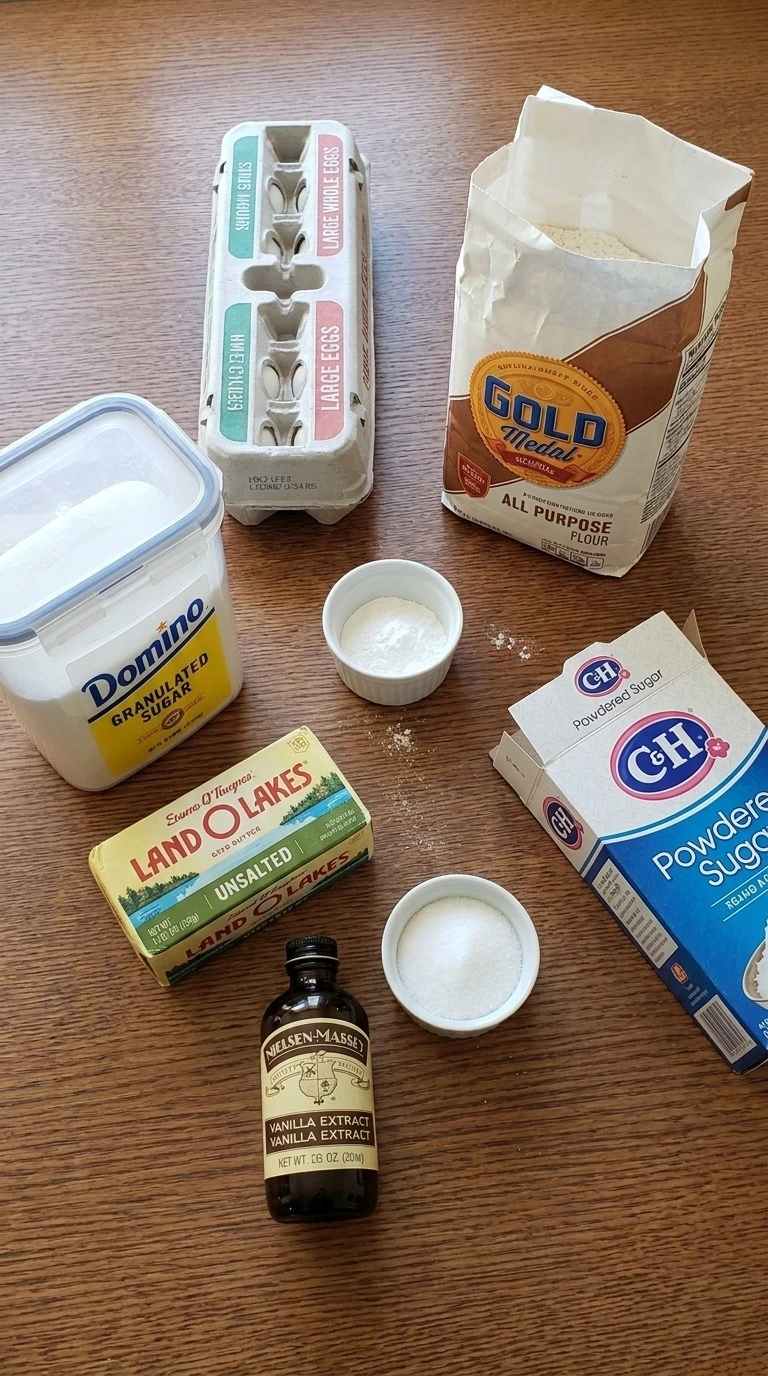
- unsalted butter: Softened to room temperature so it creams smoothly with sugar.
- granulated sugar: Creates sweetness and helps develop a tender cookie texture.
- large eggs: Brought to room temperature and added for structure and richness.
- vanilla extract: Adds warm aroma and classic holiday flavor.
- all-purpose flour: Measured carefully to create a soft dough.
- baking powder: Provides gentle lift during baking.
- salt: Balances the sweetness and strengthens the flavor.
- powdered sugar: Used as a final sweet coating after cooling.
Tools You’ll Need
- Electric mixer: A mixer helps cream butter and sugar evenly for this recipe and a medium-size bowl attachment works best, while a weak mixer may leave butter lumps.
- Baking tray: A sturdy 13 by 18 inch baking tray gives cookies room to spread and prevents crowded dough from baking unevenly.
- Rubber spatula: A flexible spatula folds flour into the dough gently and helps avoid overmixing that creates tough cookies.
Instructions
Step 1: Cream the butter and sugar
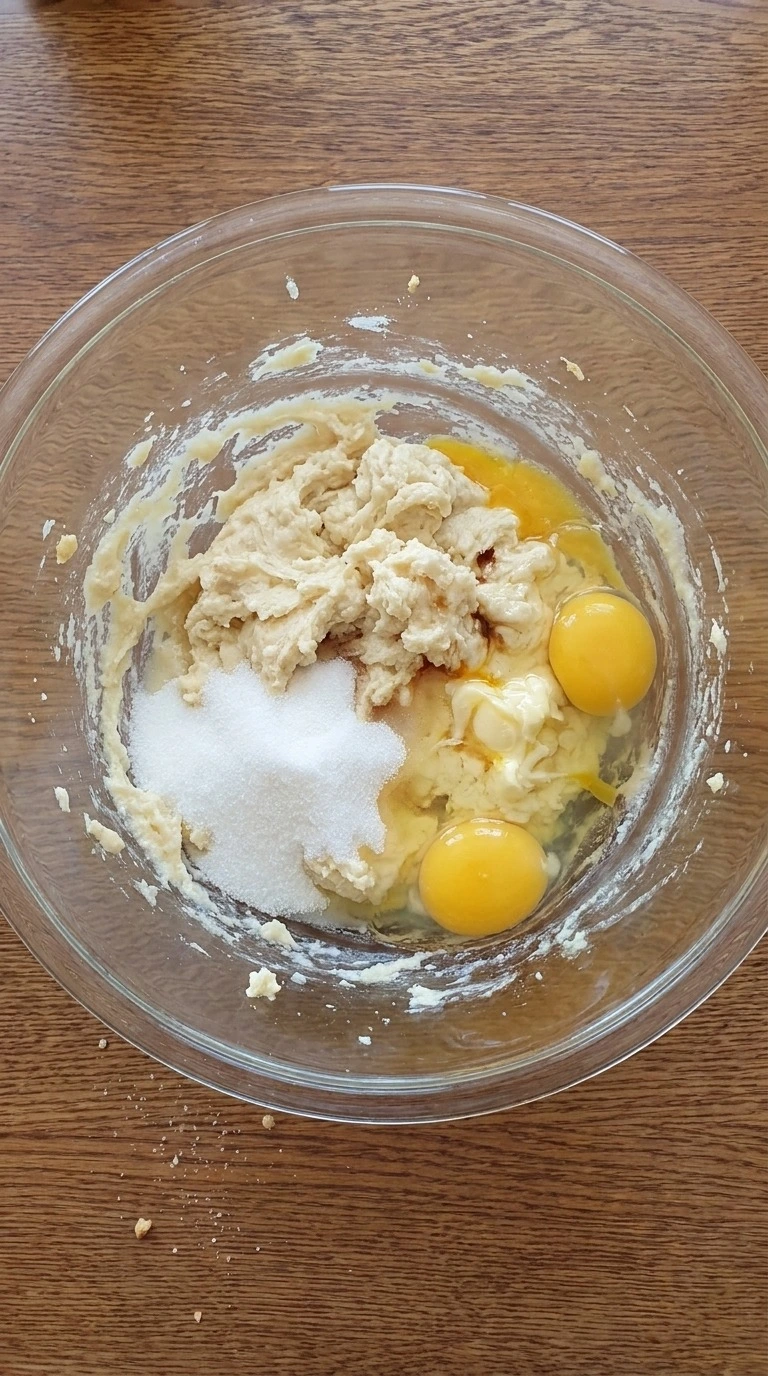
Bring 1 cup unsalted butter and 1 cup granulated sugar together in a large clear glass mixing bowl. Beat for 3 to 4 minutes at medium speed until the mixture turns pale and fluffy. Scrape the bowl halfway through with a spatula and add 2 large eggs and 2 teaspoons vanilla extract.
(I tried adding cold butter once and the dough stayed heavy, so softened butter at 68°F works best. ) You’ll see a smooth creamy mixture with tiny sugar crystals fading into the butter. The sweet vanilla smell should rise after mixing for the full time.
Miss this stage and the cookies spread unevenly. Creaming traps air for a lighter cookie crumb.
Tip: Let the butter sit for 45 minutes before mixing so it reaches the right texture without melting.
Step 2: Mix the cookie dough
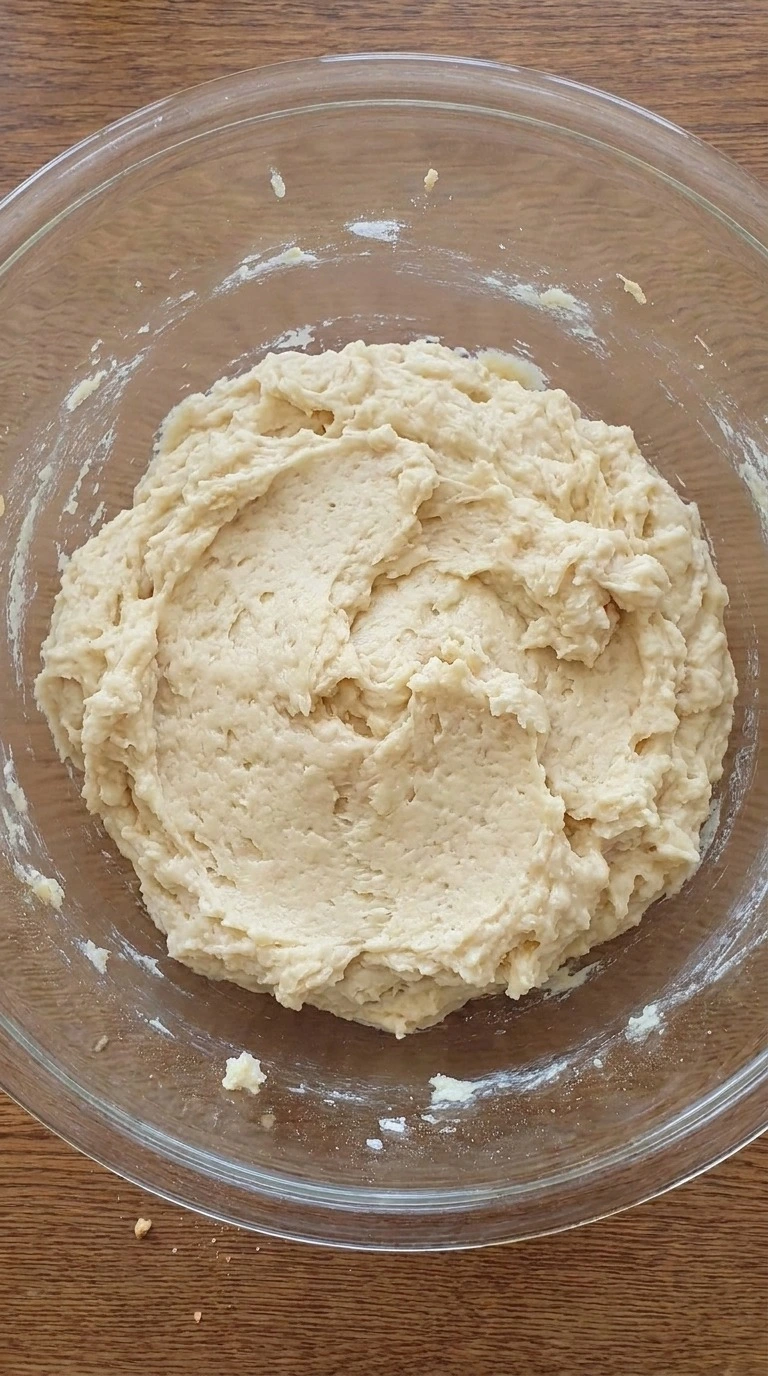
Add 2 1/2 cups all-purpose flour, 1 teaspoon baking powder and 1/2 teaspoon salt to the bowl. Mix for 1 to 2 minutes at low speed, then fold the dough gently with a spatula until no dry flour remains. Keep the mixture at about 68°F and stop once it forms a soft dough.
Overmixing past this point makes the cookies firm. The dough should look pale, smooth and slightly tacky. You’ll feel a soft texture when pressed with your fingers.
The flour should disappear fully. Mix gently because gluten control keeps the cookies tender.
Tip: Measure flour by spooning it into the cup and leveling it to avoid dense cookies.
Step 3: Shape the cookie rounds
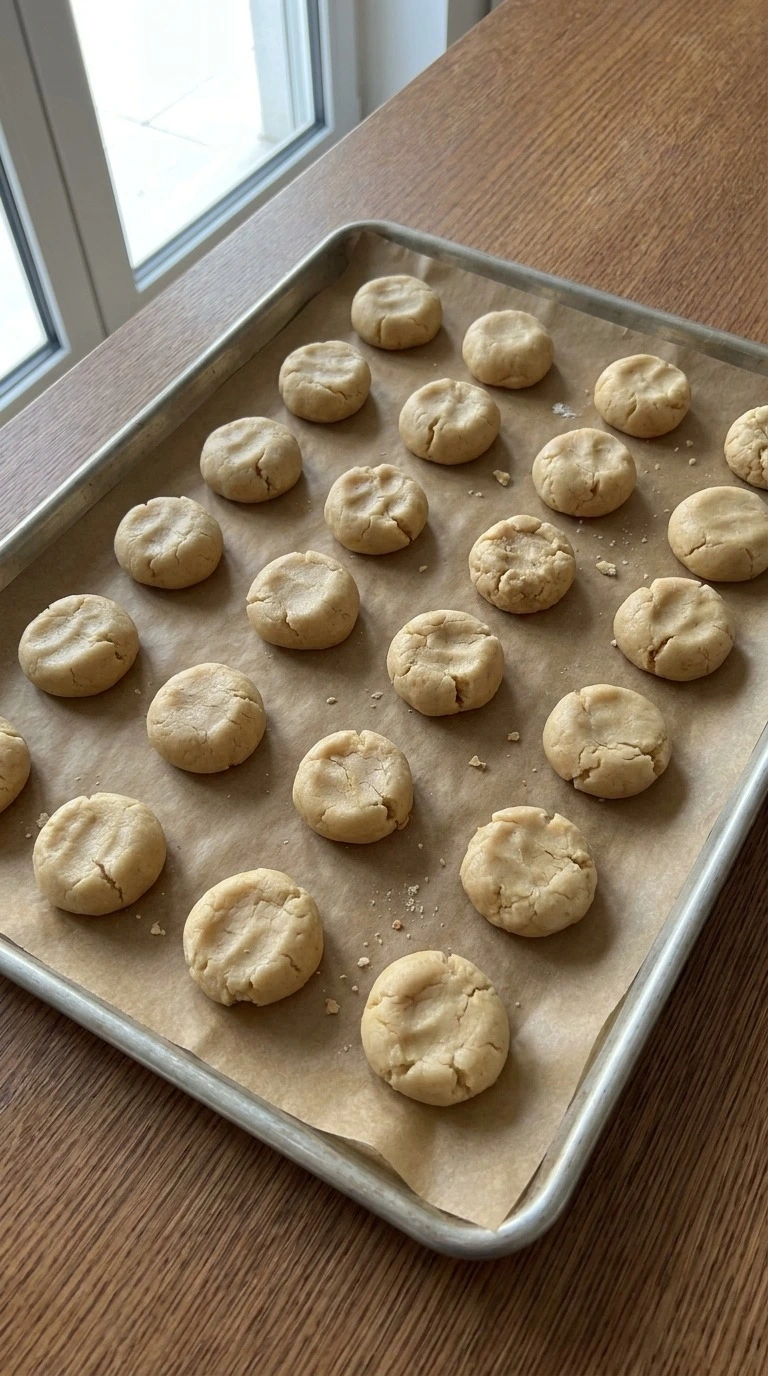
Chill the dough for 30 minutes at 40°F, then scoop and roll it into 24 small uneven balls. Press each piece lightly with your palm and place them apart on a lined baking tray. Turn each cookie slightly as you shape it so the surface stays natural.
Skip the chill and the cookies spread too fast. The shaped dough should have soft edges and small surface cracks. The pieces won’t look identical, and that’s a good sign.
The cold rest keeps the shape stable. Chilling relaxes the dough structure before baking.
Tip: Make smaller test cookies first because oven temperatures can change the final spread.
Step 4: Bake the cookies until golden
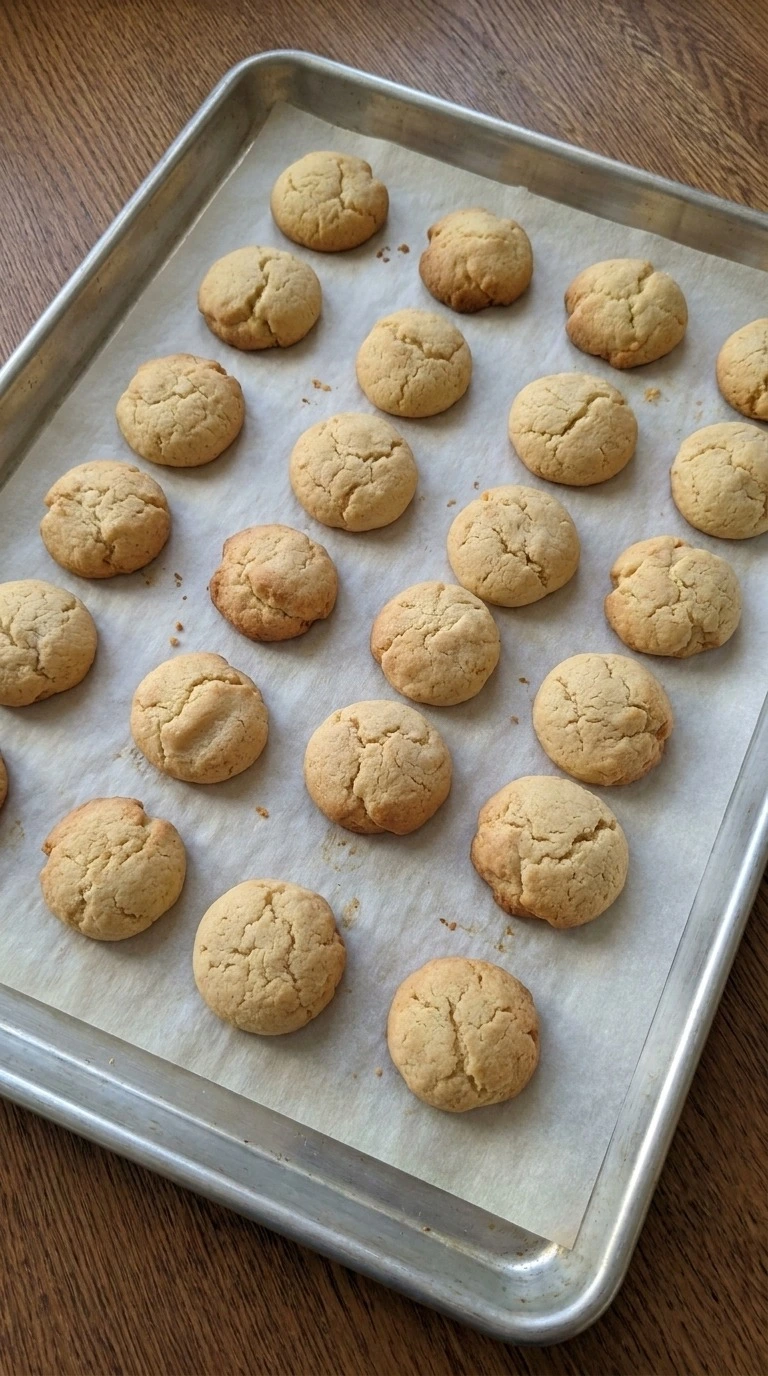
Bake the shaped dough at 350°F for 10 to 12 minutes until the edges turn light golden. Rotate the tray once at minute 6 so the cookies bake evenly. Use a gentle lift with a spatula after baking to check that the bottoms are lightly colored.
(My first batch baked 14 minutes and became too crisp, so I keep the time closer to 11 minutes. ) You’ll notice a sweet butter smell and slightly firm edges while the centers stay soft. The surface should show tiny cracks and uneven golden spots.
Go too long and the centers lose their tender texture. Bake with steady heat because the sugar needs gradual browning.
Tip: Cool the cookies for exactly 10 minutes before moving them so the centers can set.
Step 5: Finish and plate the cookies
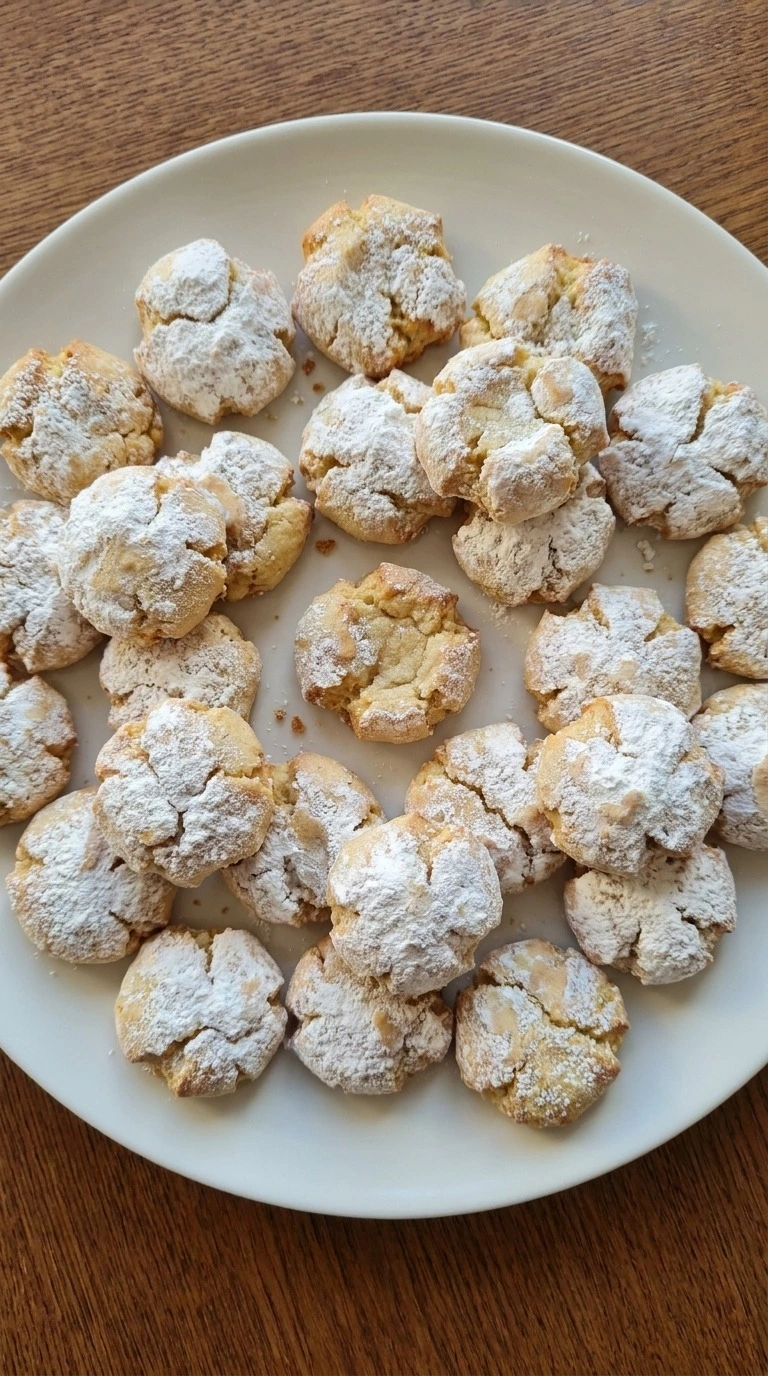
Transfer the cooled cookies after 10 minutes and finish them with 1/2 cup powdered sugar sprinkled evenly over the tops. Use a small shake motion to coat some areas more than others for a natural look. Keep the cookies between 65°F and 75°F while decorating.
Too much sugar hides the baked texture. The final cookies should have soft centers, pale sweetness and slightly golden edges. You’ll see irregular sugar coverage and small differences between each cookie.
They are ready for sharing. Finishing gently keeps the surface texture visible.
Tip: Add powdered sugar just before serving for the freshest snowy appearance.
Pro Tips
- Cream the butter and sugar for a full 3 to 4 minutes at medium speed because the mixture should look pale and fluffy before adding eggs.
- Choose fresh vanilla extract instead of imitation flavoring when possible. Two teaspoons add a warmer aroma that stands out after the cookies cool.
- Use a light-colored baking tray for these cookies and check them at minute 10 because dark trays can brown the bottoms faster.
- Plan the dough ahead and chill it for 30 to 45 minutes before shaping. This small rest helps keep the rounds thicker during baking.
- Don’t add extra flour while shaping unless the dough is impossible to handle. More than 2 1/2 cups can make the finished cookies dry.
- Dust the cookies with 1/2 cup powdered sugar after cooling for 10 minutes because the topping stays brighter and more visible.
- Bake one small test batch at 350°F before finishing all the dough. It helps you adjust for your oven’s heat pattern.
- Add 1 tablespoon lemon zest and reduce the vanilla slightly for a bright citrus version with a fresh holiday aroma.
- Mix 1/2 cup mini chocolate chips into the dough for a richer cookie that works well on dessert trays.
- Replace 1/4 cup of the all-purpose flour with almond flour for a nutty flavor and slightly softer crumb.
- Add 1/2 teaspoon almond extract with the vanilla for a traditional Italian bakery-style flavor twist.
Storage Instructions
Keep Italian Christmas Cookies in an airtight container for up to 7 days at room temperature. Freeze them for up to 3 months by wrapping cooled cookies tightly before placing them in a freezer bag.
Warm frozen cookies at 300°F for 5 minutes if you want a softer texture again. Add fresh powdered sugar after reheating and discard cookies with stale odors, moisture spots or unusual texture.
Print
Italian Christmas Cookies
- Total Time: 45 minutes
- Yield: 4 servings 1x
Description
These easy Italian Christmas Cookies bring a simple holiday treat with buttery texture and sweet vanilla notes. They are quick to shape and make the best christmas cookies for a healthy balance of homemade ingredients and festive flavor. This recipe works for holiday baking, brunch, party trays or meal prep because the trick is chilling the dough before baking. The cookies have crisp edges, soft centers and a warm baked aroma.
Ingredients
- 1 cup unsalted butter (Softened to room temperature so it creams smoothly with sugar.)
- 1 cup granulated sugar (Creates sweetness and helps develop a tender cookie texture.)
- 2 large large eggs (Brought to room temperature and added for structure and richness.)
- 2 teaspoons vanilla extract (Adds warm aroma and classic holiday flavor.)
- 2 1/2 cups all-purpose flour (Measured carefully to create a soft dough.)
- 1 teaspoon baking powder (Provides gentle lift during baking.)
- 1/2 teaspoon salt (Balances the sweetness and strengthens the flavor.)
- 1/2 cup powdered sugar (Used as a final sweet coating after cooling.)
Instructions
- Bring 1 cup unsalted butter and 1 cup granulated sugar together in a large clear glass mixing bowl. Beat for 3 to 4 minutes at medium speed until the mixture turns pale and fluffy. Scrape the bowl halfway through with a spatula and add 2 large eggs and 2 teaspoons vanilla extract. (I tried adding cold butter once and the dough stayed heavy, so softened butter at 68°F works best.) You’ll see a smooth creamy mixture with tiny sugar crystals fading into the butter. The sweet vanilla smell should rise after mixing for the full time. Miss this stage and the cookies spread unevenly. Creaming traps air for a lighter cookie crumb.
- Add 2 1/2 cups all-purpose flour, 1 teaspoon baking powder and 1/2 teaspoon salt to the bowl. Mix for 1 to 2 minutes at low speed, then fold the dough gently with a spatula until no dry flour remains. Keep the mixture at about 68°F and stop once it forms a soft dough. Overmixing past this point makes the cookies firm. The dough should look pale, smooth and slightly tacky. You’ll feel a soft texture when pressed with your fingers. The flour should disappear fully. Mix gently because gluten control keeps the cookies tender.
- Chill the dough for 30 minutes at 40°F, then scoop and roll it into 24 small uneven balls. Press each piece lightly with your palm and place them apart on a lined baking tray. Turn each cookie slightly as you shape it so the surface stays natural. Skip the chill and the cookies spread too fast. The shaped dough should have soft edges and small surface cracks. The pieces won’t look identical, and that’s a good sign. The cold rest keeps the shape stable. Chilling relaxes the dough structure before baking.
- Bake the shaped dough at 350°F for 10 to 12 minutes until the edges turn light golden. Rotate the tray once at minute 6 so the cookies bake evenly. Use a gentle lift with a spatula after baking to check that the bottoms are lightly colored. (My first batch baked 14 minutes and became too crisp, so I keep the time closer to 11 minutes.) You’ll notice a sweet butter smell and slightly firm edges while the centers stay soft. The surface should show tiny cracks and uneven golden spots. Go too long and the centers lose their tender texture. Bake with steady heat because the sugar needs gradual browning.
- Transfer the cooled cookies after 10 minutes and finish them with 1/2 cup powdered sugar sprinkled evenly over the tops. Use a small shake motion to coat some areas more than others for a natural look. Keep the cookies between 65°F and 75°F while decorating. Too much sugar hides the baked texture. The final cookies should have soft centers, pale sweetness and slightly golden edges. You’ll see irregular sugar coverage and small differences between each cookie. They are ready for sharing. Finishing gently keeps the surface texture visible.
Notes
Pro Tips:
- Cream the butter and sugar for a full 3 to 4 minutes at medium speed because the mixture should look pale and fluffy before adding eggs.
- Choose fresh vanilla extract instead of imitation flavoring when possible. Two teaspoons add a warmer aroma that stands out after the cookies cool.
- Use a light-colored baking tray for these cookies and check them at minute 10 because dark trays can brown the bottoms faster.
- Plan the dough ahead and chill it for 30 to 45 minutes before shaping. This small rest helps keep the rounds thicker during baking.
- Don’t add extra flour while shaping unless the dough is impossible to handle. More than 2 1/2 cups can make the finished cookies dry.
- Dust the cookies with 1/2 cup powdered sugar after cooling for 10 minutes because the topping stays brighter and more visible.
- Bake one small test batch at 350°F before finishing all the dough. It helps you adjust for your oven’s heat pattern.
Storage: Keep Italian Christmas Cookies in an airtight container for up to 7 days at room temperature. Freeze them for up to 3 months by wrapping cooled cookies tightly before placing them in a freezer bag. Warm frozen cookies at 300°F for 5 minutes if you want a softer texture again. Add fresh powdered sugar after reheating and discard cookies with stale odors, moisture spots or unusual texture.
- Prep Time: 15 minutes
- Cook Time: 30 minutes
- Category: Dessert
- Cuisine: Italian
Nutrition
- Serving Size: 1 serving
Frequently Asked Questions
Yes, you can prepare the dough up to 3 days ahead and keep it wrapped in the refrigerator at 40°F. Let it sit for 15 minutes before shaping so it becomes easier to roll without warming too much.
Store the baked cookies for up to 7 days in an airtight container at room temperature. Separate layers with parchment paper and keep them away from moisture to protect the soft center.
Freeze the baked cookies for up to 3 months by wrapping them tightly in two layers of freezer-safe wrap. Thaw them at room temperature for 2 hours before adding fresh powdered sugar.
Cookies usually spread when the dough is too warm or the butter was too soft. Chill the shaped dough for 20 minutes and bake at 350°F to help the edges set properly.
Yes, double all ingredients and mix the dough in two batches if your bowl feels crowded. Bake each tray for 10 to 12 minutes and rotate halfway through for even color.
Serve them with coffee, tea or a dessert spread after dinner. They also pair nicely with Italian treats like tiramisu when you want a larger holiday dessert table.
Final Thoughts
From my holiday kitchen comes a cookie recipe that feels simple enough for a weekday bake but special enough for sharing. I have made these Italian Christmas Cookies many times and the soft texture always brings back festive memories.
This version fits classic christmas cookies and best christmas cookies traditions while keeping the process approachable. Save this one, share it with a friend, and let me know how you make your batch your own.
The same batch covers christmas cookies sugar cookie and gluten free christmas cookies without a single change.