

This Easy Memorial Day Berry Cheesecake Bars recipe is packed with berry flavor and it’s so easy to make. It’s budget friendly too, which I always love. You can have it ready in 45 minutes or less for your holiday table.

If you love creamy desserts, you’re going to love these cheesecake bars. They’re bright, sweet and honestly kind of hard to stop eating. With a creamy cheesecake layer like this, you’ll want every last crumb.
For another chilled patriotic dessert, try my No-bake Red White and Blue Cheesecake Jars. And if you’re looking for more berry treats, try the Red White and Blue Trifle with Creamy Layers or Firecracker Strawberry Shortcake Cups. They’re colorful, fun and perfect for a quick summer holiday treat.
Ingredients
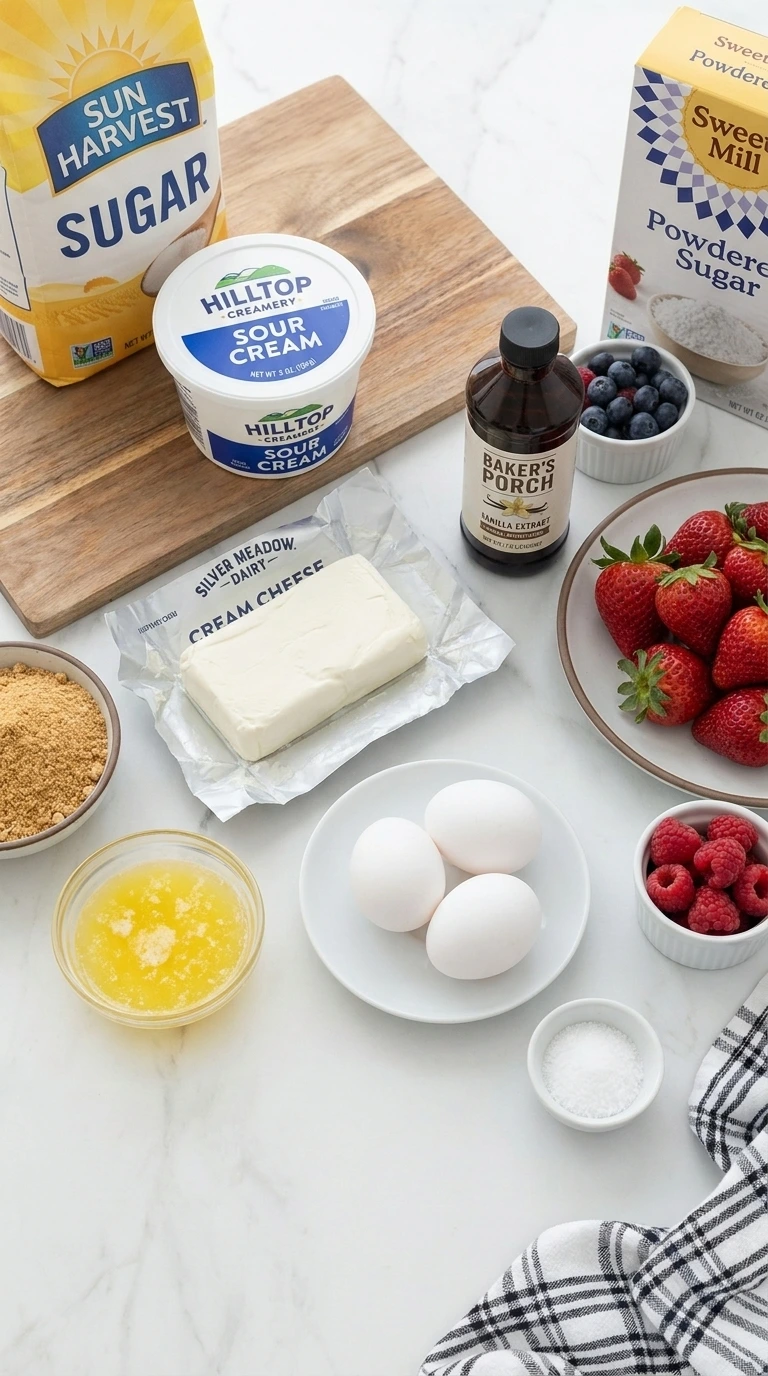
Here’s what I use for this recipe and you can always make substitutions if you prefer.
- Honey graham cracker crumbs: Makes the sweet crumb crust that holds the bars together.
- Unsalted butter: Moistens the crumbs and helps the crust set firm.
- Granulated cane sugar: Sweetens both the crust and the cheesecake filling.
- Full-fat brick cream cheese: Creates the creamy cheesecake layer with the best structure.
- Sour cream: Adds tang and keeps the filling smooth.
- Large eggs: Set the cheesecake filling so the bars slice cleanly.
- Pure vanilla extract: Rounds out the dairy flavor and softens the tang.
- Fine sea salt: Balances the sweetness and makes the berries taste brighter.
- Fresh strawberries: Adds the red berry layer and juicy sweetness.
- Fresh blueberries: Adds the blue color and little pops of tart berry flavor.
- Fresh raspberries: Adds a soft red berry bite and a pretty homemade look.
- Powdered cane sugar: Finishes the chilled bars with a light snowy topping.
Tools You’ll Need
- 8-inch square metal baking pan: Holds the crust and filling at the right thickness.
- Large mixing bowl: Gives enough room to beat the cheesecake filling smooth.
- Rubber spatula: Scrapes the bowl and spreads the filling gently.
- Measuring cups and spoons: Keeps the crust and filling balanced.
- Sharp chef’s knife: Slices chilled bars with clean edges.
Instructions
Step 1: Press the honey graham cracker crust
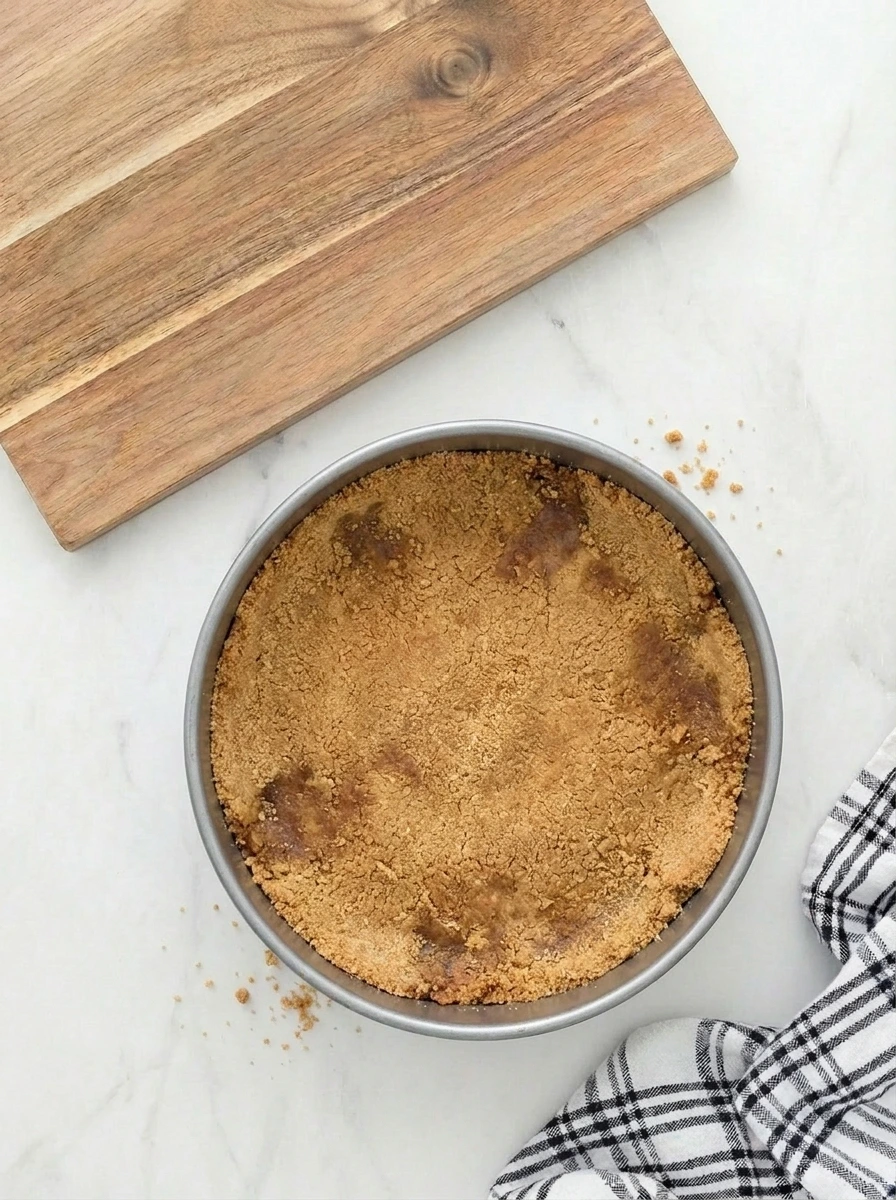
Heat the oven to 350°F and mix honey graham cracker crumbs with melted unsalted butter and 2 tablespoons granulated cane sugar for 45 to 60 seconds. Press the crumbs firmly into the pan with the bottom of a measuring cup and push extra crumbs into the corners. Bake for 8 to 10 minutes until the edges smell toasty and look a shade darker. Pull it at minute 10 because go longer and the crust can taste dry under the filling.
Tip: Line the pan with parchment overhang so the chilled slab lifts out without cracking.
Step 2: Beat the cheesecake filling smooth
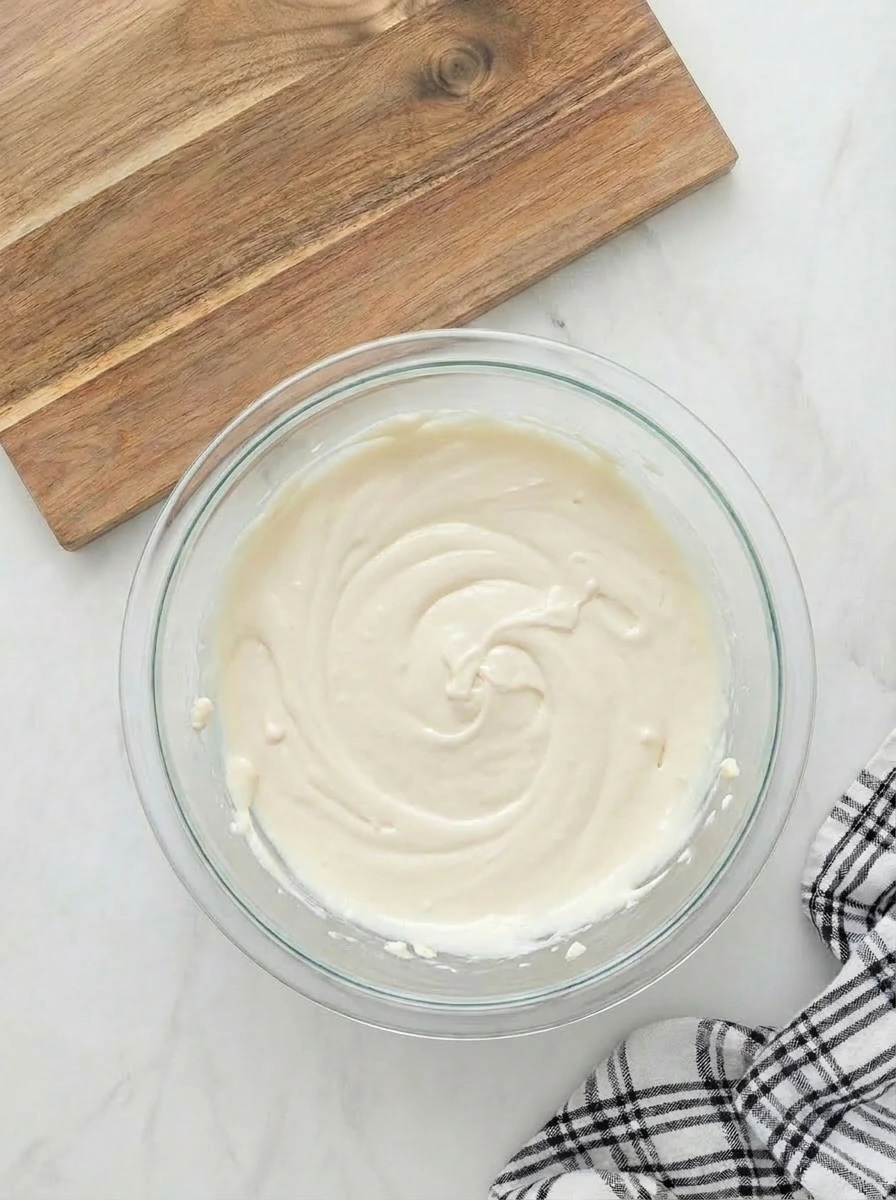
Keep the oven at 350°F and beat the full-fat brick cream cheese with the remaining granulated cane sugar for 2 minutes. Scrape the bowl down once and beat again for 30 seconds so no thick lumps hide on the sides. Add sour cream, large eggs, pure vanilla extract and fine sea salt. Mix on low for 45 to 60 seconds until the filling looks glossy and slow-moving. Miss the low speed and the filling traps too much air, then it cracks while baking.
Tip: Use room temperature cream cheese so the filling turns smooth without overmixing.
Step 3: Layer the filling and berries
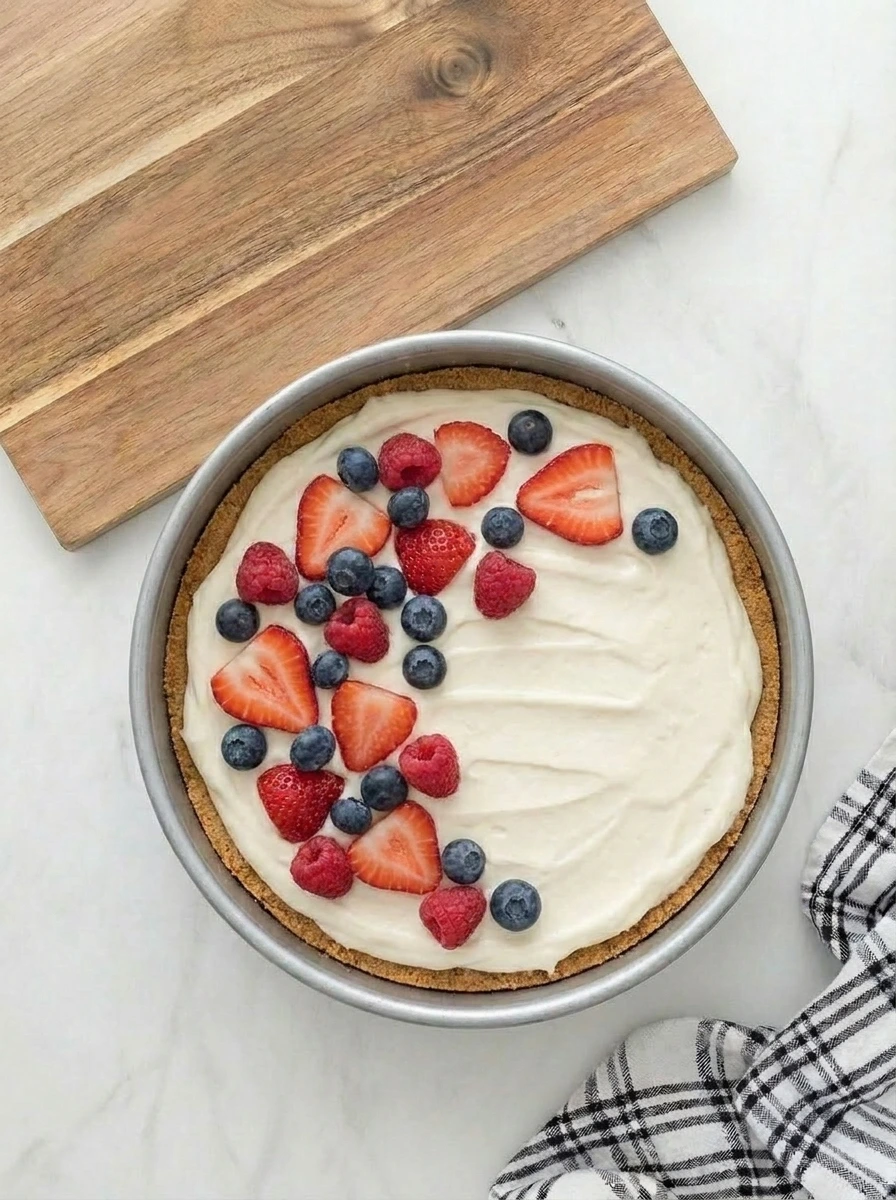
Pour the cheesecake filling over the warm crust while the crust is still about 120°F and spread it for 60 to 90 seconds. Drag the spatula from the center to the edges so the layer stays even but not too polished. Scatter fresh strawberries, fresh blueberries and fresh raspberries over the top in loose patches. Press only a few berries halfway in. You should still see white cheesecake between berries, because crowding the top makes the center bake slower.
Tip: Pat the sliced strawberries dry before scattering so they don’t bleed too much juice.
Step 4: Bake until the center barely jiggles

Bake at 350°F for 24 to 28 minutes. Rotate the pan at minute 14 and look for puffed edges with a center that jiggles like set gelatin when you nudge it. The berries should look glossy and a few raspberry edges may sink into the filling. Pull the pan before the center looks firm, because go past 28 minutes and the cheesecake turns grainy at the edges. (My first batch baked 6 minutes too long and sliced clean, but the texture wasn’t as creamy.)
Tip: A small jiggle in the middle is better than a fully firm center because carryover heat keeps setting it.
Step 5: Chill and slice the bars
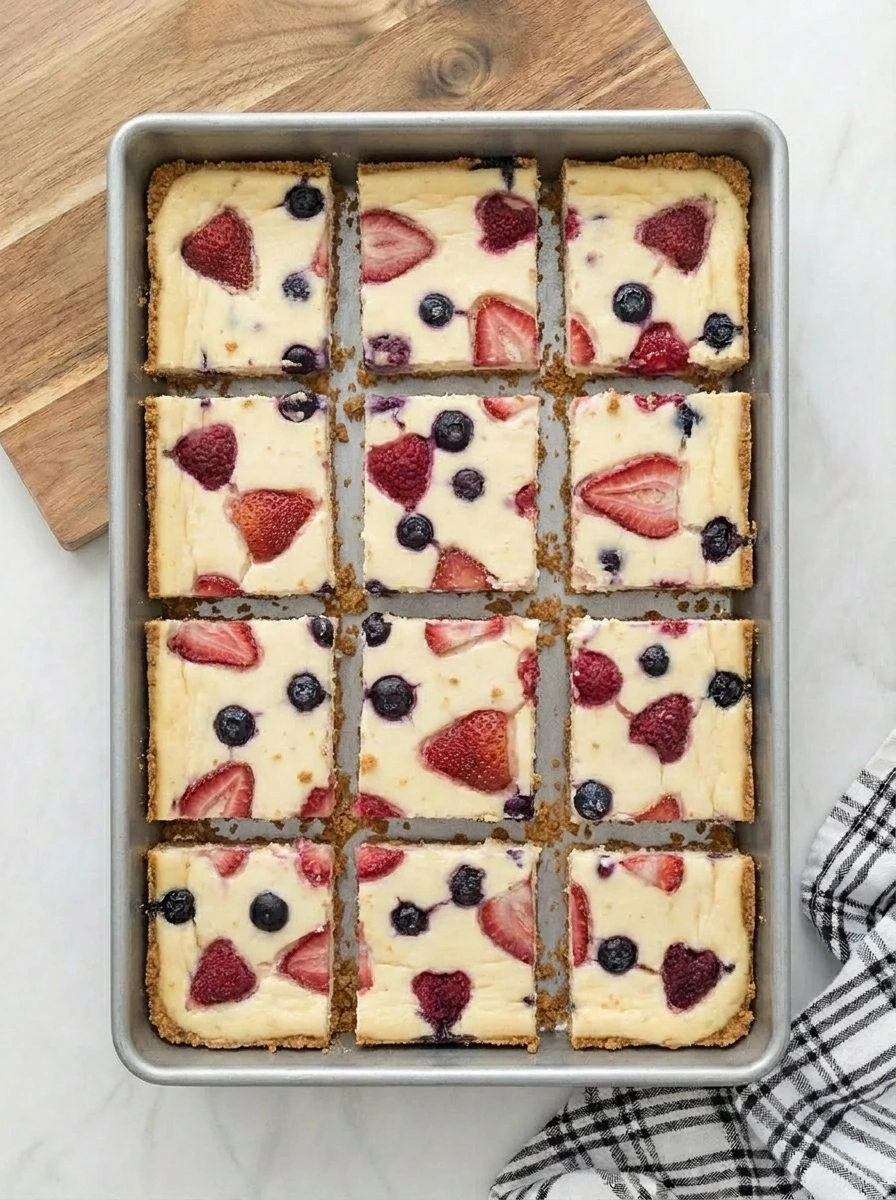
Cool the pan at room temperature for 45 minutes, then chill at 38°F for at least 2 hours. Run a thin knife along the edges with one steady pass before lifting the slab out. Slice into 12 bars with a warm knife and wipe between cuts. The crust should hold while the cheesecake looks creamy and the berry juices streak lightly. Skip the chill and the bars slump as soon as you cut them.
Tip: For neater party bars, chill overnight and slice right before serving.
Step 6: Dust and serve one berry cheesecake bar

Let one sliced bar sit at 65°F for 8 to 10 minutes before serving so the filling softens slightly. Dust with powdered cane sugar from 8 inches above and stop after one light pass. The top should look snowy in spots with berries still showing through. Add too much sugar and it melts into wet patches on the berries within minutes.
Tip: Serve the bars cold but not icy so the cheesecake layer tastes creamy.
Pro Tips
- Don’t overmix after the eggs go in because the bars can puff too much in the oven.
- Slice strawberries thinner than 1/4 inch so they soften without flooding the filling.
- Chill the bars fully before cutting because warm cheesecake smears against the knife.
- Dust with powdered cane sugar right before serving so it stays pretty.
Storage Instructions
Store the bars in an airtight container in the fridge for up to 4 days. Keep the powdered cane sugar off until serving because it melts into the berries as it sits. You can freeze the baked bars without the sugar topping for up to 2 months. Thaw overnight in the fridge and add fresh berries if the original topping looks too soft.
Frequently Asked Questions
Yes. Bake them the day before and chill them overnight. Slice and dust with powdered cane sugar right before serving.
Fresh berries are best because frozen berries release more juice. If you use frozen berries, don’t thaw them and expect more purple streaks.
The edges should look set and the center should jiggle slightly when nudged. A fully firm center usually means the bars are overbaked.
Yes. Double the ingredients and bake in a 9 by 13-inch pan. Start checking at 30 minutes because the center may need a little longer.
Final Thoughts
If you try this recipe, I really hope you love it as much as my family does. It has become one of those desserts we just keep coming back to, especially for summer holidays.
Drop a comment below and let me know how yours turned out. And if you are looking for more easy dessert ideas, make sure to bookmark this page.
I am always adding new recipes that are simple, sweet and perfect for busy party days like Firecracker Strawberry Shortcake Cups.
Print
Easy Memorial Day Berry Cheesecake Bars
- Total Time: 45 minutes
- Yield: 12 servings 1x
Description
These Easy Memorial Day Berry Cheesecake Bars are the best little holiday dessert when you need easy ideas that feel festive without a lot of fuss. A quick graham cracker crust and simple cheesecake filling bake into creamy bars with juicy berries on top. They’re sweet and fresh enough to feel healthy-ish and they work for brunch, a potluck or a party.
Ingredients
- 1 1/2 cups Honey graham cracker crumbs
- 6 tablespoons melted Unsalted butter
- 1/2 cup divided Granulated cane sugar
- 16 ounces softened Full-fat brick cream cheese
- 1/3 cup Sour cream
- 2 Large eggs
- 1 teaspoon Pure vanilla extract
- 1/4 teaspoon Fine sea salt
- 1 cup hulled and sliced Fresh strawberries
- 3/4 cup Fresh blueberries
- 1/2 cup Fresh raspberries
- 1 tablespoon Powdered cane sugar
Instructions
- Heat the oven to 350°F and mix honey graham cracker crumbs with melted unsalted butter and 2 tablespoons granulated cane sugar for 45 to 60 seconds. Press the crumbs firmly into the pan with the bottom of a measuring cup and push extra crumbs into the corners. Bake for 8 to 10 minutes until the edges smell toasty and look a shade darker. Pull it at minute 10 because go longer and the crust can taste dry under the filling.
- Keep the oven at 350°F and beat the full-fat brick cream cheese with the remaining granulated cane sugar for 2 minutes. Scrape the bowl down once and beat again for 30 seconds so no thick lumps hide on the sides. Add sour cream, large eggs, pure vanilla extract and fine sea salt. Mix on low for 45 to 60 seconds until the filling looks glossy and slow-moving. Miss the low speed and the filling traps too much air, then it cracks while baking.
- Pour the cheesecake filling over the warm crust while the crust is still about 120°F and spread it for 60 to 90 seconds. Drag the spatula from the center to the edges so the layer stays even but not too polished. Scatter fresh strawberries, fresh blueberries and fresh raspberries over the top in loose patches. Press only a few berries halfway in. You should still see white cheesecake between berries, because crowding the top makes the center bake slower.
- Bake at 350°F for 24 to 28 minutes. Rotate the pan at minute 14 and look for puffed edges with a center that jiggles like set gelatin when you nudge it. The berries should look glossy and a few raspberry edges may sink into the filling. Pull the pan before the center looks firm, because go past 28 minutes and the cheesecake turns grainy at the edges. (My first batch baked 6 minutes too long and sliced clean, but the texture wasn’t as creamy.)
- Cool the pan at room temperature for 45 minutes, then chill at 38°F for at least 2 hours. Run a thin knife along the edges with one steady pass before lifting the slab out. Slice into 12 bars with a warm knife and wipe between cuts. The crust should hold while the cheesecake looks creamy and the berry juices streak lightly. Skip the chill and the bars slump as soon as you cut them.
- Let one sliced bar sit at 65°F for 8 to 10 minutes before serving so the filling softens slightly. Dust with powdered cane sugar from 8 inches above and stop after one light pass. The top should look snowy in spots with berries still showing through. Add too much sugar and it melts into wet patches on the berries within minutes.
Notes
Pro Tips:
- Don’t overmix after the eggs go in because the bars can puff too much in the oven.
- Slice strawberries thinner than 1/4 inch so they soften without flooding the filling.
- Chill the bars fully before cutting because warm cheesecake smears against the knife.
- Dust with powdered cane sugar right before serving so it stays pretty.
Storage: Store the bars in an airtight container in the fridge for up to 4 days. Keep the powdered cane sugar off until serving because it melts into the berries as it sits. You can freeze the baked bars without the sugar topping for up to 2 months. Thaw overnight in the fridge and add fresh berries if the original topping looks too soft.
- Prep Time: 15 minutes
- Cook Time: 30 minutes
- Category: Dessert
- Cuisine: American
Nutrition
- Serving Size: 1 serving (of 12)
- Calories: 262
- Sugar: 24g
- Sodium: 3367mg
- Fat: 14g
- Carbohydrates: 34g
- Fiber: 1g
- Cholesterol: 62mg