When you want something different from everyday fish dinners, this Crispy Beer Battered Fish offers a delicious twist. This beer battered fish recipe is crunchy, simple, and packed with flavor, perfect for casual dinners or weekend gatherings.
This recipe is perfect for fish fry night, family dinner, a laid back get together, or as a comforting weeknight meal. If you want more seafood dinner ideas, also check out classic fried fish, crispy fish tacos, or homemade fish and chips.
Ingredients
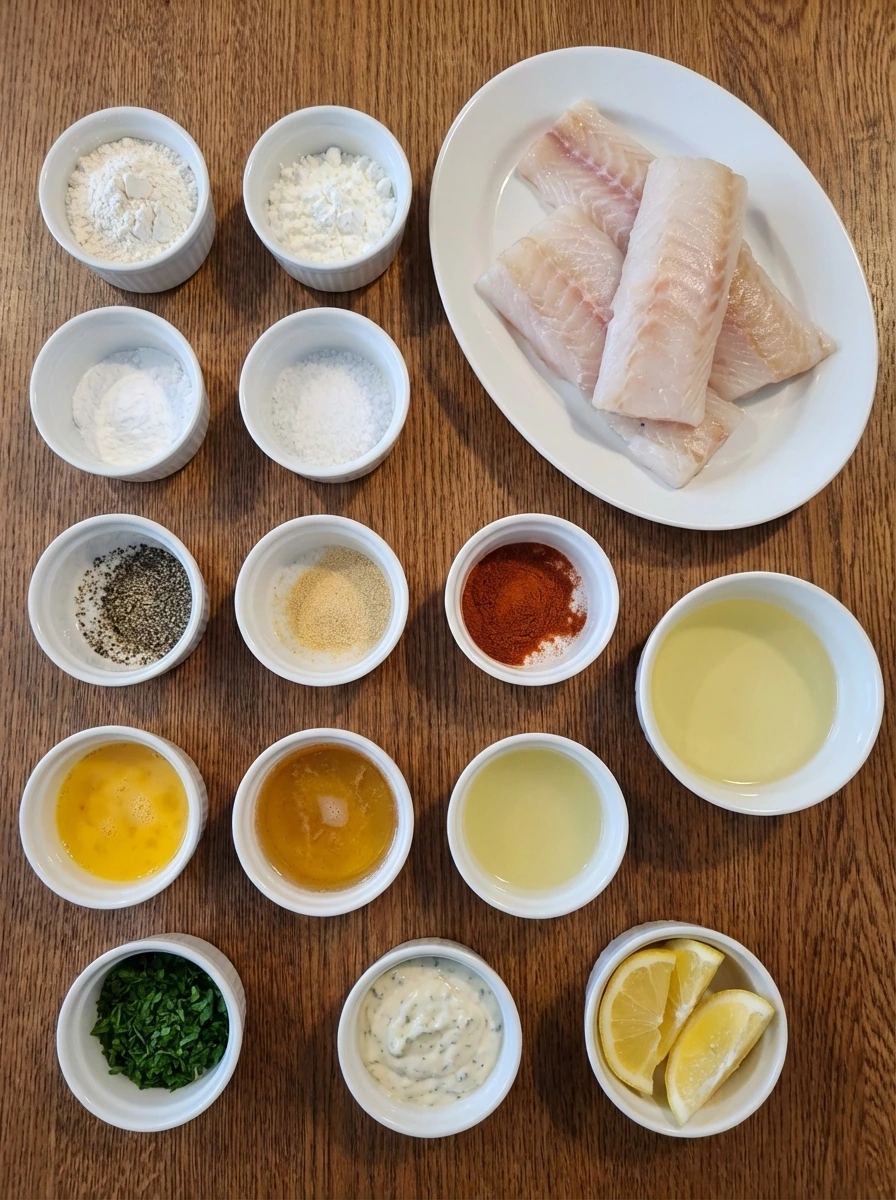
Here’s what I use for this recipe and you can always make substitutions if you prefer.
- cod fillets: These give the recipe a tender, flaky center that contrasts with the crisp outer coating.
- all purpose flour: Flour builds the base of the batter and also helps the fish surface stay dry for better coating.
- cornstarch: Cornstarch lightens the batter and helps create a delicate crisp texture.
- baking powder: This adds lift so the batter puffs slightly and stays airy.
- fine sea salt: Salt seasons both the fish and the batter for balanced flavor.
- black pepper: Black pepper adds mild heat and depth without overpowering the fish.
- garlic powder: Garlic powder adds savory flavor evenly throughout the coating.
- paprika: Paprika gives the batter a warm color and subtle earthy sweetness.
- cold lager beer: Cold beer makes the batter loose, bubbly, and light for an extra crisp finish.
- egg: The egg helps the batter hold together and cling to the fish.
- lemon juice: Lemon juice brightens the fish and keeps the flavor fresh.
- vegetable oil: Oil cooks the battered fish until the coating turns crisp and golden.
- lemon wedges: Lemon wedges add a fresh finishing touch when serving.
- chopped parsley: Parsley adds a clean pop of color to the final plated dish.
- tartar sauce: Tartar sauce gives the finished fish a creamy, tangy contrast.
Tools You’ll Need
- chef’s knife (Use it to trim and portion the fish evenly.)
- paper towels (Helpful for drying the fish well before coating.)
- mixing bowls (You need separate bowls for the dry mix, batter, and flour dredge.)
- whisk (Whisks the batter until smooth and lump free.)
- measuring cups and spoons (Keeps the batter ratio accurate.)
- tongs (Useful for dipping and lifting the fish.)
- heavy pot or deep skillet (Needed for frying the fish safely.)
Instructions
Step 1: Prepare and season the fish
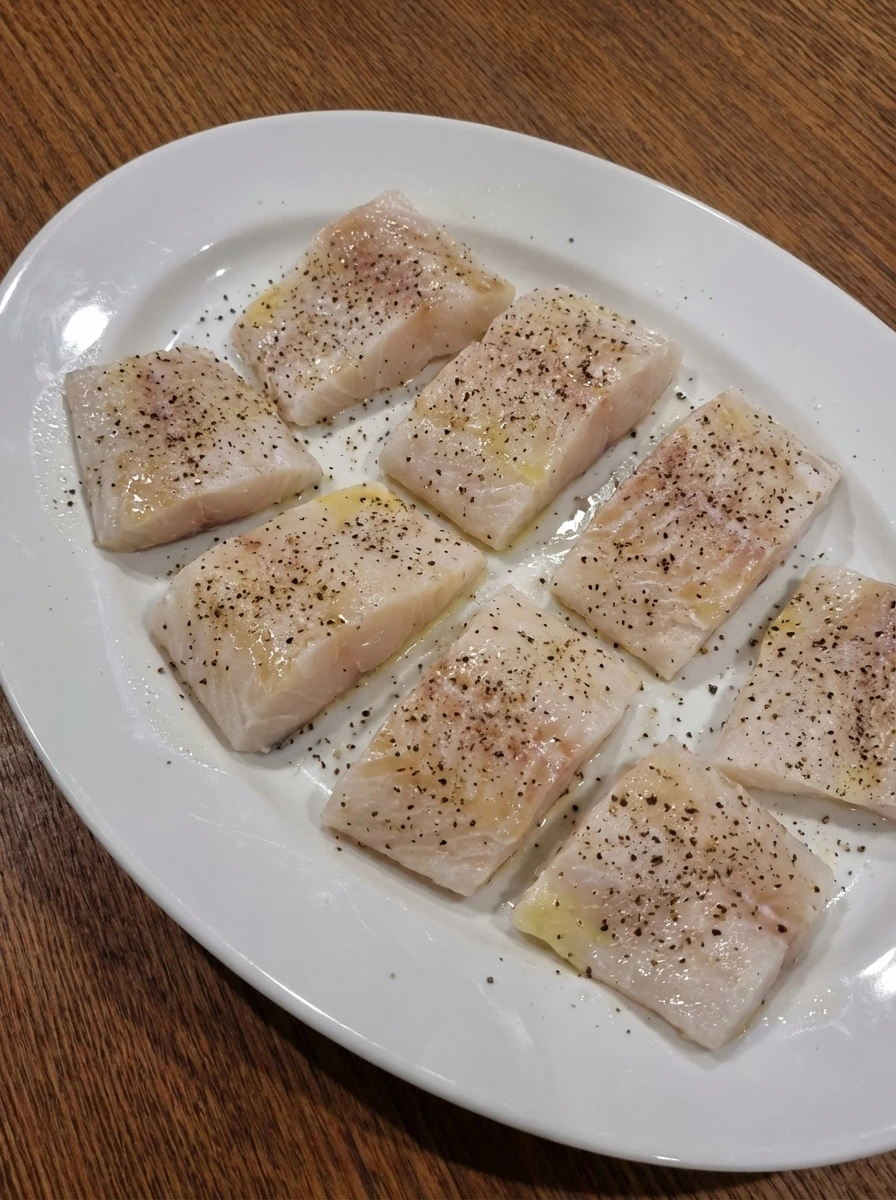
Start by rinsing the cod fillets and patting them completely dry with paper towels. Trim away any thin dangling pieces, then cut the fillets into even portions so each piece looks similar in size and thickness. Place the fish pieces on a white oval ceramic platter, then season both sides with salt, black pepper, and a small squeeze of lemon juice. The fish should look moist but not wet, lightly glossy from the lemon, and evenly speckled with seasoning.
Tip: Dry fish helps the flour and batter cling much better.
Step 2: Measure and combine the dry batter ingredients
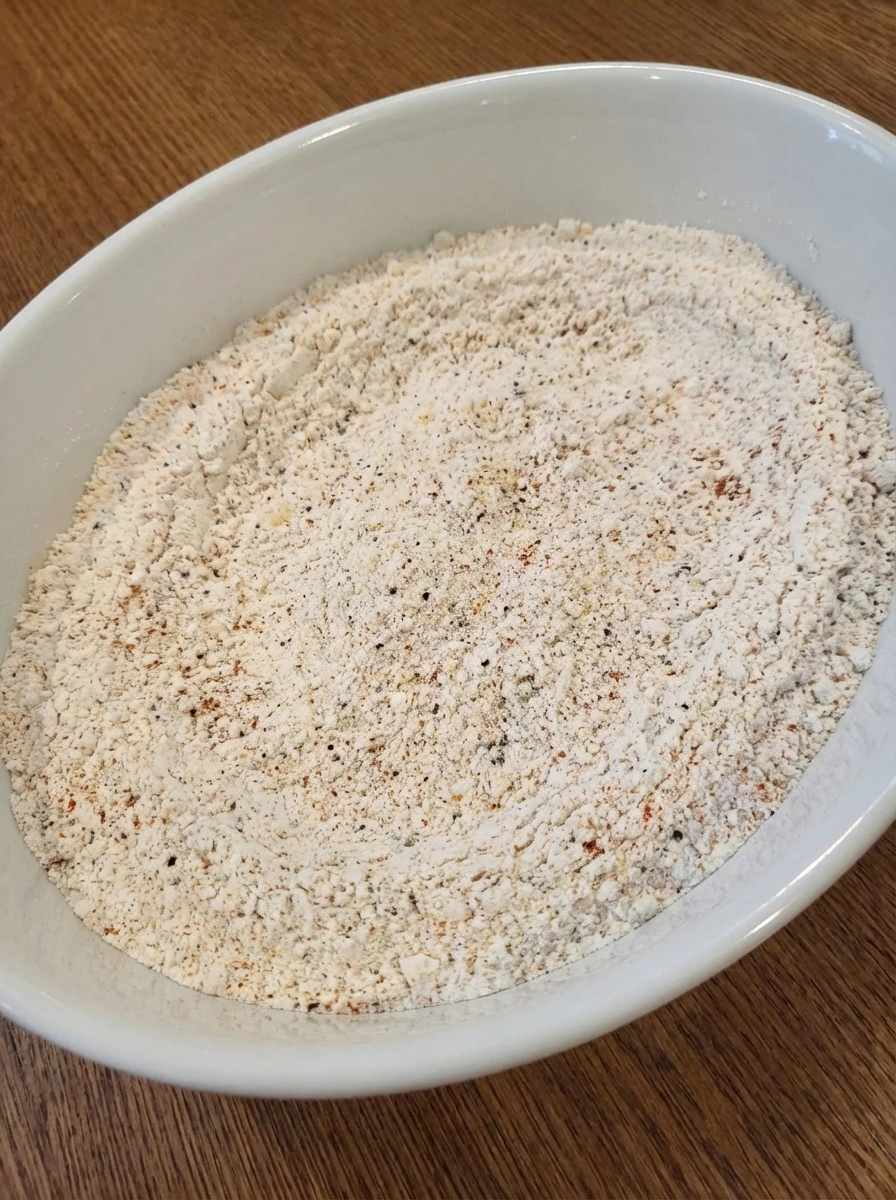
In a large white oval ceramic bowl, measure the flour, cornstarch, baking powder, paprika, garlic powder, salt, and black pepper. Add the dry ingredients in clear layers at first so you can see the different shades of white, cream, red, and black. Whisk everything together until the mixture looks evenly blended and pale with tiny speckles throughout. There should be no separate streaks of cornstarch or spice left behind, and the surface should look light and fluffy.
Tip: Whisk well so the baking powder and spices distribute evenly.
Step 3: Whisk the beer batter until smooth
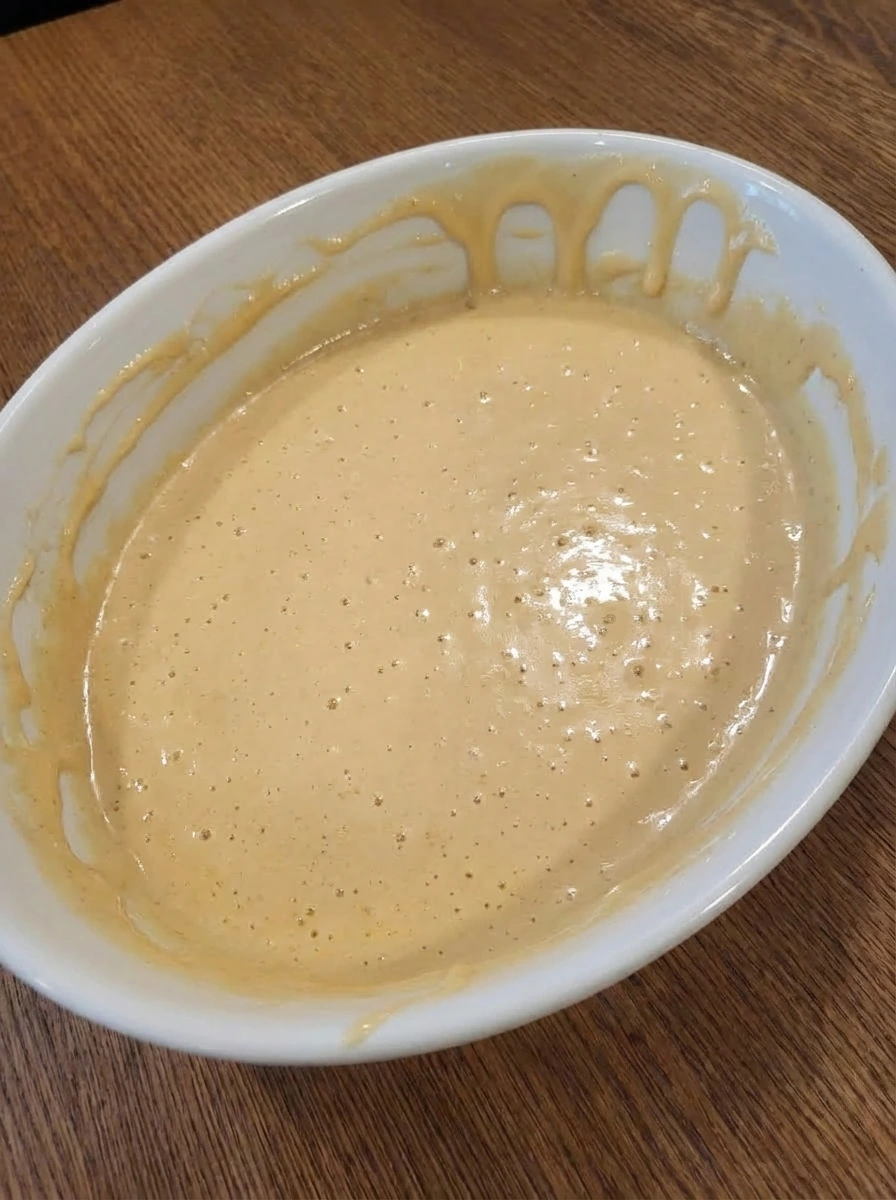
Crack the egg into the dry mixture, then pour in the cold beer slowly while whisking. As the liquid meets the dry ingredients, the mixture changes from powdery to thick and creamy with a pale golden color. Keep whisking just until the batter is smooth with a few tiny bubbles across the surface. It should look thick enough to coat the back of a spoon, but still fluid enough to drip in ribbons, showing that it will cling to the fish without becoming heavy.
Tip: Use very cold beer to keep the batter light and airy.
Step 4: Dust the fish with flour
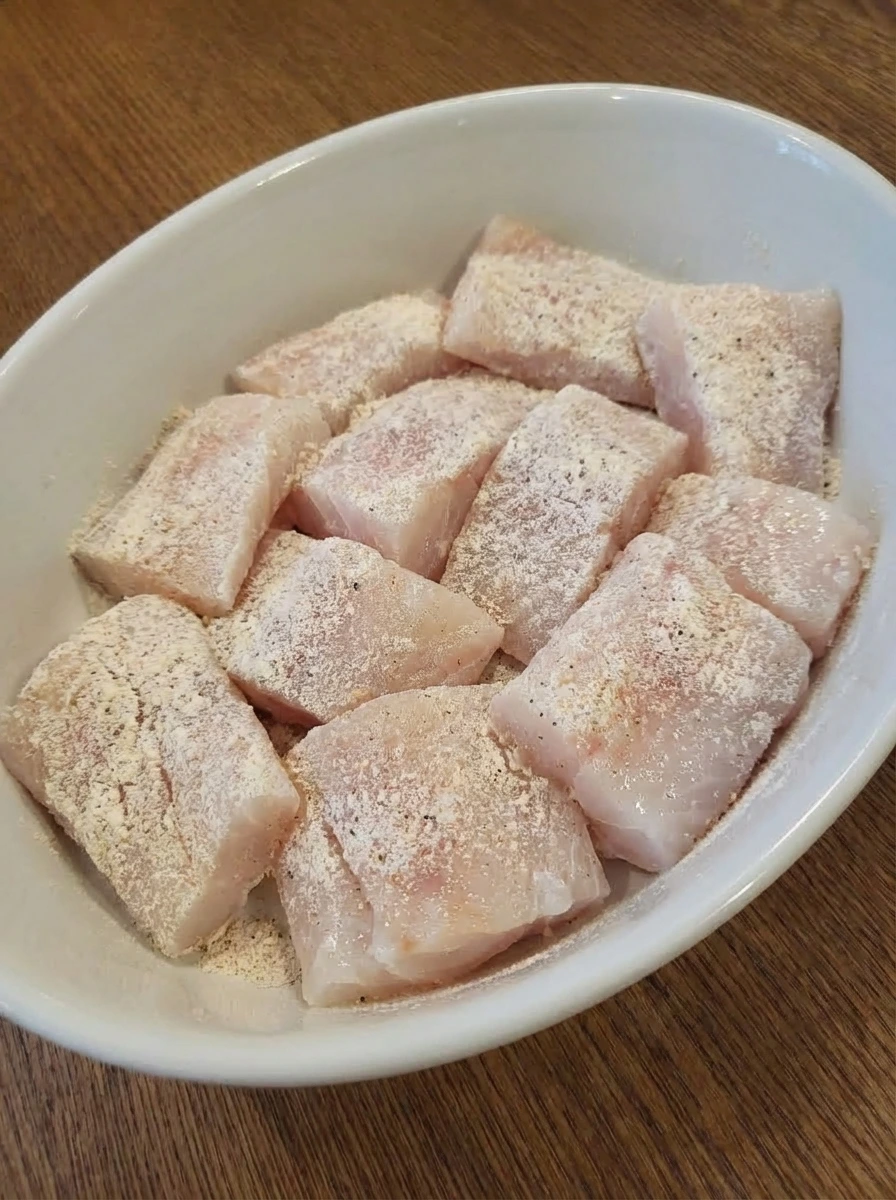
Place the remaining flour in a clean white oval ceramic bowl. Coat each seasoned fish piece lightly in the flour, making sure every side is covered with a thin dry layer. As you finish each piece, the fish will change from glossy and moist to softly matte and lightly dusted. Shake off any excess so the coating looks thin and even rather than thick or clumpy.
Tip: A light flour coat gives the wet batter something to grip.
Step 5: Coat the fish in the batter and arrange it to rest
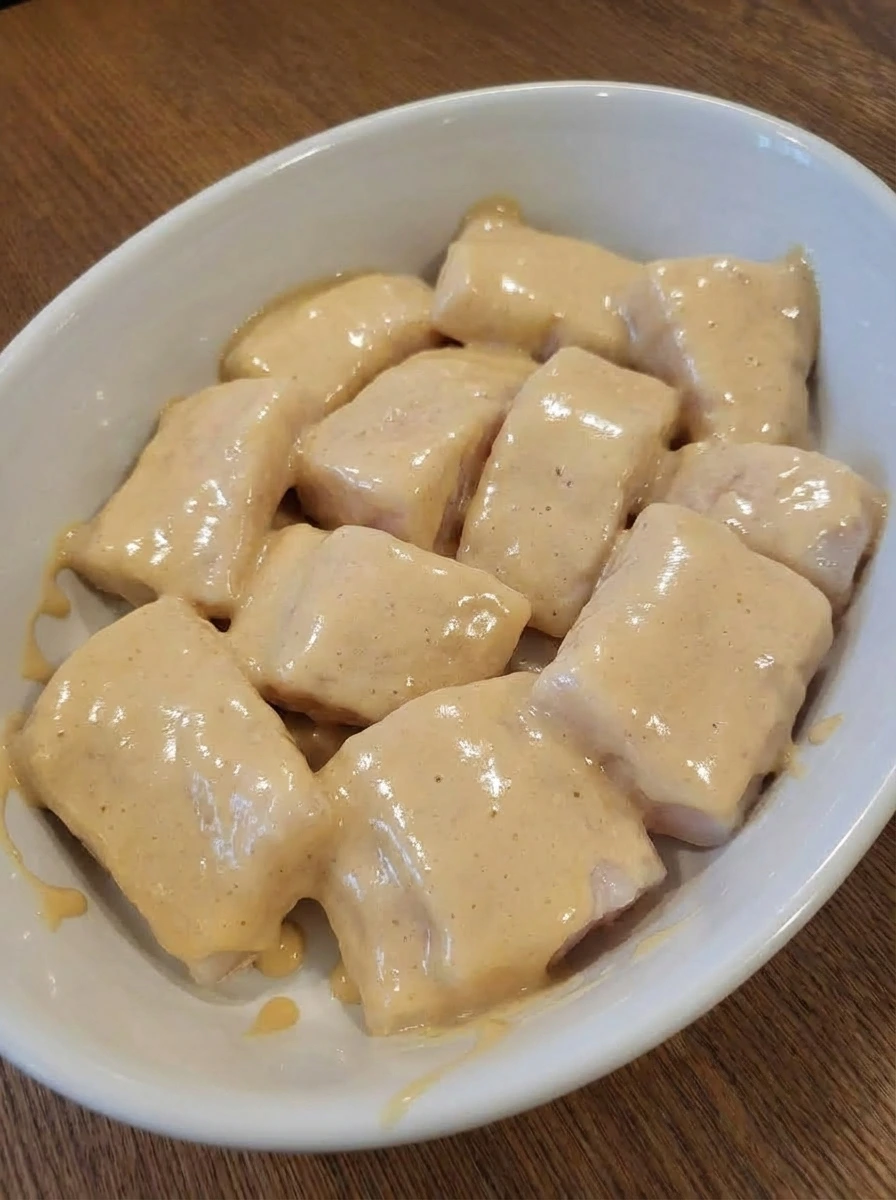
Dip each floured fish piece into the beer batter and turn it gently until fully covered. Lift each piece and let the extra batter drip away so the coating settles into a smooth, even layer. Arrange the battered fish on a white oval ceramic platter in a single layer. The pieces should look thickly coated, pale golden, and glossy, with the batter hugging the edges and corners while still appearing soft and uncooked.
Tip: Let excess batter drip off so the coating stays even instead of heavy.
Step 6: Plate the crispy fish and garnish
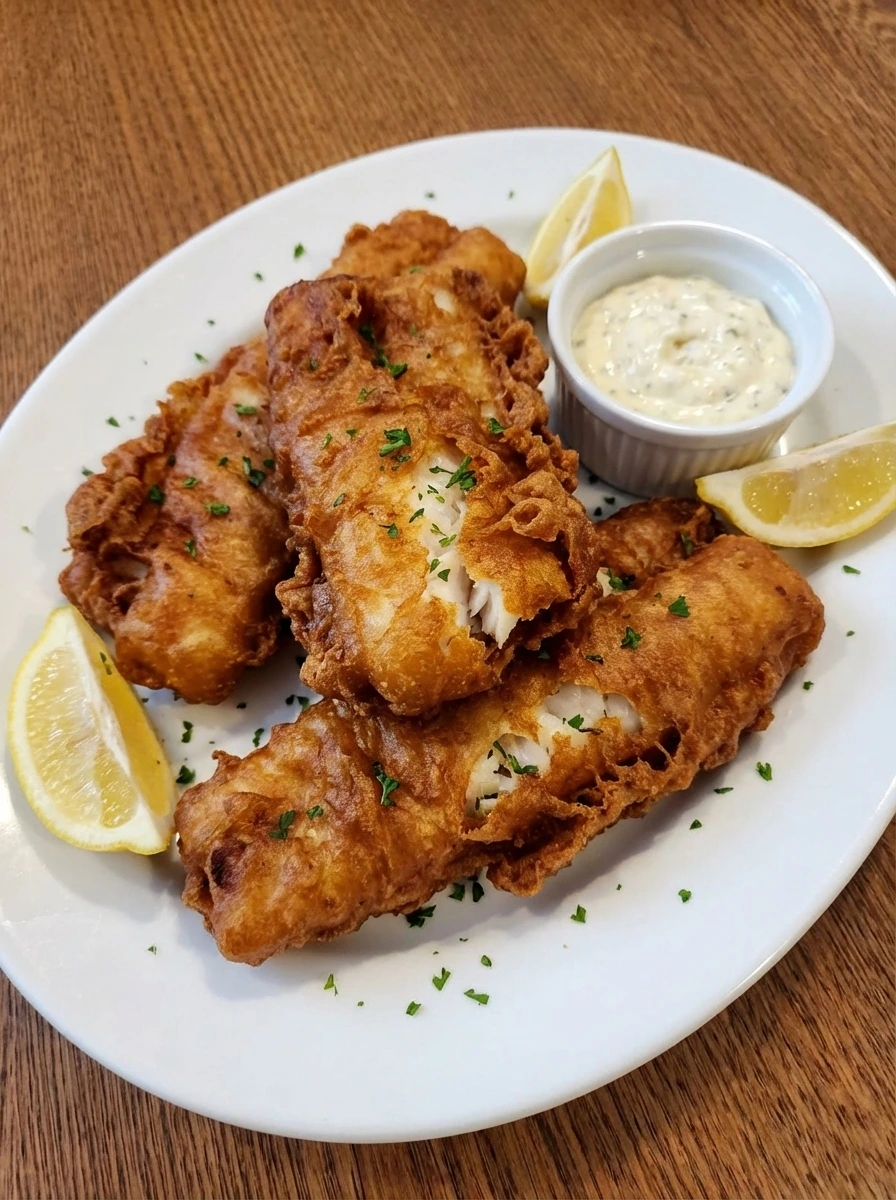
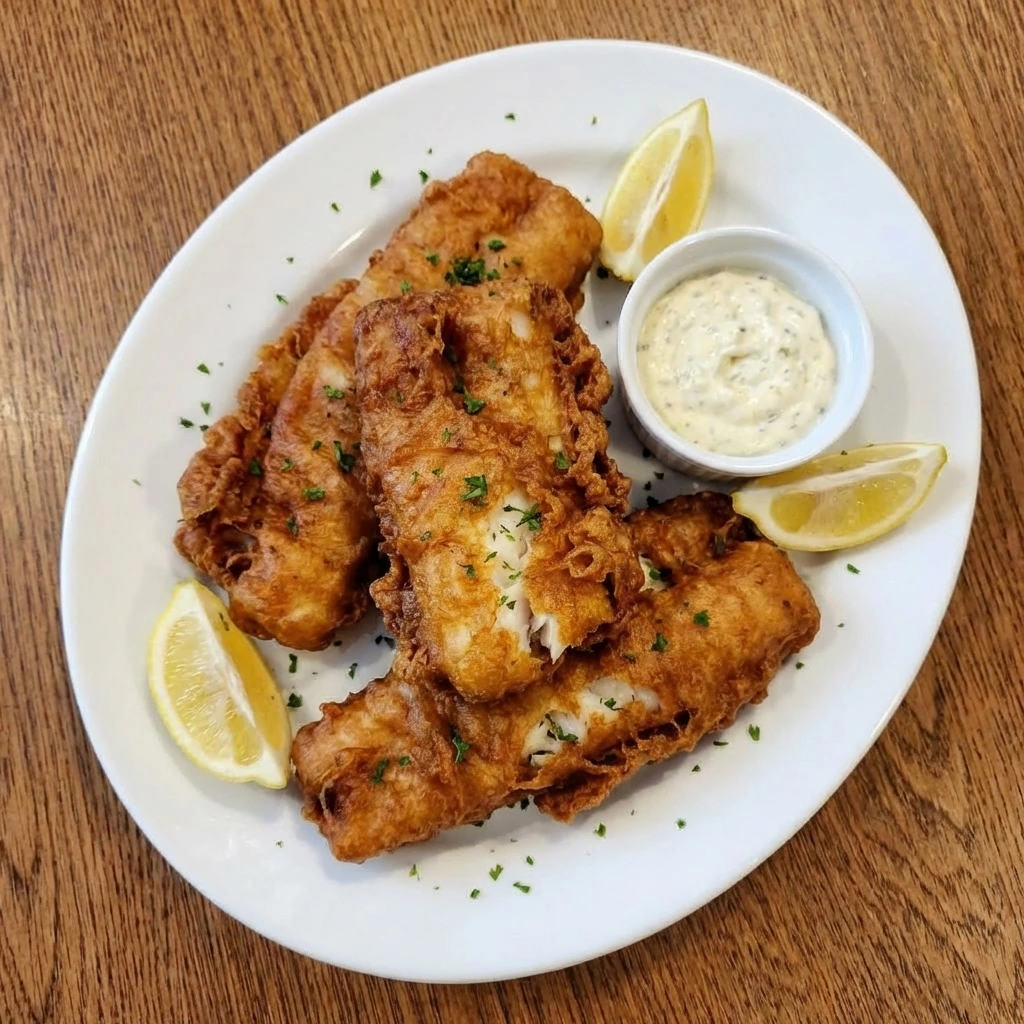
After frying the battered fish until crisp and golden off camera, transfer the finished pieces to a clean white oval ceramic dinner plate. Arrange them neatly so the textured coating is visible, with each piece showing a deep golden exterior and defined craggy edges. Add lemon wedges and a small ramekin of tartar sauce, then finish with chopped parsley. The final plate should look complete and ready to serve, with the fish appearing fully cooked, crisp on the outside, and flaky inside.
Tip: Serve right away so the coating stays at its crispiest.
Pro Tips
- Choose thick white fish fillets so they hold their shape in the batter.
- Keep the beer cold so the batter stays light and crisp.
- Do not overmix the batter or it can lose some of its airy texture.
- Fry in batches so the coating stays crisp instead of turning soggy.
Storage Instructions
Store leftover fish in an airtight container in the refrigerator for up to 2 days. For longer storage, freeze the cooled pieces in a single layer first, then transfer them to a freezer safe bag or container for up to 1 month. The coating is at its best when fresh, but it can still crisp up nicely when reheated. Reheat in a hot oven or air fryer until heated through and crisp again, and avoid the microwave if you want to keep the crust from turning soft.
Fun Fact
Beer batter became especially popular with fried fish because the carbonation in beer helps create a lighter, crispier coating. The bubbles expand in the batter as it cooks, which gives the crust its airy texture. That is one reason beer battered fish has such a distinct crunch compared with heavier flour based coatings.
Frequently Asked Questions
What type of fish works best for beer battered fish?
Firm white fish works best because it stays flaky and tender inside the crisp coating. Cod is a great choice, but haddock, pollock, or halibut also work well. Try to use fillets that are thick enough to hold their shape after battering.
Can I make the batter ahead of time?
It is best to mix the batter right before using it. Freshly mixed batter keeps more bubbles from the cold beer, which helps create a lighter coating. If it sits too long, the texture can become flat and less crisp after frying.
Why do I need to flour the fish before dipping it in batter?
The thin flour layer helps dry the surface and gives the batter something to cling to. Without it, the batter can slide off the fish more easily. It is a small step, but it makes a big difference in the final coating.
How do I keep beer battered fish crispy after frying?
Place the fried fish on a rack instead of stacking the pieces right away. This helps excess oil drain off and prevents steam from softening the crust. Serve the fish as soon as possible for the best texture.
Final Thoughts
So there you go. A recipe that is simple enough for a Tuesday night but good enough to serve at a gathering.
I have made this more times than I can count and it never disappoints. Save this one, share it with a friend, and let me know in the comments if you made any fun changes.
I am always curious to see how people put their own spin on things.
Print
Crispy Beer Battered Fish Recipe
- Total Time: 45 minutes
- Yield: 4 servings
Description
Crispy Beer Battered Fish made easy! This delicious recipe features tender, flaky fish coated in a light, golden, and ultra-crispy beer batter that fries to perfection every time. The secret is using cold beer for that airy, crunchy texture we all love. Perfect for a quick dinner or a homemade fish & chips night, serve it hot with fries, lemon wedges, and your favorite dipping sauce for a classic, mouthwatering meal everyone will enjoy.
Ingredients
- 1 1/2 pounds cod fillets
- 1 1/2 cups, divided all purpose flour
- 1/2 cup cornstarch
- 2 teaspoons baking powder
- 1 1/2 teaspoons fine sea salt
- 1 teaspoon black pepper
- 1 teaspoon garlic powder
- 1 teaspoon paprika
- 1 1/4 cups cold lager beer
- 1 large egg
- 1 tablespoon lemon juice
- for frying vegetable oil
- 4 to 6 wedges lemon wedges
- 1 tablespoon chopped parsley
- 1/2 cup tartar sauce
Instructions
- Start by rinsing the cod fillets and patting them completely dry with paper towels. Trim away any thin dangling pieces, then cut the fillets into even portions so each piece looks similar in size and thickness. Place the fish pieces on a white oval ceramic platter, then season both sides with salt, black pepper, and a small squeeze of lemon juice. The fish should look moist but not wet, lightly glossy from the lemon, and evenly speckled with seasoning.
- In a large white oval ceramic bowl, measure the flour, cornstarch, baking powder, paprika, garlic powder, salt, and black pepper. Add the dry ingredients in clear layers at first so you can see the different shades of white, cream, red, and black. Whisk everything together until the mixture looks evenly blended and pale with tiny speckles throughout. There should be no separate streaks of cornstarch or spice left behind, and the surface should look light and fluffy.
- Crack the egg into the dry mixture, then pour in the cold beer slowly while whisking. As the liquid meets the dry ingredients, the mixture changes from powdery to thick and creamy with a pale golden color. Keep whisking just until the batter is smooth with a few tiny bubbles across the surface. It should look thick enough to coat the back of a spoon, but still fluid enough to drip in ribbons, showing that it will cling to the fish without becoming heavy.
- Place the remaining flour in a clean white oval ceramic bowl. Coat each seasoned fish piece lightly in the flour, making sure every side is covered with a thin dry layer. As you finish each piece, the fish will change from glossy and moist to softly matte and lightly dusted. Shake off any excess so the coating looks thin and even rather than thick or clumpy.
- Dip each floured fish piece into the beer batter and turn it gently until fully covered. Lift each piece and let the extra batter drip away so the coating settles into a smooth, even layer. Arrange the battered fish on a white oval ceramic platter in a single layer. The pieces should look thickly coated, pale golden, and glossy, with the batter hugging the edges and corners while still appearing soft and uncooked.
- After frying the battered fish until crisp and golden off camera, transfer the finished pieces to a clean white oval ceramic dinner plate. Arrange them neatly so the textured coating is visible, with each piece showing a deep golden exterior and defined craggy edges. Add lemon wedges and a small ramekin of tartar sauce, then finish with chopped parsley. The final plate should look complete and ready to serve, with the fish appearing fully cooked, crisp on the outside, and flaky inside.
Notes
Pro Tips:
- Choose thick white fish fillets so they hold their shape in the batter.
- Keep the beer cold so the batter stays light and crisp.
- Do not overmix the batter or it can lose some of its airy texture.
- Fry in batches so the coating stays crisp instead of turning soggy.
Storage: Store leftover fish in an airtight container in the refrigerator for up to 2 days. For longer storage, freeze the cooled pieces in a single layer first, then transfer them to a freezer safe bag or container for up to 1 month. The coating is at its best when fresh, but it can still crisp up nicely when reheated. Reheat in a hot oven or air fryer until heated through and crisp again, and avoid the microwave if you want to keep the crust from turning soft.
- Prep Time: 15 minutes
- Cook Time: 30 minutes
- Category: Dinner
- Cuisine: British