I honestly havent really shared many pancake based recipes on my blog and yet these Chocolate Chip Pancakes were one I had to share. This recipe is inspired by cozy breakfast favorites and is easy to prepare and make.
It’s a super tasty dish packed full of soft fluffy texture and melty chocolate and is quite filling. When people think about Chocolate Chip Pancakes they probably assume they are only for special mornings and not something worth making from scratch.
But trust me on this when the batter is mixed the right way and the chocolate melts into the surface they offer a rich sweet taste that’s very satisfying. This recipe is super tasty and quick to make and I recommend this meal for those who want to bring a little comfort to the breakfast table.
Ingredients

Here’s what I use for this recipe and you can always make substitutions if you prefer.
- all purpose flour: builds the pancake base and gives structure
- granulated sugar: adds gentle sweetness to the batter
- baking powder: helps the pancakes rise and stay fluffy
- fine sea salt: seasons the batter and balances sweetness
- whole milk: hydrates the dry ingredients and keeps the crumb tender
- large egg: binds the batter and adds richness
- unsalted butter: adds flavor and moisture while helping the tops glisten
- vanilla extract: adds warm sweet aroma
- semi sweet chocolate chips: melts into the pancakes for pockets of chocolate
- maple syrup: adds glossy sweetness at the end
- powdered sugar: finishes the plated stack with a soft sweet touch
Tools You’ll Need
- mixing bowls: one for dry ingredients and one for wet ingredients
- whisk: helps blend the wet ingredients smoothly
- spatula: use for folding the batter gently and turning the pancakes
- nonstick skillet or griddle: cook the pancakes until golden brown
Instructions
Step 1: Measure the dry ingredients
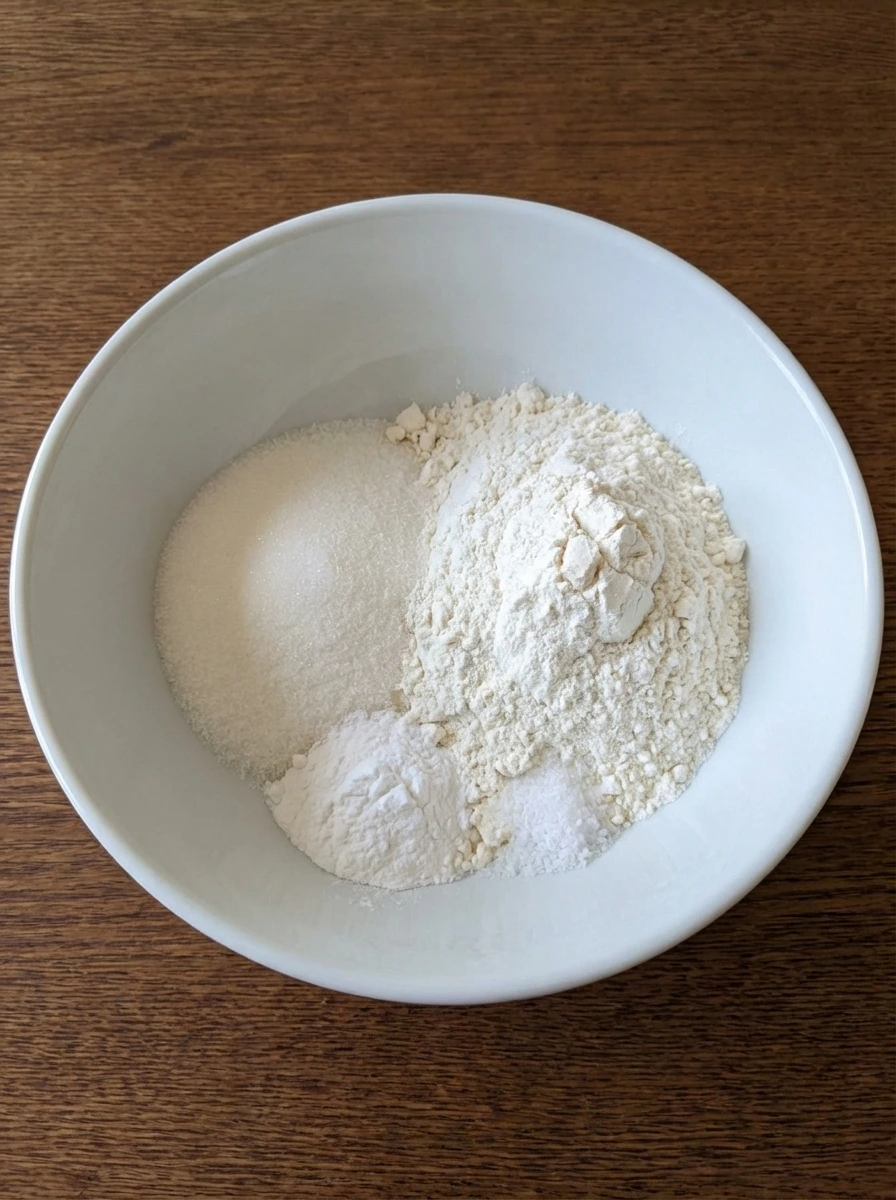
Add the flour and sugar and baking powder and salt into a wide white mixing bowl. The powders sit in loose soft mounds with slightly uneven edges and the salt disappears lightly into the flour. At this stage everything still looks dry and separate although the ingredients are gathered together and ready for the first mix.
Tip: Level the flour before adding it so the batter stays fluffy instead of heavy.
Step 2: Season and combine the dry base
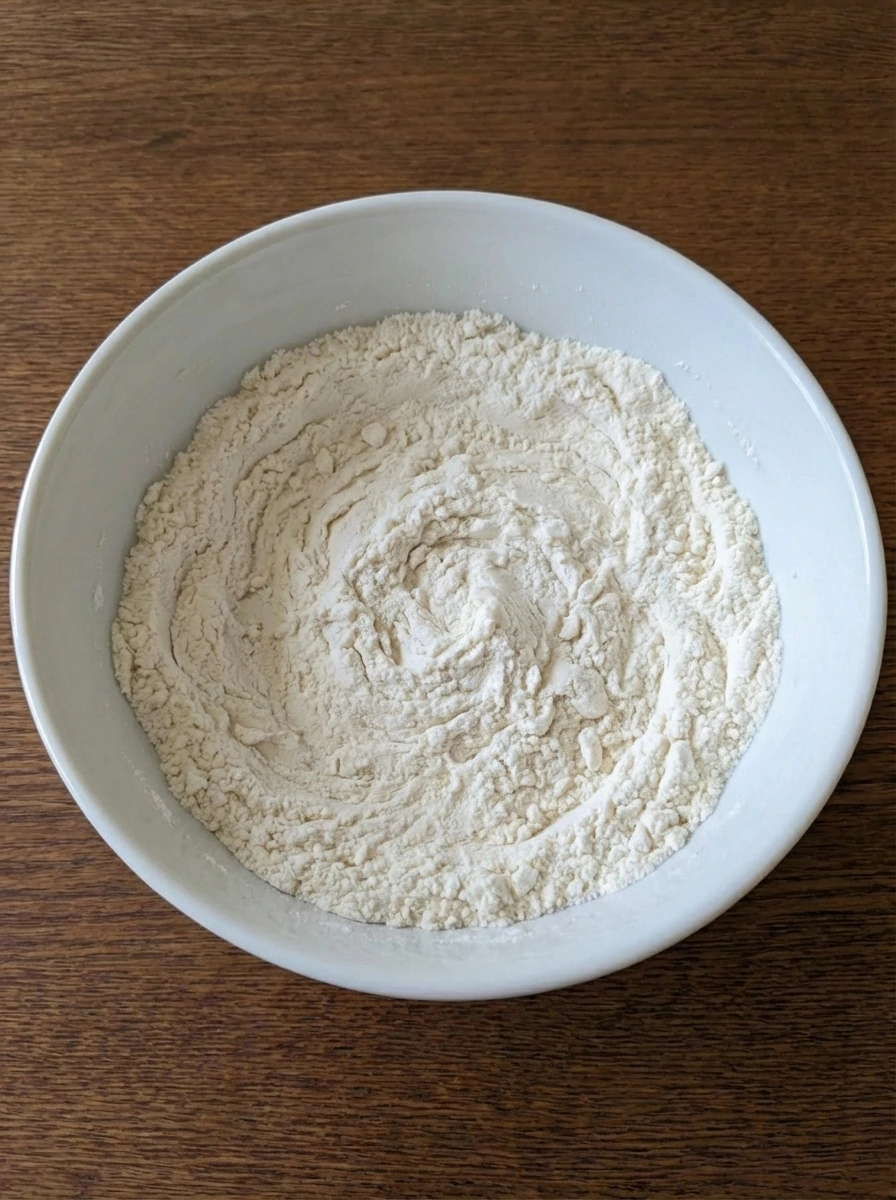
Gently stir the dry ingredients until the sugar and baking powder and salt are fully blended through the flour. The surface changes from separate pale piles to one even powdery mixture with a few tiny ridges and swirls left behind. The bowl now looks more uniform and lightly aerated which helps the batter rise evenly later.
Tip: A light mix is enough here because overworking dry ingredients can pack them down.
Step 3: Mix the wet ingredients
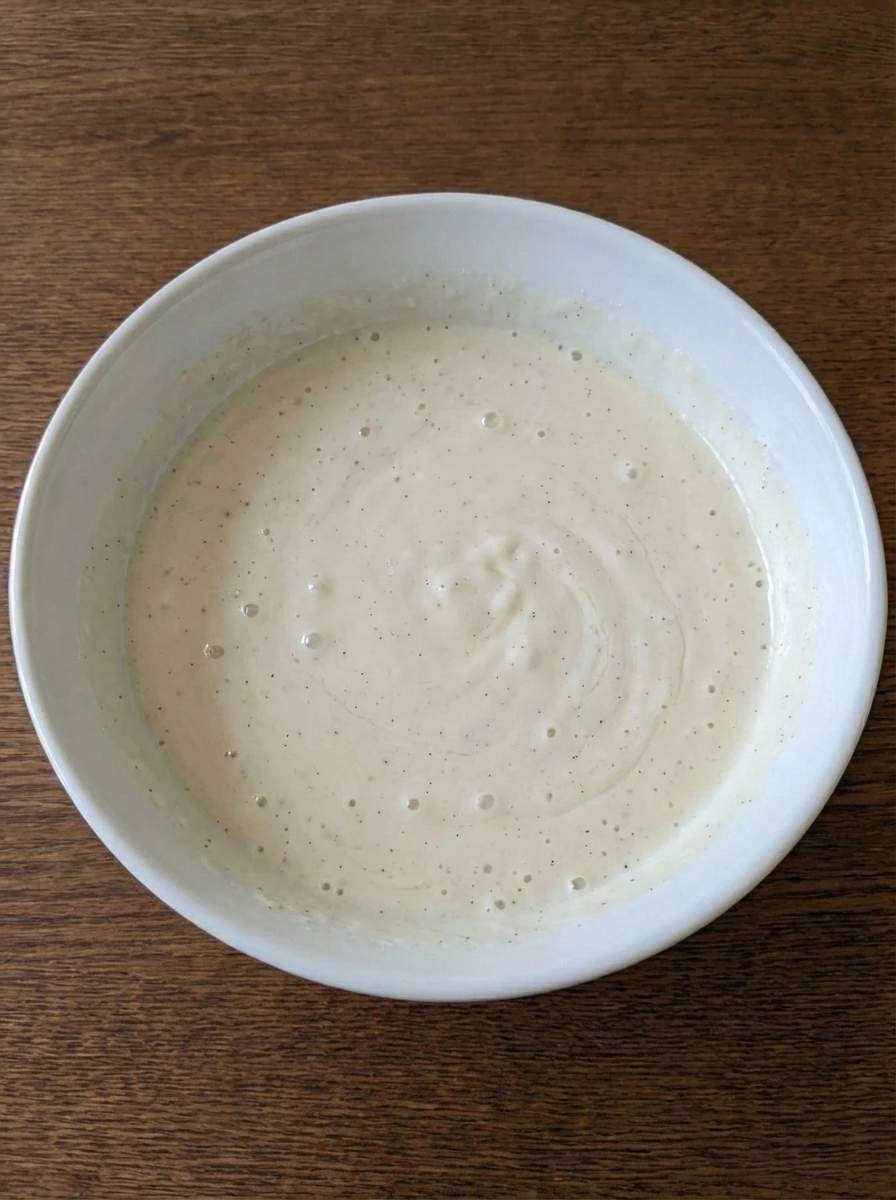
In another white bowl whisk the milk and egg and melted butter and vanilla until smooth. The yolk disappears into the liquid and the mixture turns pale creamy and glossy with a few tiny bubbles resting on top. The butter is fully dispersed now and the wet mixture looks richer and more blended than it did at the start.
Tip: Let the melted butter cool slightly so it blends smoothly into the milk and egg.
Step 4: Pour and partially mix the batter
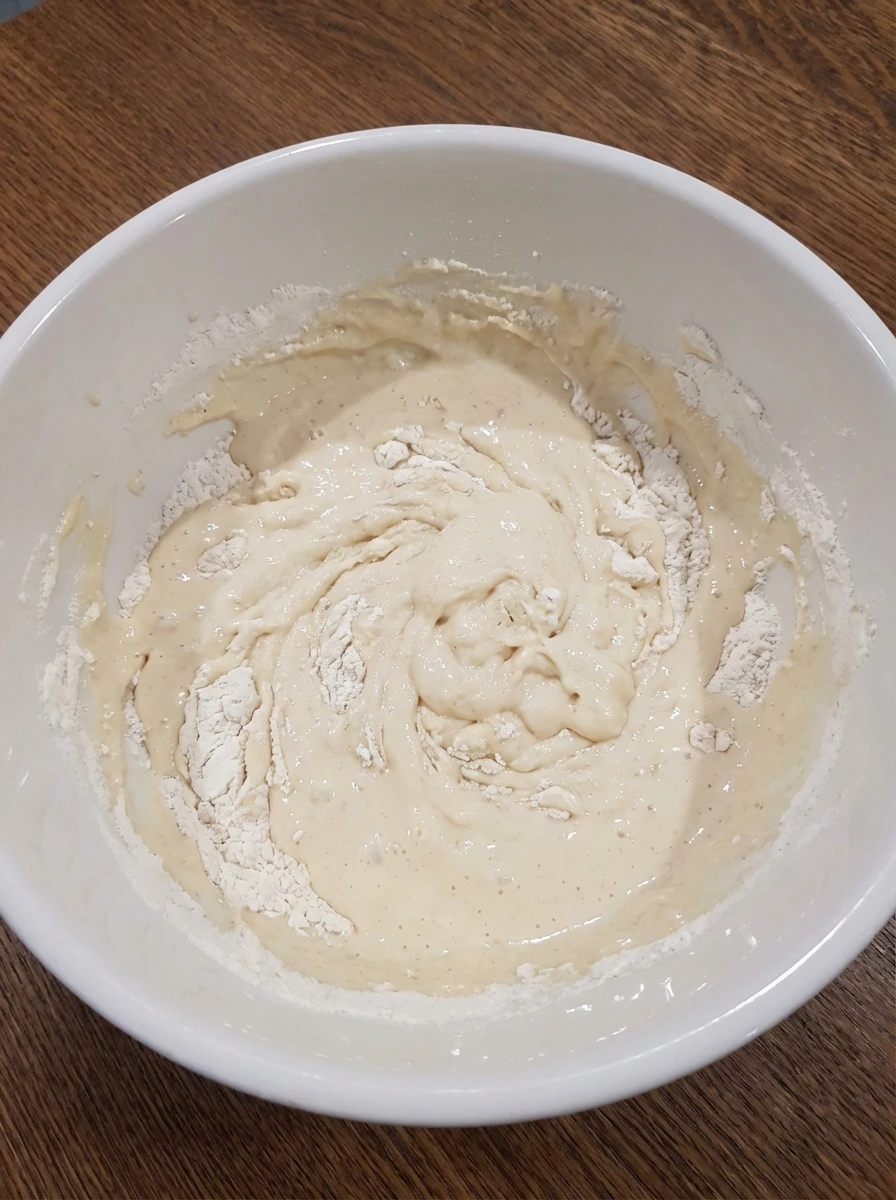
Pour the wet mixture over the dry base and begin folding it together. Streaks of flour still show through the pale batter and thicker ribbons sit beside smoother sections as the ingredients partially mix. This is the first big visual change from separate components to a real batter and it should still look a little lumpy rather than perfectly smooth.
Tip: Stop folding as soon as the flour is mostly absorbed so the pancakes stay tender.
Step 5: Cut the softened butter and fold in the chocolate
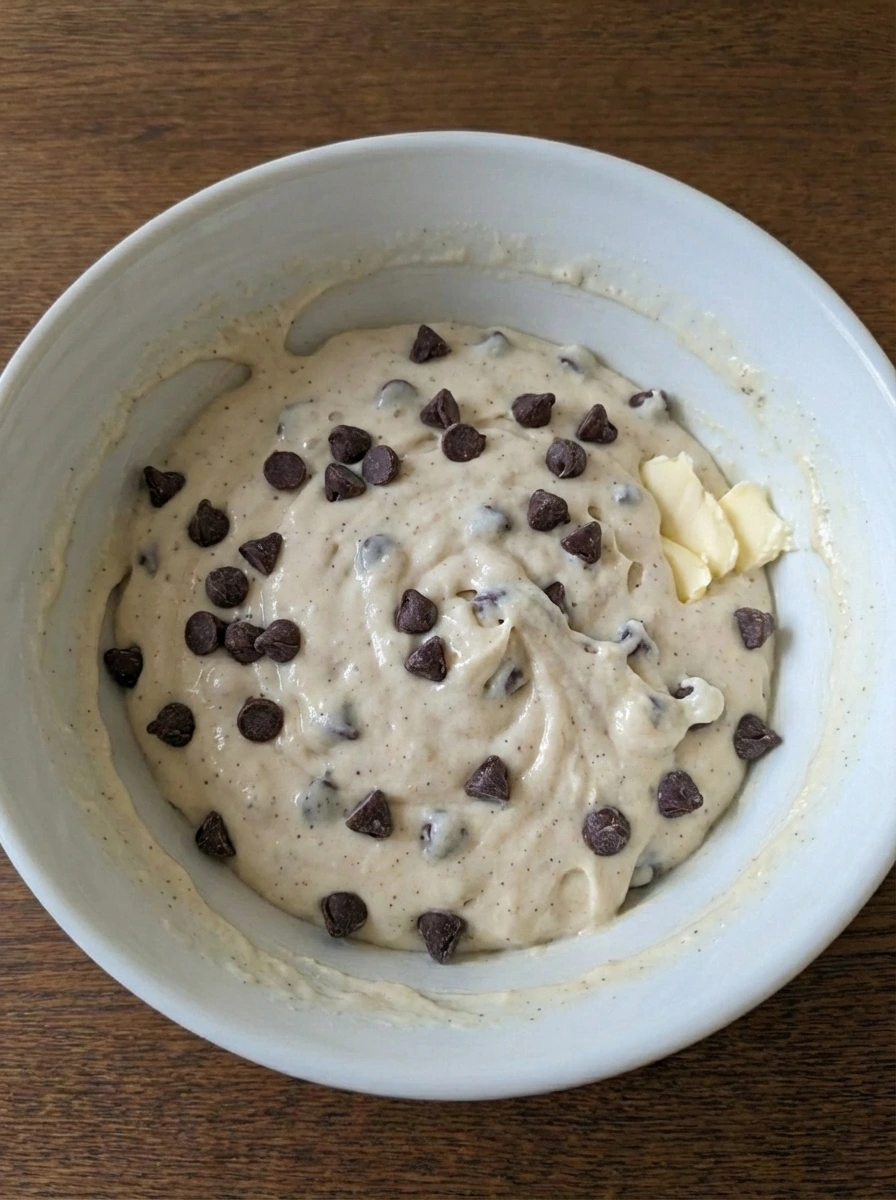
Cut the softened finishing butter into a few small uneven pieces and set them aside for later. Then scatter the chocolate chips over the batter and fold just until they are loosely spread through it. The batter becomes speckled with dark chocolate and some chips sit deeper while others remain near the surface so the mixture looks casual and imperfect.
Tip: Reserve a small handful of chocolate chips for the tops so the pancakes look more chocolatey after cooking.
Step 6: Portion and arrange the raw pancakes
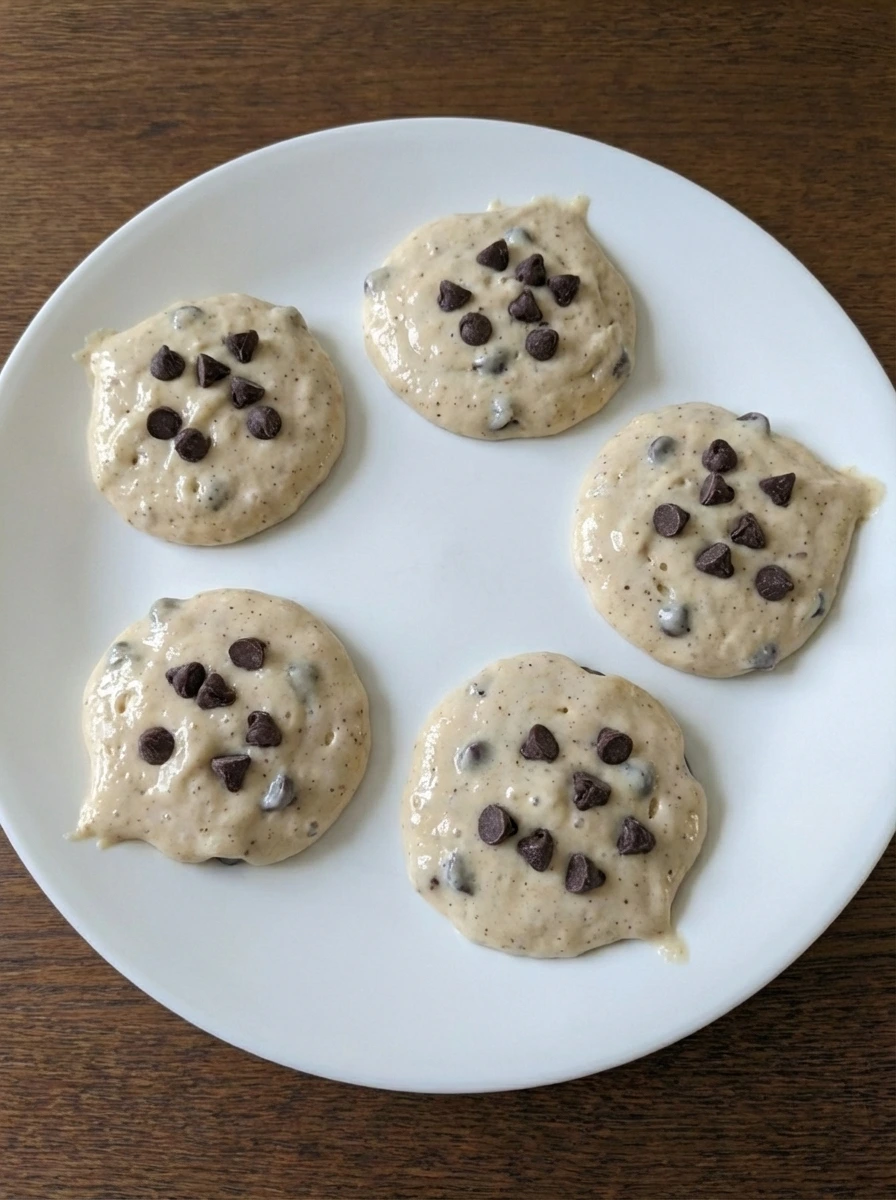
Spoon rounds of batter onto a smooth white plate used to hold the portioned batter just before cooking. The rounds spread into uneven circles and a few extra chocolate chips are scattered on top in random spots so each portion looks slightly different. The batter still looks raw and glossy and thick yet the pancakes are now assembled and ready for the next change.
Tip: Do not overload the tops with chips or the pancakes can darken too fast as they cook.
Step 7: Cook until softened and set
As the batter cooks the rounds puff slightly and the tops lose their glossy raw look. The edges begin to set and soften while the chocolate chips start to melt into the surface and leave darker shiny pockets. The pancakes are still pale in places and not yet browned enough although they clearly look more structured and gently cooked than before.
Tip: Wait until the tops look less wet before moving on so the pancakes keep their shape.
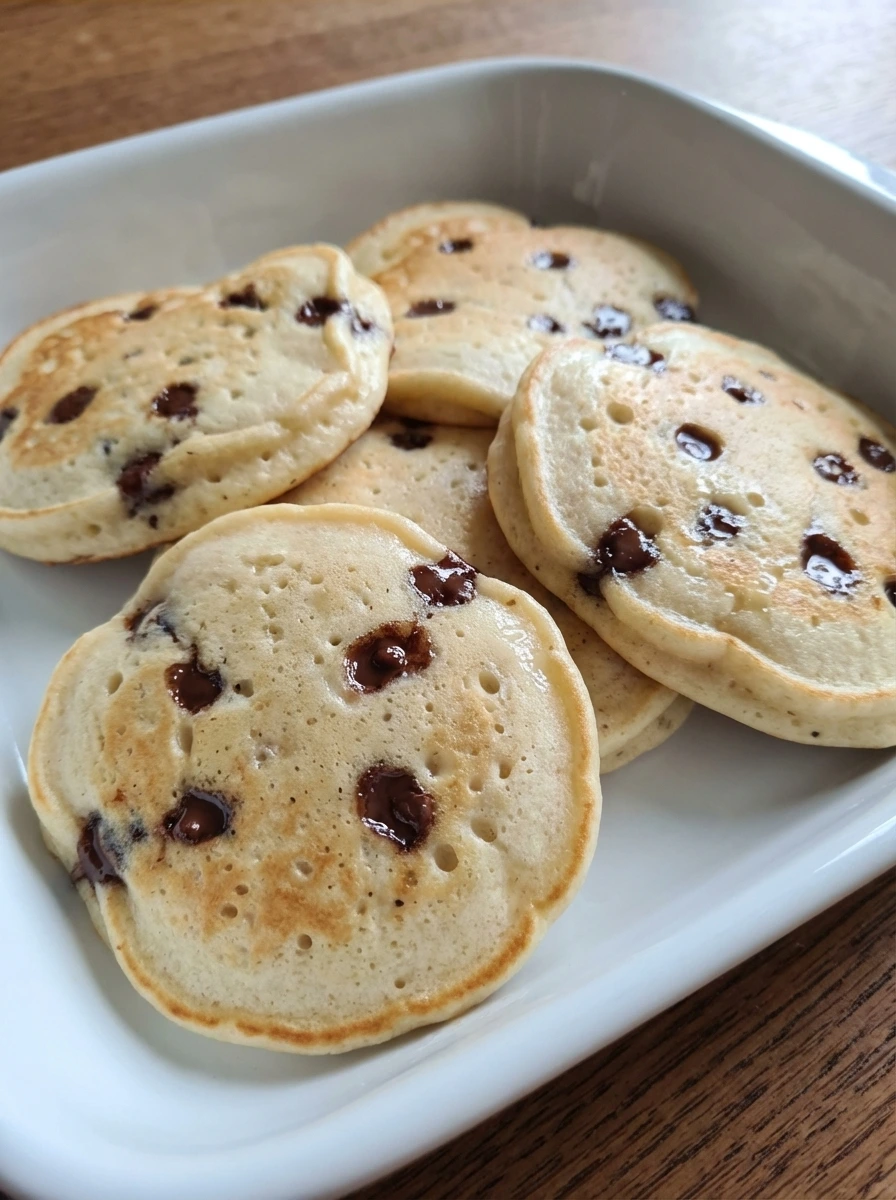
Step 8: Turn and brown the pancakes
After turning the pancakes the cooked side shows a warm golden color with a few deeper brown patches. The chocolate inside softens further and some chips melt through in irregular spots while the centers stay fluffy and lifted. This is where the pancakes take on their classic finished look with slightly browned surfaces and visible homemade variation from one piece to the next.
Tip: Aim for golden color instead of dark color so the inside stays tender.
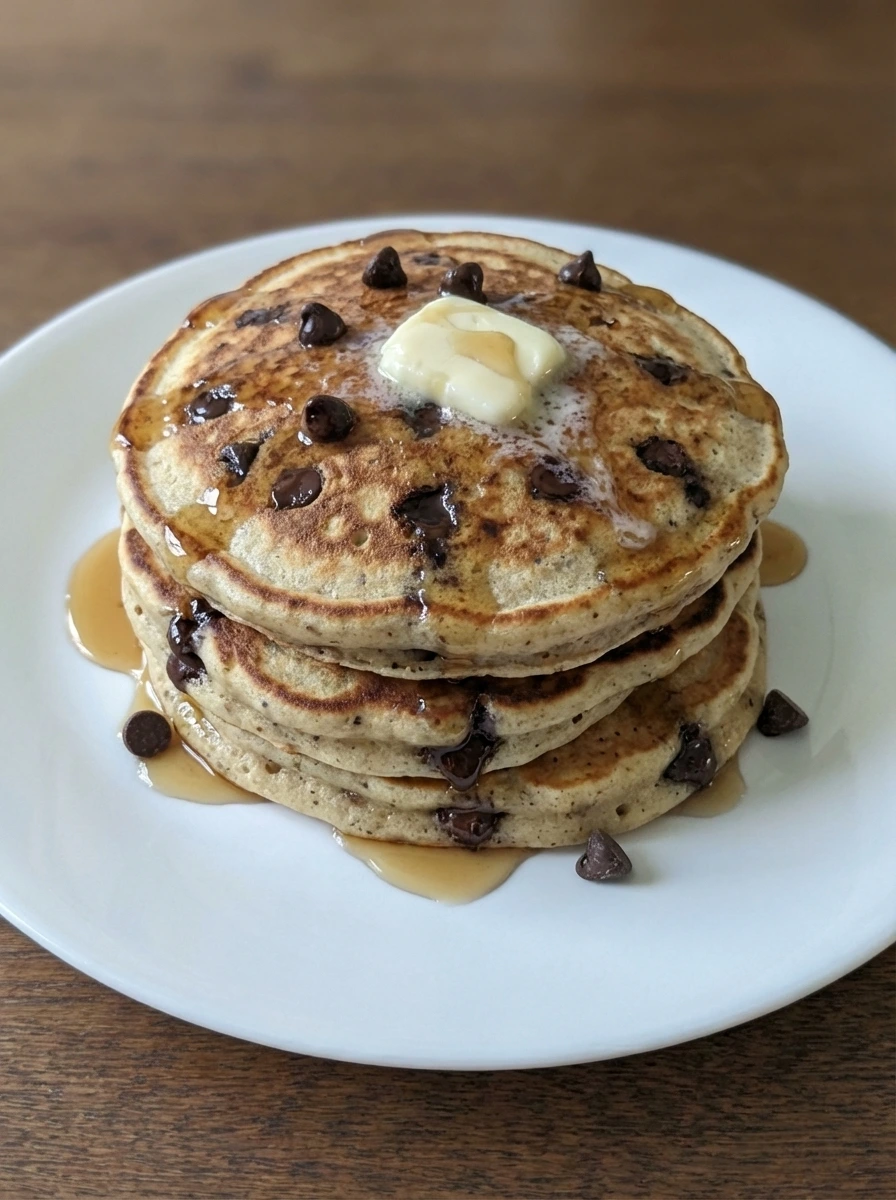
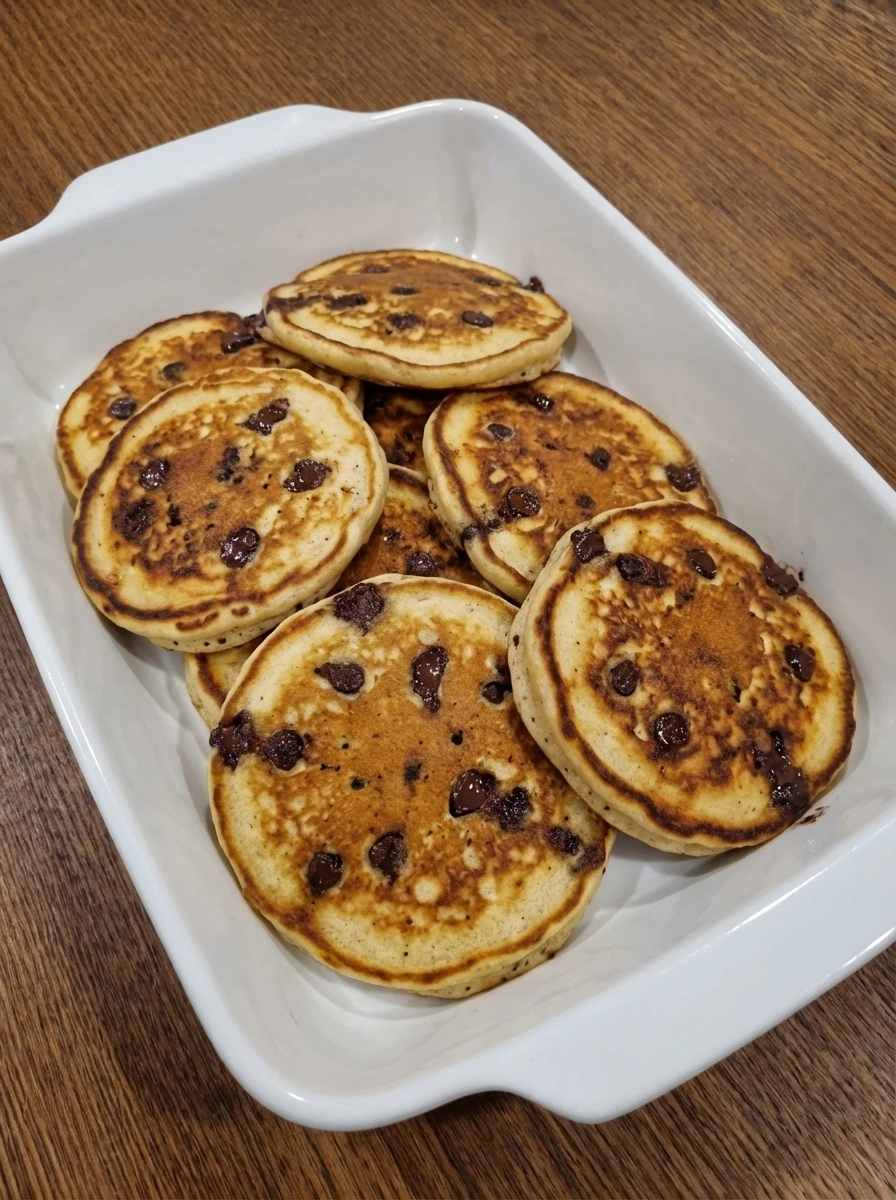
Step 9: Finish and plate
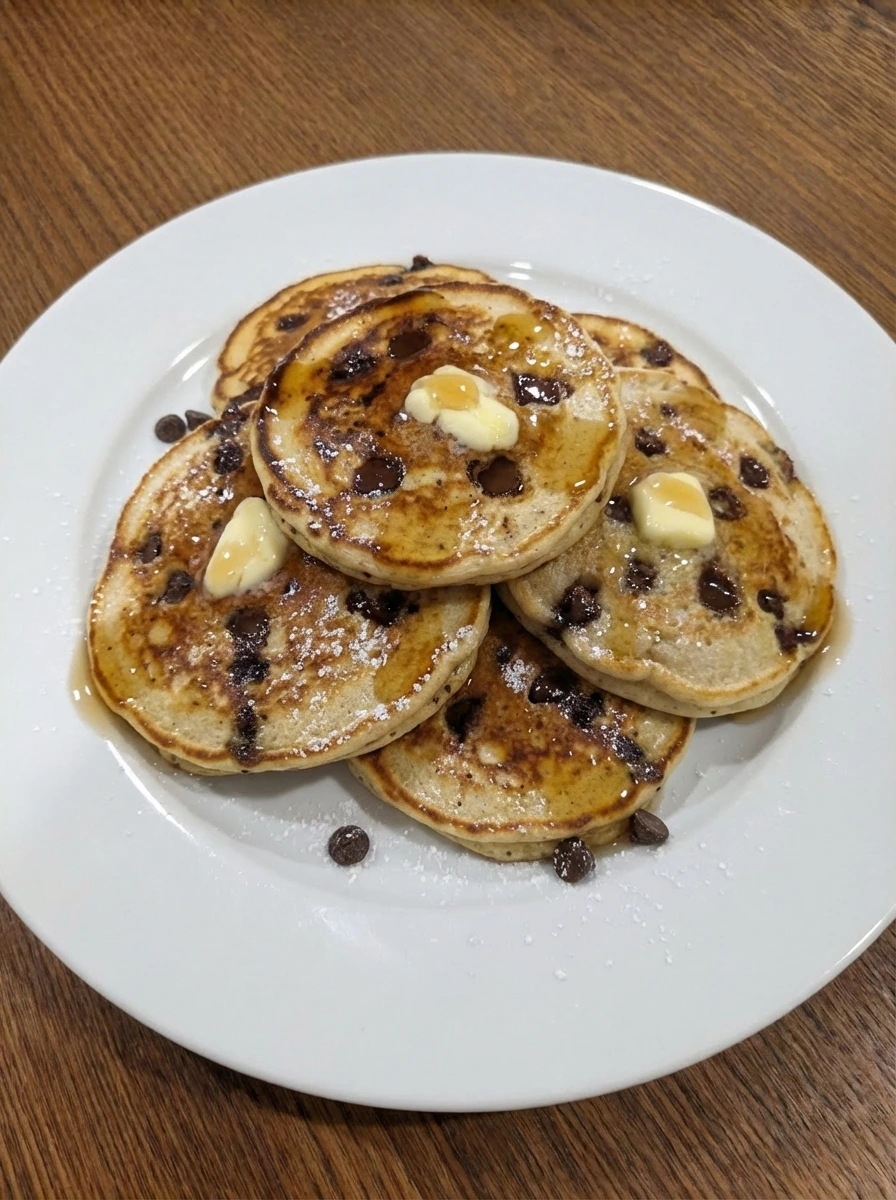
Stack the fully cooked pancakes on a white ceramic plate and add the small pieces of softened butter over the warm tops so they begin to melt unevenly. Drizzle maple syrup loosely over the stack and dust lightly with powdered sugar then scatter a few extra chocolate chips for a casual finish. The final dish looks fully cooked and ready to serve with golden brown color and glossy syrup and irregular melted chocolate showing through the layers.
Tip: Serve right away while the butter is still soft and the chocolate is warm.
Pro Tips
- Let the batter rest for 5 minutes so the flour hydrates and the pancakes cook up fluffier.
- Keep the batter a little lumpy because a perfectly smooth batter can make the pancakes less tender.
- Add a few chocolate chips on top of each portion right before cooking for more visible melted chocolate.
- Serve the pancakes as soon as they are plated so the butter stays melty and the edges stay soft.
Storage Instructions
Store leftover Chocolate Chip Pancakes in an airtight container in the refrigerator for up to 3 days. Reheat until warm so the centers soften and the chocolate turns melty again. For longer storage freeze the pancakes in layers with parchment between them for up to 2 months.
Frequently Asked Questions
Can I make Chocolate Chip Pancakes ahead of time?
Yes and you can cook them fully then cool them and store them in the fridge. Reheat until warm and the chocolate softens again.
Can I use mini chocolate chips?
Yes and they spread through the batter more evenly while still giving plenty of melty chocolate in each bite.
Why is my batter lumpy?
A few lumps are normal and actually helpful because overmixed batter can make pancakes dense instead of fluffy.
Can I freeze these pancakes?
Yes and freeze them in a single layer first then stack them with parchment between each one for easy reheating later.
Final Thoughts
This is the kind of recipe I wish I had found years ago. It would have saved me so many rushed breakfast mornings.
But now that I have it I make it all the time and I think you will too. If you enjoyed this check out some of my other popular recipes on the blog.
And leave a comment because I read every single one and it really makes my day.
Print
Chocolate Chip Pancakes
- Total Time: 45 minutes
- Yield: 4 servings 1x
Description
These Chocolate Chip Pancakes are the best easy breakfast for busy mornings and cozy weekends. You get quick ideas for a simple stack with fluffy texture and melted chocolate in every bite while still keeping things healthy with pantry basics and flexible toppings. They work for brunch and holiday mornings and meal prep and even a casual potluck or party spread when you want a sweet homemade favorite everyone will reach for.
Ingredients
- 1 1/2 cups all purpose flour
- 2 tablespoons granulated sugar
- 3 1/2 teaspoons baking powder
- 1/2 teaspoon fine sea salt
- 1 1/4 cups whole milk
- 1 large egg
- 3 tablespoons melted plus 1 tablespoon softened for finishing unsalted butter
- 1 teaspoon vanilla extract
- 3/4 cup plus extra for garnish semi sweet chocolate chips
- to serve maple syrup
- light dusting optional powdered sugar
Instructions
- Add the flour and sugar and baking powder and salt into a wide white mixing bowl. The powders sit in loose soft mounds with slightly uneven edges and the salt disappears lightly into the flour. At this stage everything still looks dry and separate although the ingredients are gathered together and ready for the first mix.
- Gently stir the dry ingredients until the sugar and baking powder and salt are fully blended through the flour. The surface changes from separate pale piles to one even powdery mixture with a few tiny ridges and swirls left behind. The bowl now looks more uniform and lightly aerated which helps the batter rise evenly later.
- In another white bowl whisk the milk and egg and melted butter and vanilla until smooth. The yolk disappears into the liquid and the mixture turns pale creamy and glossy with a few tiny bubbles resting on top. The butter is fully dispersed now and the wet mixture looks richer and more blended than it did at the start.
- Pour the wet mixture over the dry base and begin folding it together. Streaks of flour still show through the pale batter and thicker ribbons sit beside smoother sections as the ingredients partially mix. This is the first big visual change from separate components to a real batter and it should still look a little lumpy rather than perfectly smooth.
- Cut the softened finishing butter into a few small uneven pieces and set them aside for later. Then scatter the chocolate chips over the batter and fold just until they are loosely spread through it. The batter becomes speckled with dark chocolate and some chips sit deeper while others remain near the surface so the mixture looks casual and imperfect.
- Spoon rounds of batter onto a smooth white plate used to hold the portioned batter just before cooking. The rounds spread into uneven circles and a few extra chocolate chips are scattered on top in random spots so each portion looks slightly different. The batter still looks raw and glossy and thick yet the pancakes are now assembled and ready for the next change.
- As the batter cooks the rounds puff slightly and the tops lose their glossy raw look. The edges begin to set and soften while the chocolate chips start to melt into the surface and leave darker shiny pockets. The pancakes are still pale in places and not yet browned enough although they clearly look more structured and gently cooked than before.
- After turning the pancakes the cooked side shows a warm golden color with a few deeper brown patches. The chocolate inside softens further and some chips melt through in irregular spots while the centers stay fluffy and lifted. This is where the pancakes take on their classic finished look with slightly browned surfaces and visible homemade variation from one piece to the next.
- Stack the fully cooked pancakes on a white ceramic plate and add the small pieces of softened butter over the warm tops so they begin to melt unevenly. Drizzle maple syrup loosely over the stack and dust lightly with powdered sugar then scatter a few extra chocolate chips for a casual finish. The final dish looks fully cooked and ready to serve with golden brown color and glossy syrup and irregular melted chocolate showing through the layers.
Notes
Pro Tips:
- Let the batter rest for 5 minutes so the flour hydrates and the pancakes cook up fluffier.
- Keep the batter a little lumpy because a perfectly smooth batter can make the pancakes less tender.
- Add a few chocolate chips on top of each portion right before cooking for more visible melted chocolate.
- Serve the pancakes as soon as they are plated so the butter stays melty and the edges stay soft.
Storage: Store leftover Chocolate Chip Pancakes in an airtight container in the refrigerator for up to 3 days. Reheat until warm so the centers soften and the chocolate turns melty again. For longer storage freeze the pancakes in layers with parchment between them for up to 2 months.
- Prep Time: 15 minutes
- Cook Time: 30 minutes
- Category: Breakfast
- Cuisine: American
Nutrition
- Serving Size: 1 serving