This Beef and Cheese Enchiladas recipe is packed with flavor and so easy to make. It is a budget friendly recipe that you can make in 30 minutes or less! Make this cheesy and satisfying enchilada dish for dinner tonight.

If you love cheesy comfort food, you are going to love this Beef and Cheese Enchiladas recipe. It’s a hearty, flavorful, and addictive dish filled with seasoned beef and melty cheese. With a saucy filling like this, you’re going to want something to soak up every single last bite.
If you’re looking for other cheesy saucy recipes like my beef enchiladas, why not also try this Cheesy Chicken Quesadilla or Beef Taco Skillet. Both of these recipes are made in less than 35 minutes, making them perfect for a quick weeknight meal.
Ingredients
Here’s what I use for this recipe and you can always make substitutions if you prefer.
- ground beef: Provides the rich and savory base for the enchilada filling.
- shredded cheddar cheese: Adds creamy texture and bold cheesy flavor.
- corn tortillas: Serves as the base to wrap and hold the filling.
- enchilada sauce: Brings moisture and tangy depth to the dish.
- onion: Adds sweetness and aroma to the filling.
- garlic cloves: Enhances the overall flavor with a savory kick.
- cumin: Adds warm earthy spice to the beef mixture.
- paprika: Gives a mild smoky flavor and color.
- salt: Balances and enhances all flavors.
- black pepper: Adds subtle heat and depth.
- fresh cilantro: Adds freshness and color as garnish.
Tools You’ll Need
- mixing bowl (for combining ingredients)
- knife (for chopping vegetables)
- cutting board (for safe prep)
- baking dish (for assembling enchiladas)
Instructions
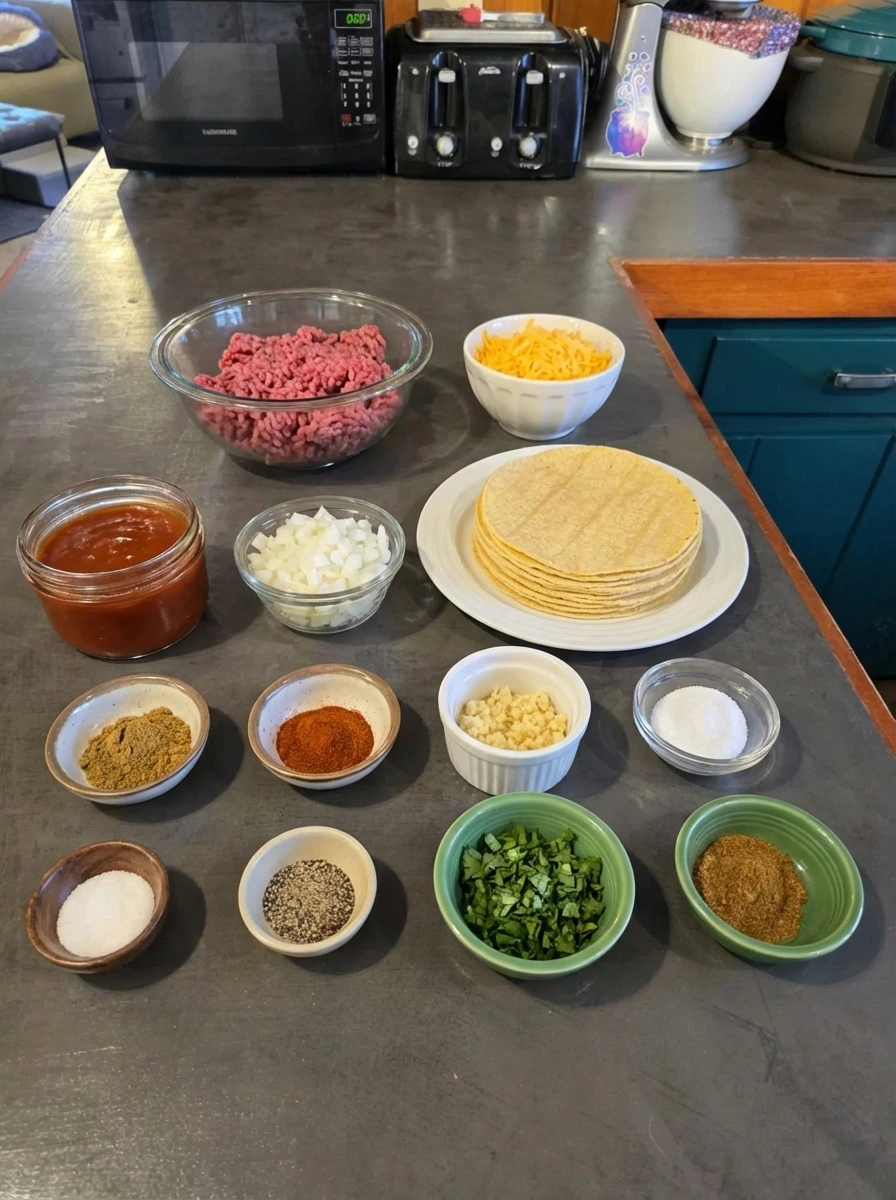
Step 1: Prepare and Chop Ingredients

Begin by placing all ingredients into separate small bowls to keep everything organized. Dice the onion into small even pieces and mince the garlic finely so it blends smoothly into the filling. Measure out the spices and place them in individual containers. The ingredients should now appear neatly arranged, with colors from the onion, spices, and herbs clearly visible.
Tip: Keep all ingredients prepped before assembling to make the process smoother.
Step 2: Season and Mix the Beef Filling
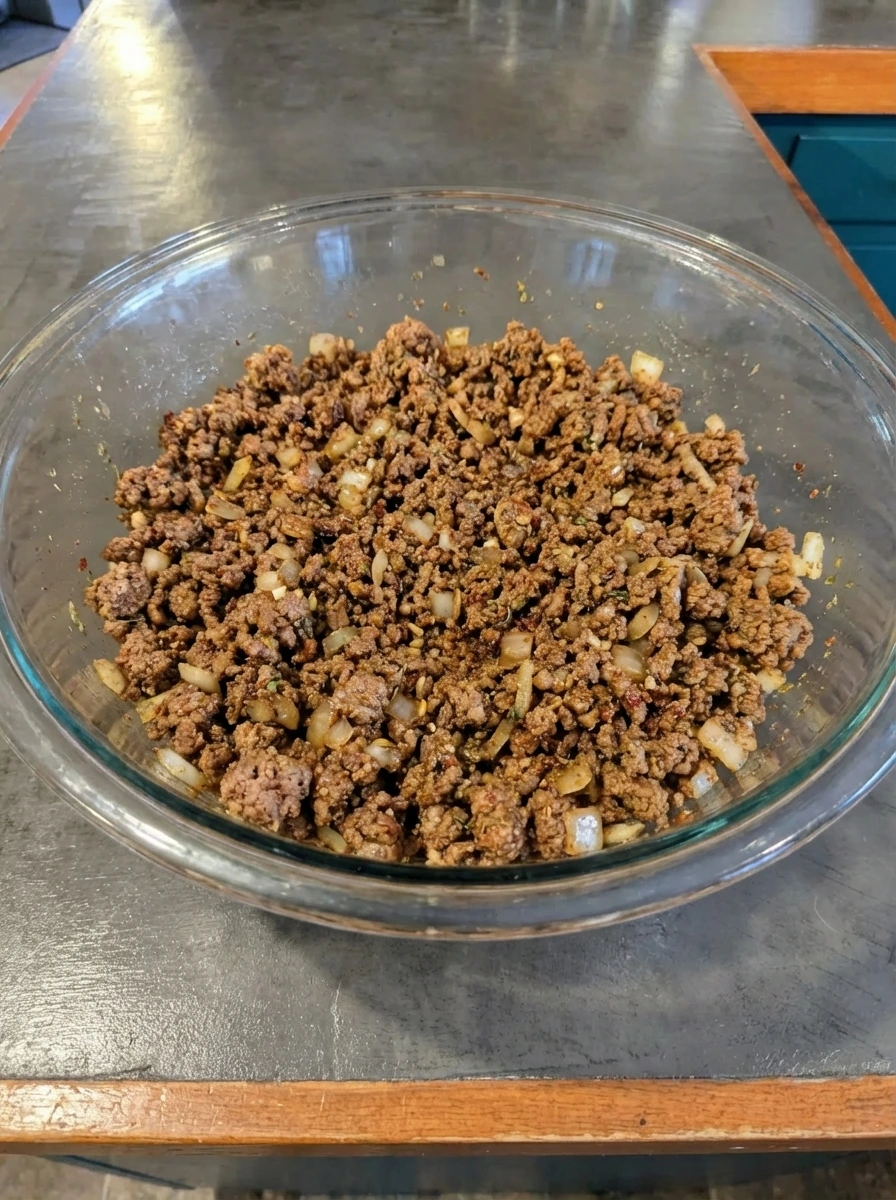
Place the ground beef into a large mixing bowl and add the diced onion, minced garlic, cumin, paprika, salt, and pepper. Use a spoon to thoroughly combine everything until the mixture looks evenly seasoned. The beef mixture should appear slightly textured with visible bits of onion and specks of spices distributed throughout, giving it a rich and seasoned look.
Tip: Mix gently to keep the texture of the beef tender.
Step 3: Prepare Tortillas and Cheese
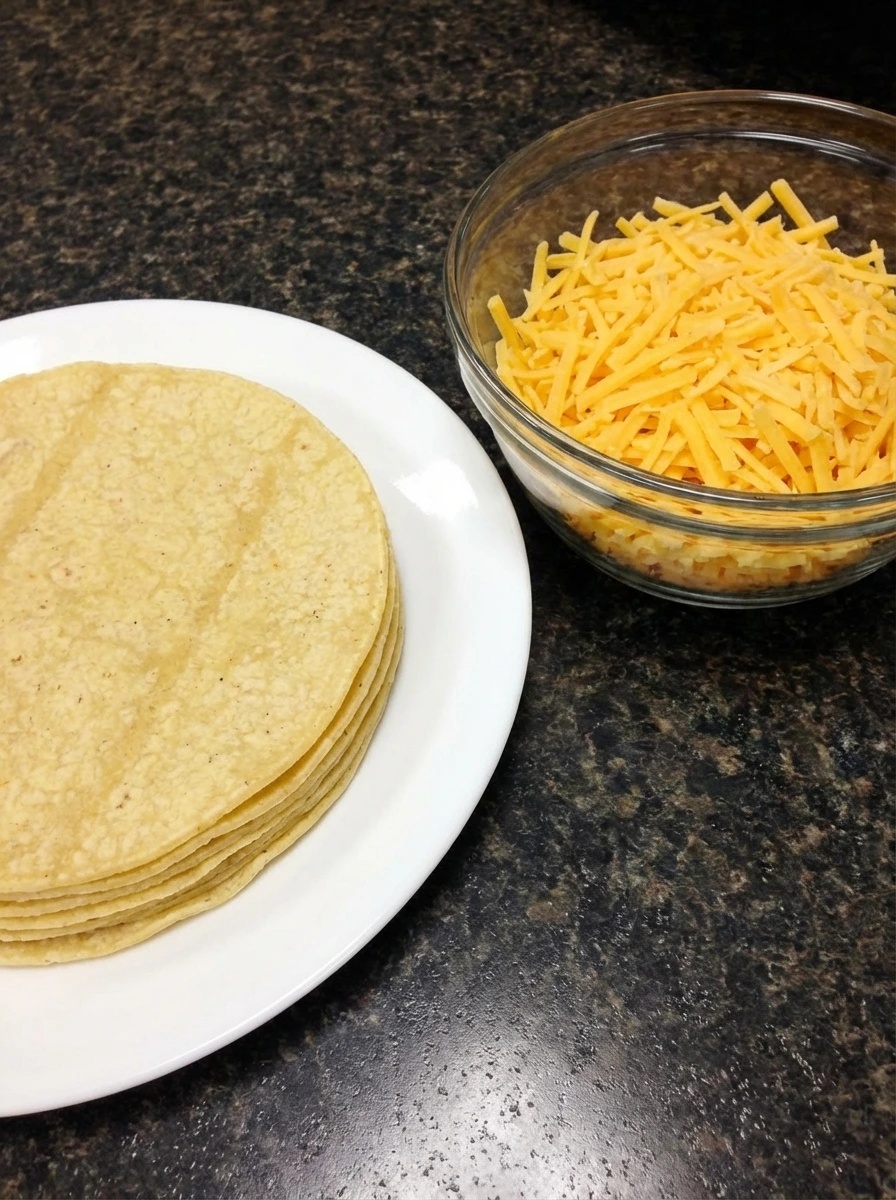
Lay out the corn tortillas on a large plate and ensure they are separated and easy to handle. Place the shredded cheese into a bowl so it is ready for filling and layering. The tortillas should look soft and pliable, while the cheese appears finely shredded and fluffy, ready to be sprinkled into each roll.
Tip: Keep tortillas stacked and covered to prevent drying out.
Step 4: Fill and Roll the Enchiladas
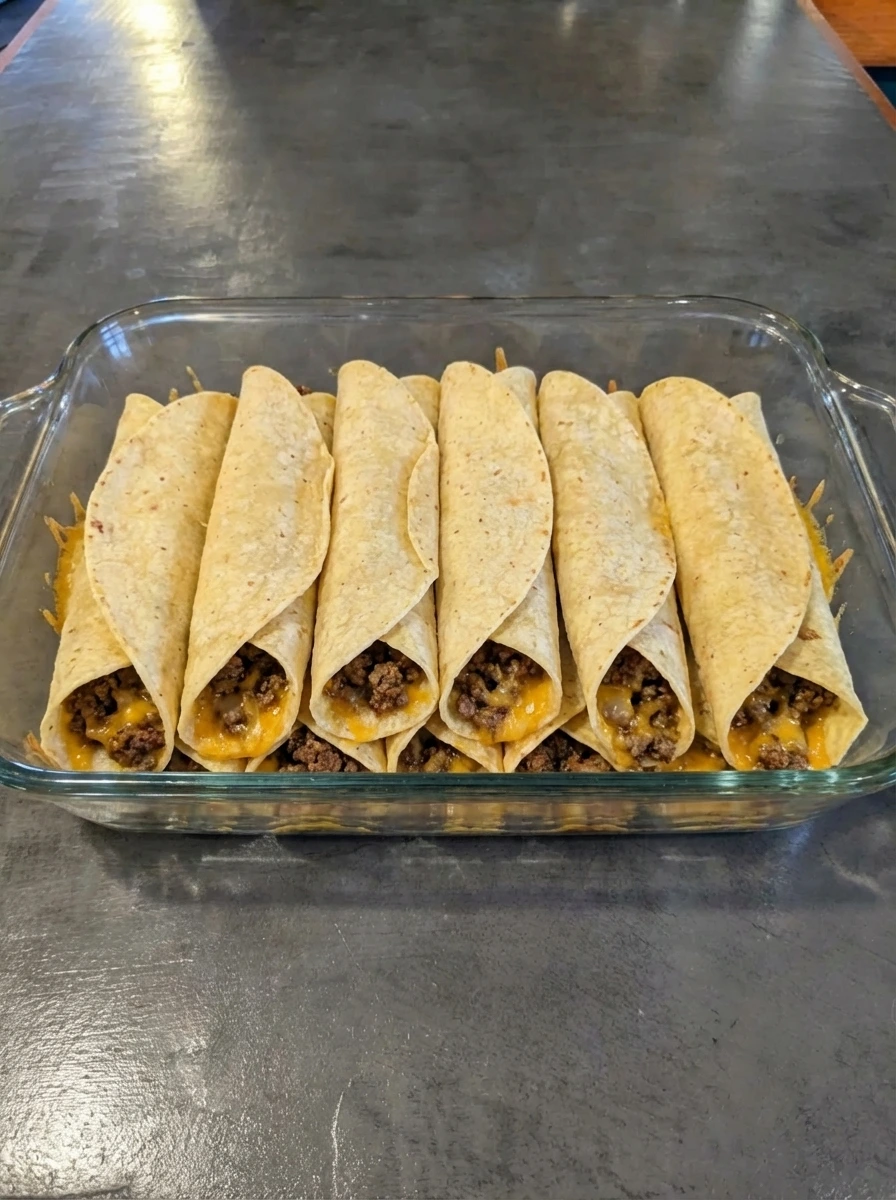
Spoon the seasoned beef mixture into the center of each tortilla and sprinkle a generous amount of shredded cheese on top. Carefully roll each tortilla tightly to enclose the filling. The rolled enchiladas should appear evenly filled and cylindrical, with the filling tucked neatly inside and no loose edges.
Tip: Do not overfill to keep the rolls neat and secure.
Step 5: Arrange and Add Sauce
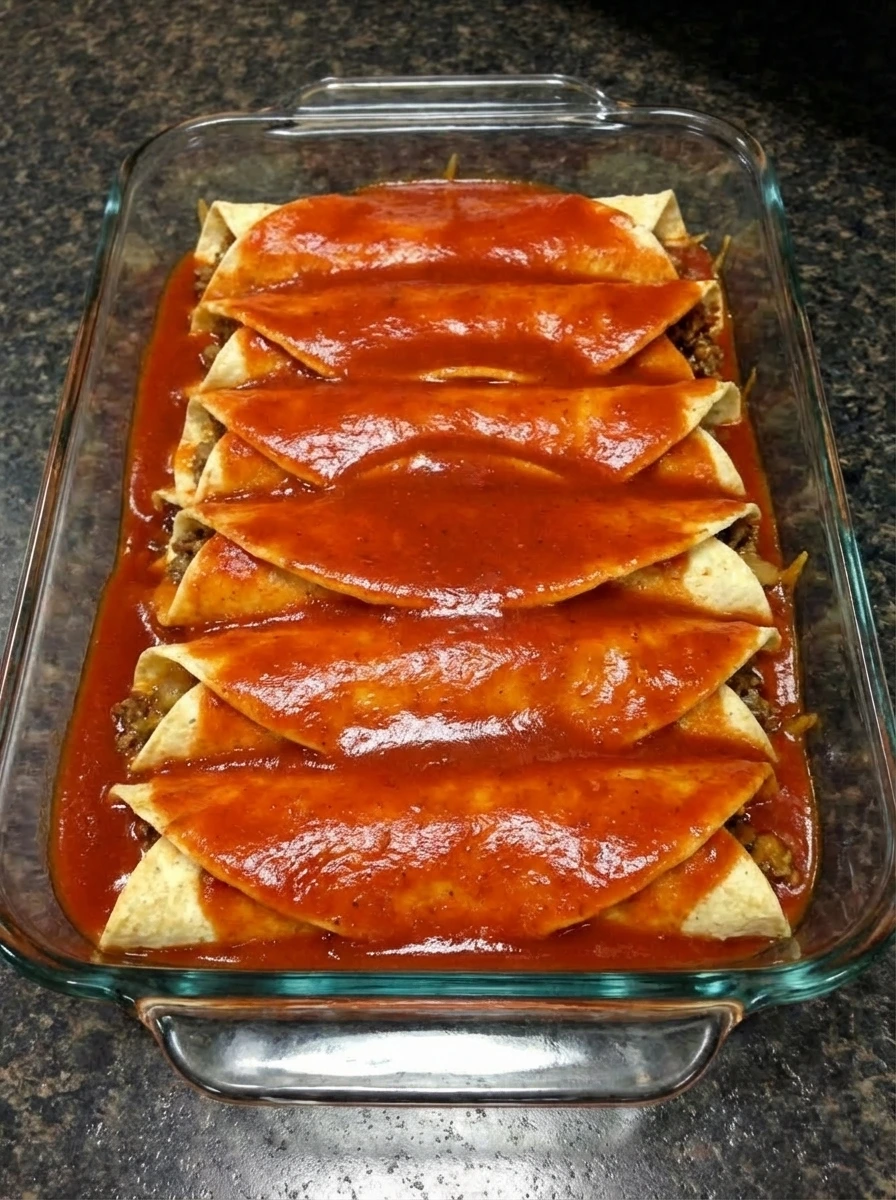
Place the rolled enchiladas side by side in a large dish so they fit snugly. Pour the enchilada sauce evenly over the top, making sure each piece is fully coated. The enchiladas should now appear covered in a rich red sauce, with a glossy surface that evenly blankets each roll.
Tip: Spread the sauce evenly for consistent flavor in every bite.
Step 6: Add Cheese Topping
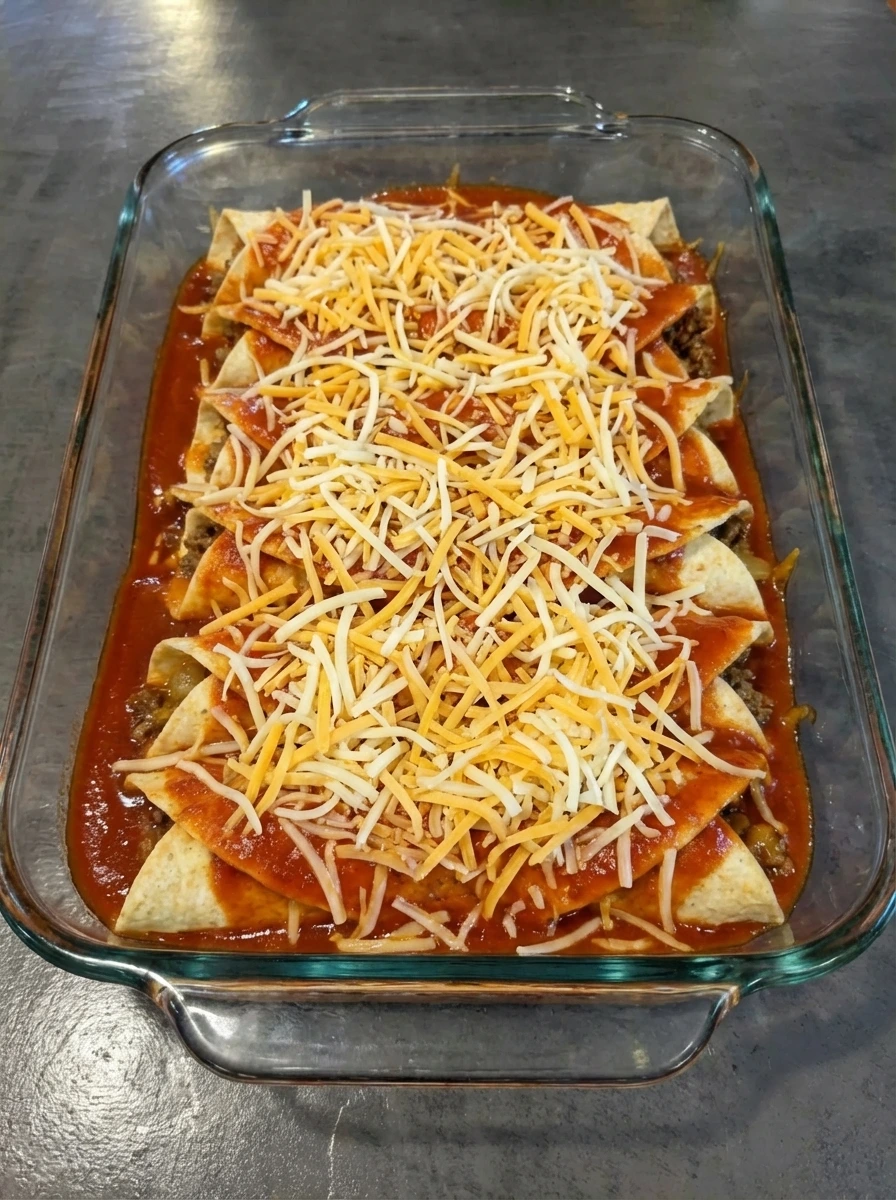
Sprinkle the remaining shredded cheese evenly over the sauced enchiladas, ensuring full coverage across the top. The dish should now look generously topped with cheese, creating a thick layer that will later become melted and cohesive.
Tip: Use an even layer of cheese for a balanced finish.
Step 7: Rest and Garnish
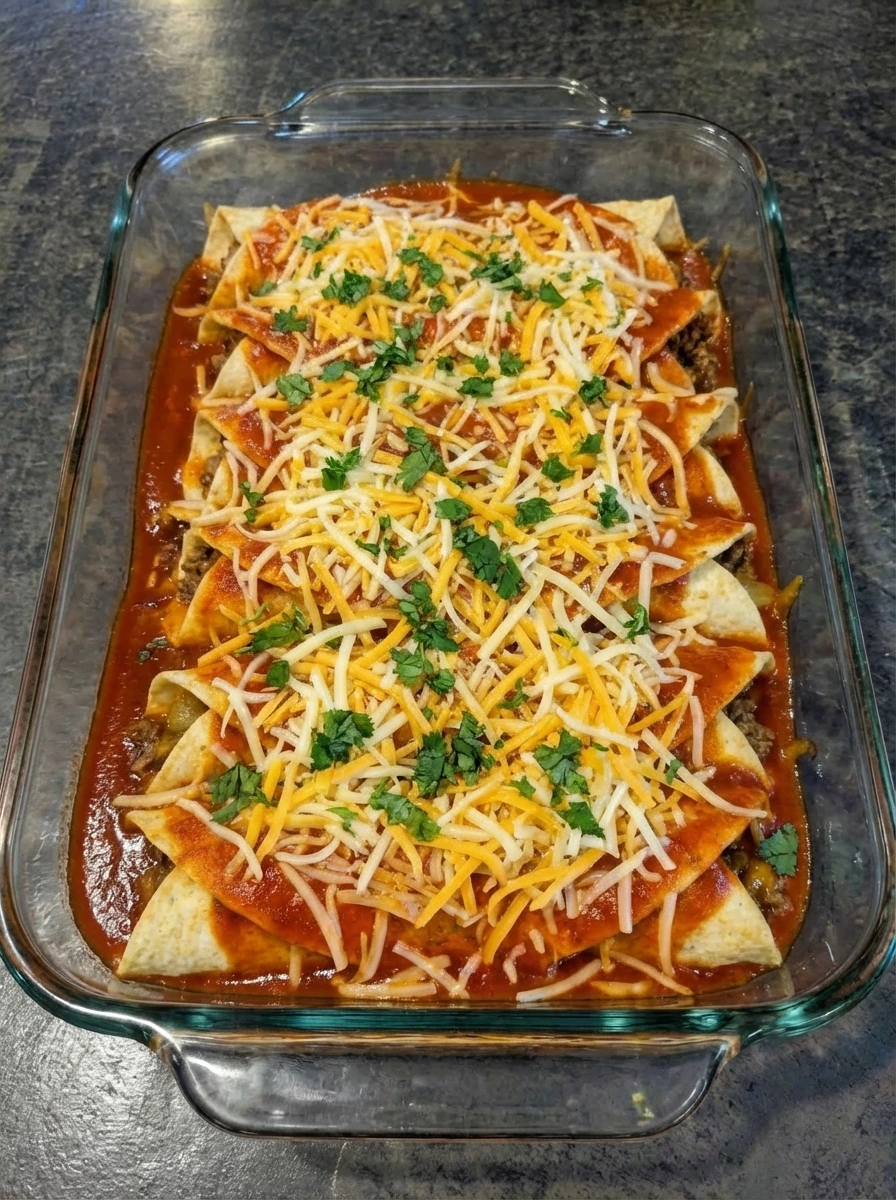
Allow the assembled enchiladas to rest briefly so the layers settle and the sauce absorbs into the tortillas. This step helps the structure hold together when serving. Sprinkle freshly chopped cilantro over the top, adding a pop of green color that contrasts beautifully with the rich red sauce and cheese.
Tip: Let the dish rest to improve texture and flavor absorption.
Step 8: Plate and Serve
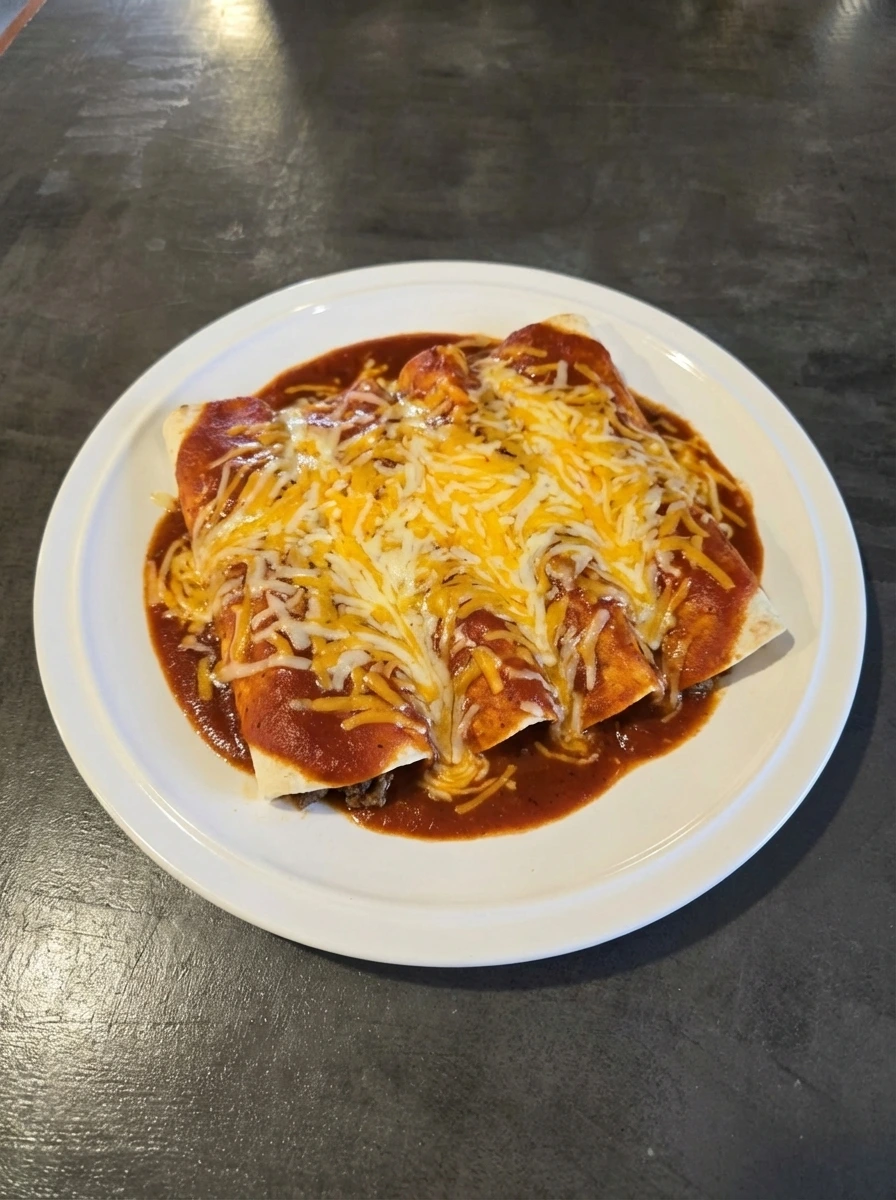
Carefully transfer the enchiladas onto a serving plate, keeping each portion intact. Arrange them neatly so the sauce and cheese remain visible on top. The final dish should look rich, saucy, and inviting with layers of beef, cheese, and tortillas clearly defined and ready to enjoy.
Tip: Serve immediately for the best texture and flavor.
Pro Tips
- Use freshly shredded cheese for better texture
- Do not overfill tortillas to prevent tearing
- Let enchiladas rest before serving
- Use warm tortillas for easier rolling
Storage Instructions
Store leftover enchiladas in an airtight container in the refrigerator for up to 3 days. For longer storage, place them in a freezer safe container and freeze for up to 2 months. Make sure they are fully cooled before storing to maintain texture. Reheat until warmed through and add a bit of extra sauce if needed to keep them moist.
Frequently Asked Questions
Can I use flour tortillas instead of corn?
Yes, flour tortillas can be used if you prefer a softer texture. They are easier to roll and less likely to crack. However, corn tortillas provide a more traditional flavor and texture.
What type of cheese works best?
Cheddar is commonly used for its bold flavor and melting quality. You can also mix in Monterey Jack or mozzarella for extra creaminess. Combining cheeses often gives the best result.
Can I make this ahead of time?
Yes, you can assemble the enchiladas in advance and store them in the fridge. This makes it convenient for busy days. Add garnish just before serving for freshness.
Final Thoughts
If you try this recipe, I really hope you love it as much as my family does. It has become one of those dishes we just keep coming back to, no matter the season.
Drop a comment below and let me know how yours turned out. And if you are looking for more easy dinner ideas, make sure to bookmark this page.
I am always adding new recipes that are simple, satisfying, and perfect for busy weeknights.
Print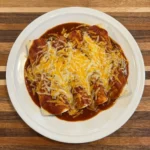
Cheesy Beef Enchiladas That Are Bold, Saucy, and Irresistibly Delicious
- Total Time: 45 minutes
- Yield: 4 servings 1x
Description
This Beef and Cheese Enchiladas recipe is packed with flavor and so easy to make. It is a budget friendly recipe that you can make in 30 minutes or less! Make this cheesy and satisfying enchilada dish for dinner tonight. If you love cheesy comfort food, you are going to love this Beef and Cheese Enchiladas recipe. It’s a hearty, flavorful, and addictive dish filled with seasoned beef and melty cheese. With a saucy filling like this, you’re going to want something to soak up every single last bite. If you’re looking for other cheesy saucy recipes like my beef enchiladas, why not also try this Cheesy Chicken Quesadilla or Beef Taco Skillet. Both of these recipes are made in less than 35 minutes, making them perfect for a quick weeknight meal.
Ingredients
- 500 g ground beef
- 2 cups shredded cheddar cheese
- 8 pieces corn tortillas
- 2 cups enchilada sauce
- 1 small, diced onion
- 2, minced garlic cloves
- 1 tsp cumin
- 1 tsp paprika
- 1 tsp salt
- 1/2 tsp black pepper
- 2 tbsp chopped fresh cilantro
Instructions
- Begin by placing all ingredients into separate small bowls to keep everything organized. Dice the onion into small even pieces and mince the garlic finely so it blends smoothly into the filling. Measure out the spices and place them in individual containers. The ingredients should now appear neatly arranged, with colors from the onion, spices, and herbs clearly visible.
- Place the ground beef into a large mixing bowl and add the diced onion, minced garlic, cumin, paprika, salt, and pepper. Use a spoon to thoroughly combine everything until the mixture looks evenly seasoned. The beef mixture should appear slightly textured with visible bits of onion and specks of spices distributed throughout, giving it a rich and seasoned look.
- Lay out the corn tortillas on a large plate and ensure they are separated and easy to handle. Place the shredded cheese into a bowl so it is ready for filling and layering. The tortillas should look soft and pliable, while the cheese appears finely shredded and fluffy, ready to be sprinkled into each roll.
- Spoon the seasoned beef mixture into the center of each tortilla and sprinkle a generous amount of shredded cheese on top. Carefully roll each tortilla tightly to enclose the filling. The rolled enchiladas should appear evenly filled and cylindrical, with the filling tucked neatly inside and no loose edges.
- Place the rolled enchiladas side by side in a large dish so they fit snugly. Pour the enchilada sauce evenly over the top, making sure each piece is fully coated. The enchiladas should now appear covered in a rich red sauce, with a glossy surface that evenly blankets each roll.
- Sprinkle the remaining shredded cheese evenly over the sauced enchiladas, ensuring full coverage across the top. The dish should now look generously topped with cheese, creating a thick layer that will later become melted and cohesive.
- Allow the assembled enchiladas to rest briefly so the layers settle and the sauce absorbs into the tortillas. This step helps the structure hold together when serving. Sprinkle freshly chopped cilantro over the top, adding a pop of green color that contrasts beautifully with the rich red sauce and cheese.
- Carefully transfer the enchiladas onto a serving plate, keeping each portion intact. Arrange them neatly so the sauce and cheese remain visible on top. The final dish should look rich, saucy, and inviting with layers of beef, cheese, and tortillas clearly defined and ready to enjoy.
Notes
Pro Tips:
- Use freshly shredded cheese for better texture
- Do not overfill tortillas to prevent tearing
- Let enchiladas rest before serving
- Use warm tortillas for easier rolling
Storage: Store leftover enchiladas in an airtight container in the refrigerator for up to 3 days. For longer storage, place them in a freezer safe container and freeze for up to 2 months. Make sure they are fully cooled before storing to maintain texture. Reheat until warmed through and add a bit of extra sauce if needed to keep them moist.
- Prep Time: 15 minutes
- Cook Time: 30 minutes
- Category: Dinner
- Cuisine: Mexican
Nutrition
- Serving Size: 1 serving