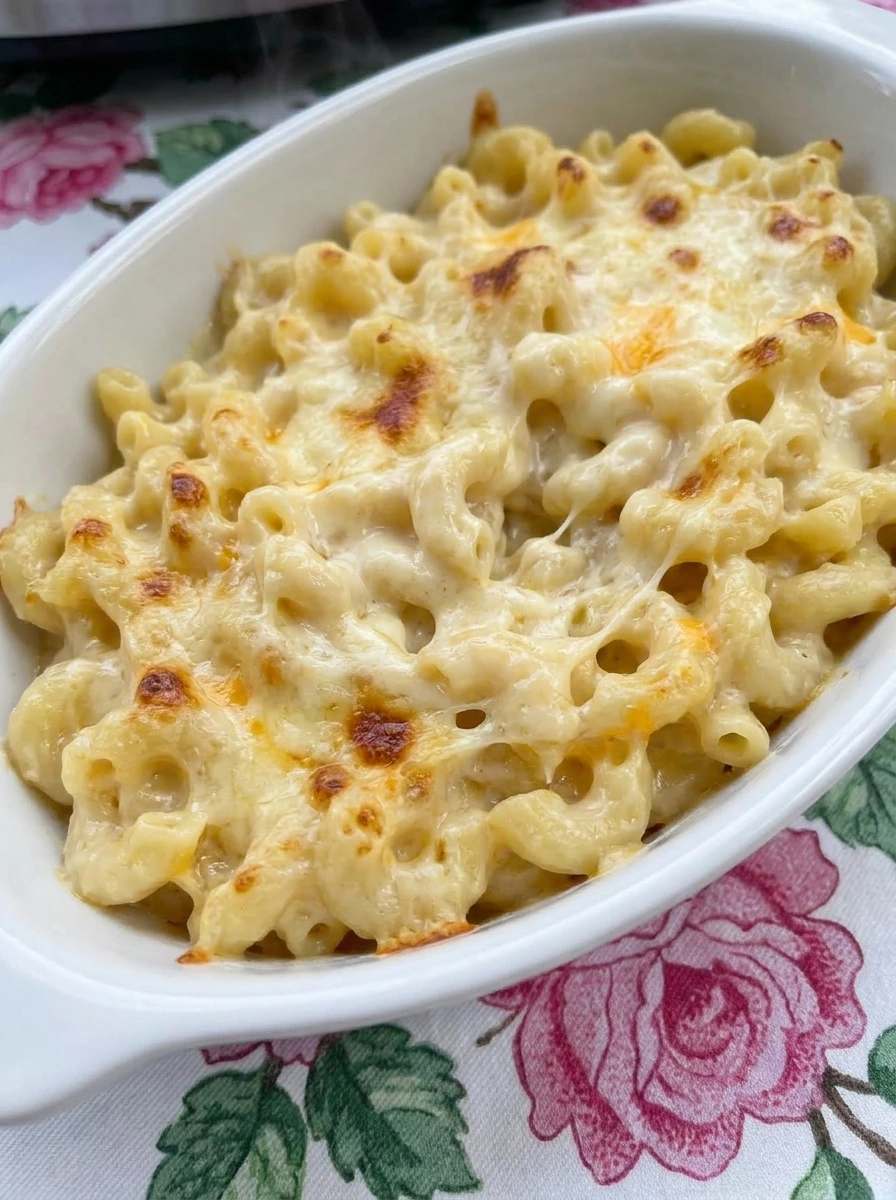
When you want something different from the usual pasta sides then Crockpot Mac and Cheese offers a cozy twist. This Crockpot Mac and Cheese recipe is creamy and simple and packed with rich flavor and it is perfect for family dinners or holiday gatherings.
This recipe is perfect for a potluck and a holiday table and a relaxed Sunday meal and even a busy weeknight dinner. If you want another easy comfort food idea then check out Blueberry Grilled Cheese for a simple recipe that feels fun and satisfying.
What I love most is how little fuss it takes and yet the finished dish still feels special and filling. It is the kind of recipe that makes everyone scoop a little extra and then come back for one more bite.
Ingredients
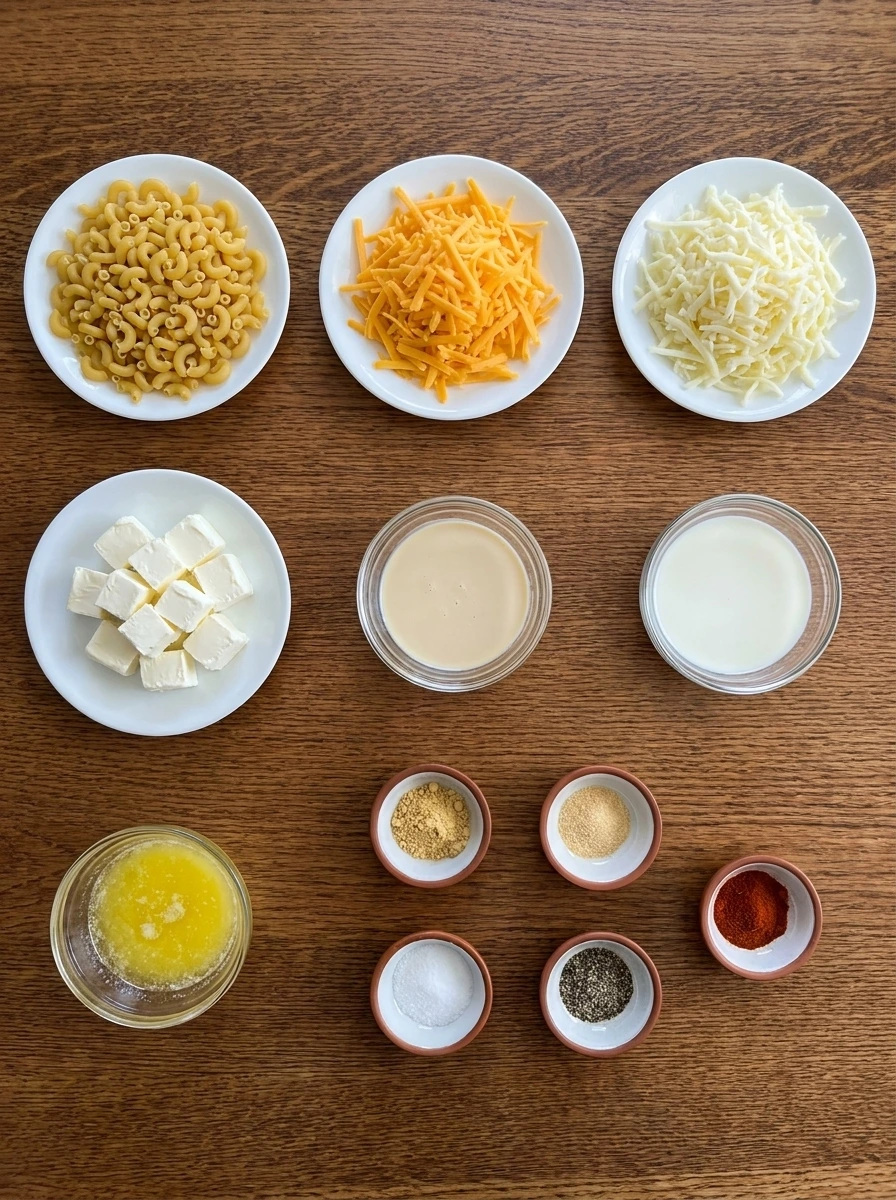
Here’s what I use for this recipe and you can always make substitutions if you prefer.
- Elbow macaroni: The pasta base that softens as it cooks and holds the creamy cheese sauce.
- Sharp cheddar cheese: Brings bold flavor and the main cheesy pull in the finished dish.
- Mozzarella cheese: Adds extra melt and a soft stretchy texture.
- Cream cheese: Makes the sauce richer and helps create a smooth creamy body.
- Evaporated milk: Adds concentrated dairy flavor and keeps the sauce silky.
- Whole milk: Loosens the mixture so the pasta cooks into a creamy consistency.
- Unsalted butter: Adds richness and helps coat the pasta evenly.
- Ground mustard: Boosts the cheese flavor with a subtle savory note.
- Garlic powder: Adds warm background flavor throughout the dish.
- Salt: Seasons the pasta and balances the dairy.
- Black pepper: Adds mild heat and depth to the sauce.
- Paprika: Gives a gentle color shift and a light savory finish.
Tools You’ll Need
- Slow cooker: Cooks the pasta slowly while melting the cheese into a creamy sauce.
- Measuring cups: Helps portion the milk and shredded cheese accurately.
- Measuring spoons: Keeps the seasonings balanced and consistent.
- Serving spoon: Scoops the finished mac and cheese without breaking the tender pasta.
Instructions
Step 1: Coat the macaroni with milk and butter
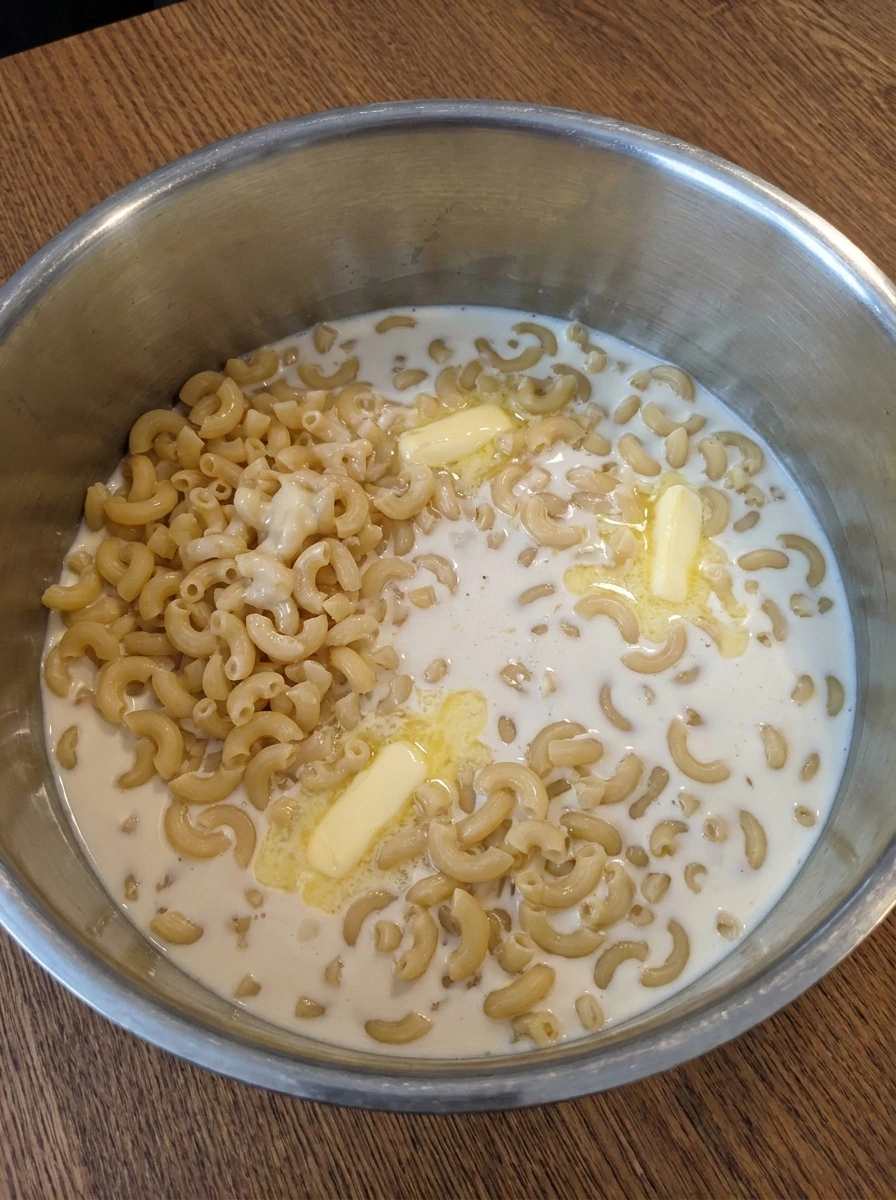
Add the elbow macaroni to the cooking base and pour over the evaporated milk and whole milk and melted butter. The dry pasta turns glossy and lightly coated while the liquid settles around the noodles and small bubbles of butter float across the surface. At this stage the mixture still looks loose and separate and the pasta sits in uneven layers. Some noodles peek above the liquid while others begin to soak underneath and that first change sets up the creamy texture that comes later.
Tip: Stir just enough to coat every noodle so the pasta hydrates evenly as it cooks.
Step 2: Scatter the cheeses and seasonings over the pasta
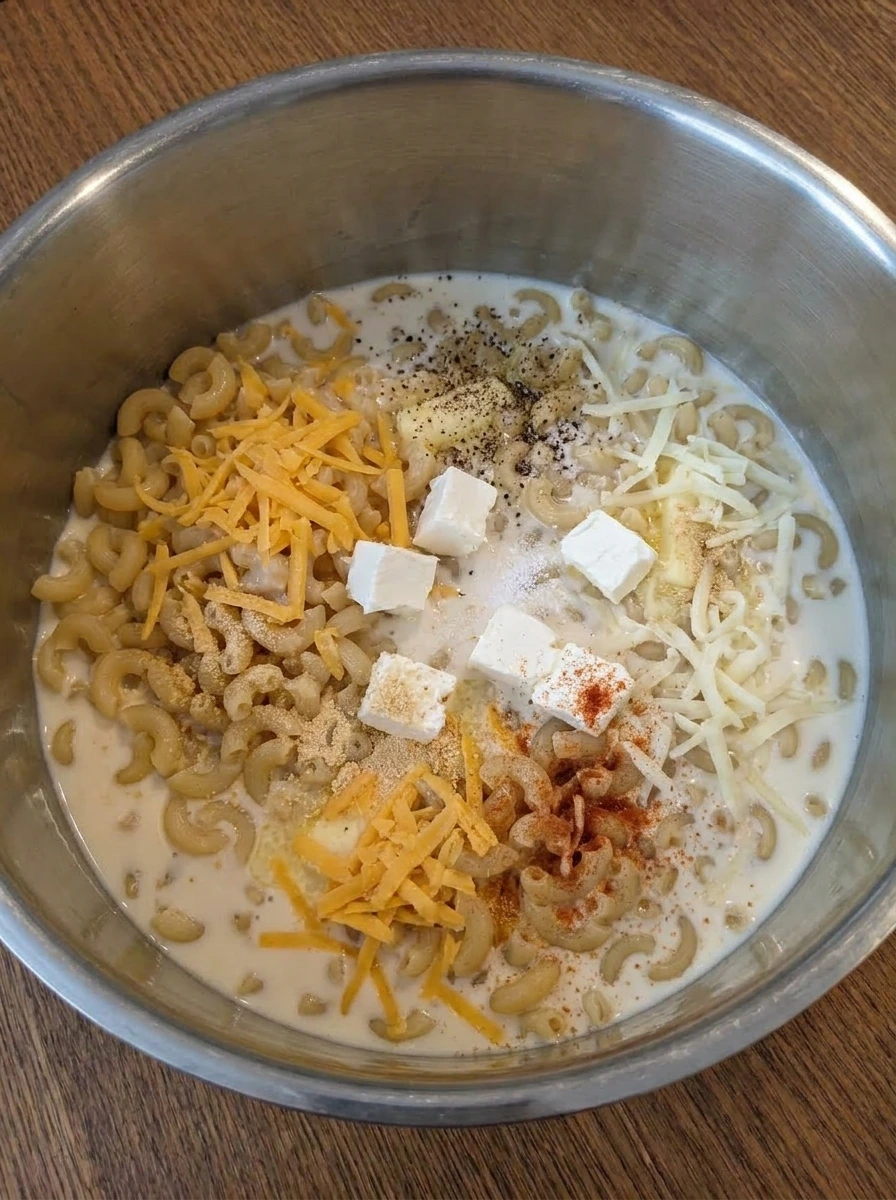
Now add the shredded cheddar and mozzarella and the cubes of cream cheese along with the ground mustard and garlic powder and salt and black pepper and paprika. The surface changes from pale and glossy to layered and textured with bright orange shreds and white cheese and scattered seasoning dust across the top. Nothing is fully melted yet and that is exactly right. The ingredients sit in casual piles and soft mounds and the cream cheese cubes stay visible so the next stage has a clear change when the heat starts working through everything.
Tip: Spread the cheeses loosely instead of packing them down so they melt into the pasta more evenly.
Step 3: Cook until the cheese melts into a thick sauce
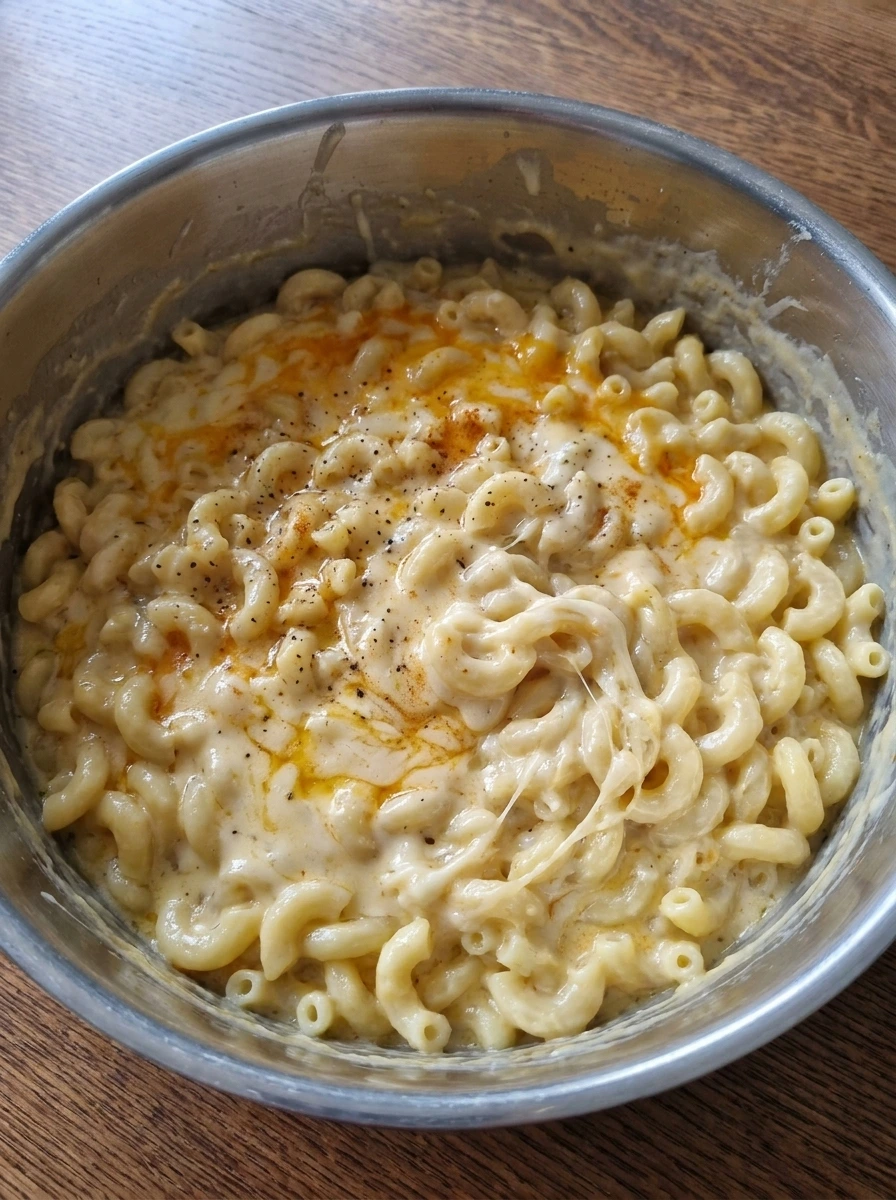
As the mixture cooks the cheese softens and then melts down into the pasta. The noodles swell and turn tender while the liquid thickens into a creamy sauce and the top develops uneven melted patches with richer orange streaks and soft white ribbons. This is the biggest visual shift in the recipe because the separate ingredients become one dish. The pasta no longer looks dry or layered and instead every noodle is coated and the sauce clings in heavy glossy folds with a few darker spots where the cheese settles on top.
Tip: Give it a gentle stir near the end so the melted cheese wraps around the pasta without turning gummy.
Step 4: Spoon out a hot cheesy serving
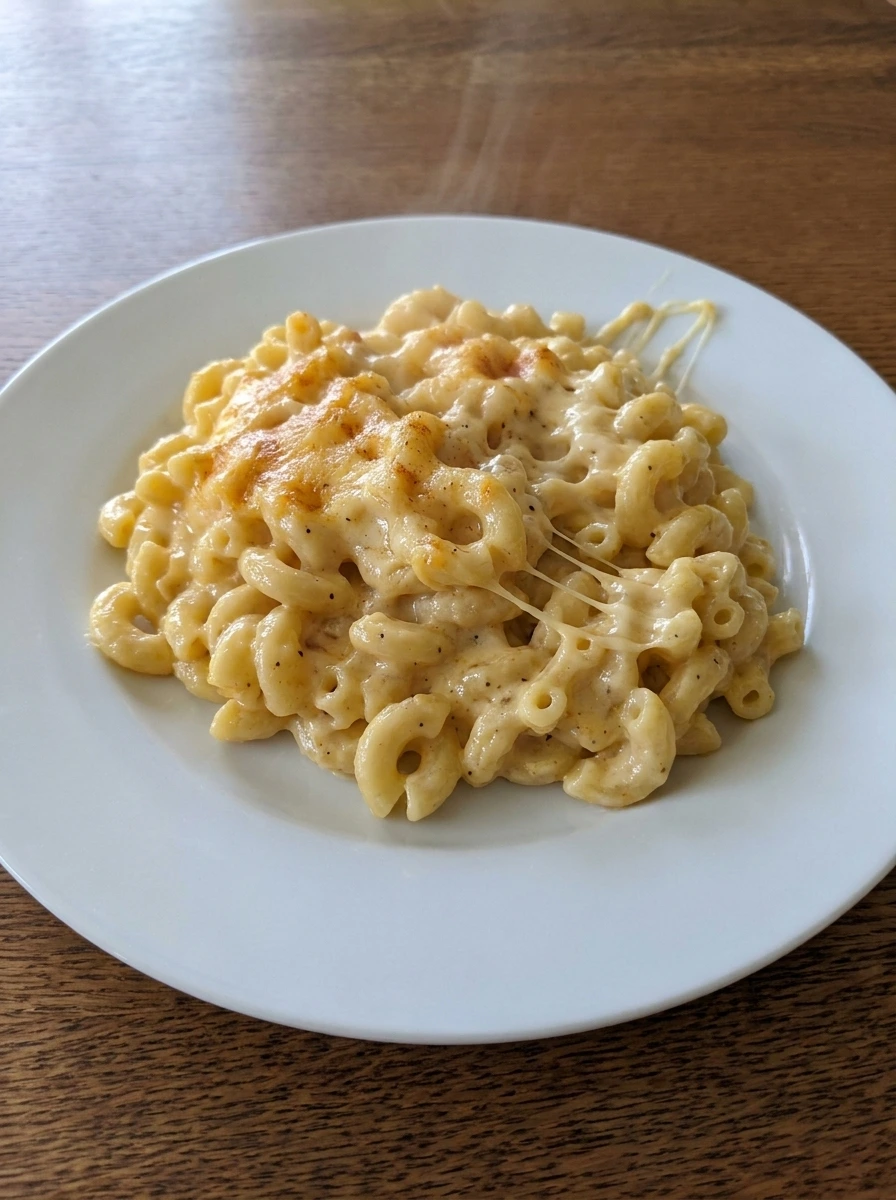
Once the pasta is fully tender spoon a portion onto the serving plate while the sauce is still hot and thick. The macaroni settles in a loose mound with melted strands stretching between the noodles and a few browned cheesy bits tucked along the top for that homemade finish. The final look should feel casual and comforting rather than polished. You want uneven edges and non uniform color and soft pockets of extra cheese so every bite looks rich and real.
Tip: Serve it right away for the creamiest texture and the best melted cheese pull.
Pro Tips
- Shred the cheese from a block for a smoother melt and a creamier finish.
- Do not over stir early or the pasta can break before it softens fully.
- For a deeper cheese flavor use extra sharp cheddar for part of the shredded cheese.
- Let the finished dish sit for a few minutes before serving so the sauce thickens slightly.
Storage Instructions
Let the mac and cheese cool and then store it in a covered container in the refrigerator for up to four days. The sauce will thicken as it chills and that is normal. Reheat in short bursts with a splash of milk stirred in between until smooth and creamy again. This recipe also works well for meal prep when you want an easy side ready for busy nights.
Frequently Asked Questions
Yes and small pasta shapes like shells or cavatappi work well as long as the size is similar and the cooking time is watched closely.
Yes and it works well for meal prep or parties though the sauce will thicken as it sits so stir in a splash of milk when reheating.
Use freshly shredded cheese and avoid overcooking and serve soon after it is done for the smoothest texture.
Yes and cooked bacon and diced ham and a little extra cheddar on top are easy additions once the pasta is fully cooked.
Final Thoughts
So there you go. A recipe that is simple enough for a Tuesday night but good enough to serve at a gathering.
I have made this more times than I can count and it never disappoints. Save this one and share it with a friend and let me know in the comments if you made any fun changes.
If you want more cozy meal ideas then try Egg and Cheese Breakfast Sandwich or Easy Breakfast Burritos for easy favorites with plenty of comfort.
Print
Crockpot Mac and Cheese
- Total Time: 45 minutes
- Yield: 4 servings 1x
Description
This Crockpot Mac and Cheese is one of the best easy dinner ideas when you need something quick simple and comforting for a busy weeknight dinner or potluck. It turns pantry staples into a rich creamy dish with tender pasta and gooey cheese that feels special without extra work. You will love how this easy recipe gives you healthy homemade control simple prep and the best cozy flavor for family meals holiday tables and make ahead meal prep.
Ingredients
- 16 ounces Elbow macaroni
- 3 cups shredded Sharp cheddar cheese
- 1 cup shredded Mozzarella cheese
- 4 ounces cubed Cream cheese
- 12 ounces Evaporated milk
- 1 cup Whole milk
- 4 tablespoons melted Unsalted butter
- 1 teaspoon Ground mustard
- 1 teaspoon Garlic powder
- 1 teaspoon Salt
- 1/2 teaspoon Black pepper
- 1/4 teaspoon Paprika
Instructions
- Add the elbow macaroni to the cooking base and pour over the evaporated milk and whole milk and melted butter. The dry pasta turns glossy and lightly coated while the liquid settles around the noodles and small bubbles of butter float across the surface. At this stage the mixture still looks loose and separate and the pasta sits in uneven layers. Some noodles peek above the liquid while others begin to soak underneath and that first change sets up the creamy texture that comes later.
- Now add the shredded cheddar and mozzarella and the cubes of cream cheese along with the ground mustard and garlic powder and salt and black pepper and paprika. The surface changes from pale and glossy to layered and textured with bright orange shreds and white cheese and scattered seasoning dust across the top. Nothing is fully melted yet and that is exactly right. The ingredients sit in casual piles and soft mounds and the cream cheese cubes stay visible so the next stage has a clear change when the heat starts working through everything.
- As the mixture cooks the cheese softens and then melts down into the pasta. The noodles swell and turn tender while the liquid thickens into a creamy sauce and the top develops uneven melted patches with richer orange streaks and soft white ribbons. This is the biggest visual shift in the recipe because the separate ingredients become one dish. The pasta no longer looks dry or layered and instead every noodle is coated and the sauce clings in heavy glossy folds with a few darker spots where the cheese settles on top.
- Once the pasta is fully tender spoon a portion onto the serving plate while the sauce is still hot and thick. The macaroni settles in a loose mound with melted strands stretching between the noodles and a few browned cheesy bits tucked along the top for that homemade finish. The final look should feel casual and comforting rather than polished. You want uneven edges and non uniform color and soft pockets of extra cheese so every bite looks rich and real.
Notes
Pro Tips:
- Shred the cheese from a block for a smoother melt and a creamier finish.
- Do not over stir early or the pasta can break before it softens fully.
- For a deeper cheese flavor use extra sharp cheddar for part of the shredded cheese.
- Let the finished dish sit for a few minutes before serving so the sauce thickens slightly.
Storage: Let the mac and cheese cool and then store it in a covered container in the refrigerator for up to four days. The sauce will thicken as it chills and that is normal. Reheat in short bursts with a splash of milk stirred in between until smooth and creamy again. This recipe also works well for meal prep when you want an easy side ready for busy nights.
- Prep Time: 15 minutes
- Cook Time: 30 minutes
- Category: Dinner
- Cuisine: American
Nutrition
- Serving Size: 1 serving