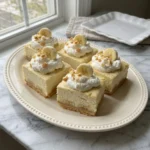
Classic Cherry Delight is one of the best no bake desserts I have ever tasted and it has a buttery crust and a soft creamy filling and a bright cherry topping and today I will show how I make my Classic Cherry Delight at home easily using easy to find ingredients.
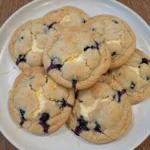
Just to know that my Classic Cherry Delight turned out so creamy and so tasty almost like the one I always hope for makes me really love this dessert and I also tried the same layering style with blueberry topping and the result was even better and I will leave some tasty other ideas below you can try using the same ingredients and the same simple process.
Usually Classic Cherry Delight is the kind of dessert people bring for a holiday or a party and it is so incredible. I recommend anyone to enjoy it and if you cannot get one ready made you can try out my recipe.
Also for my recipe I chill the layers until everything sets nicely but I recommend giving it a little extra time instead. Simply press the crust add the creamy filling spoon over the cherries and let it rest until it is firm enough to slice.
Ingredients
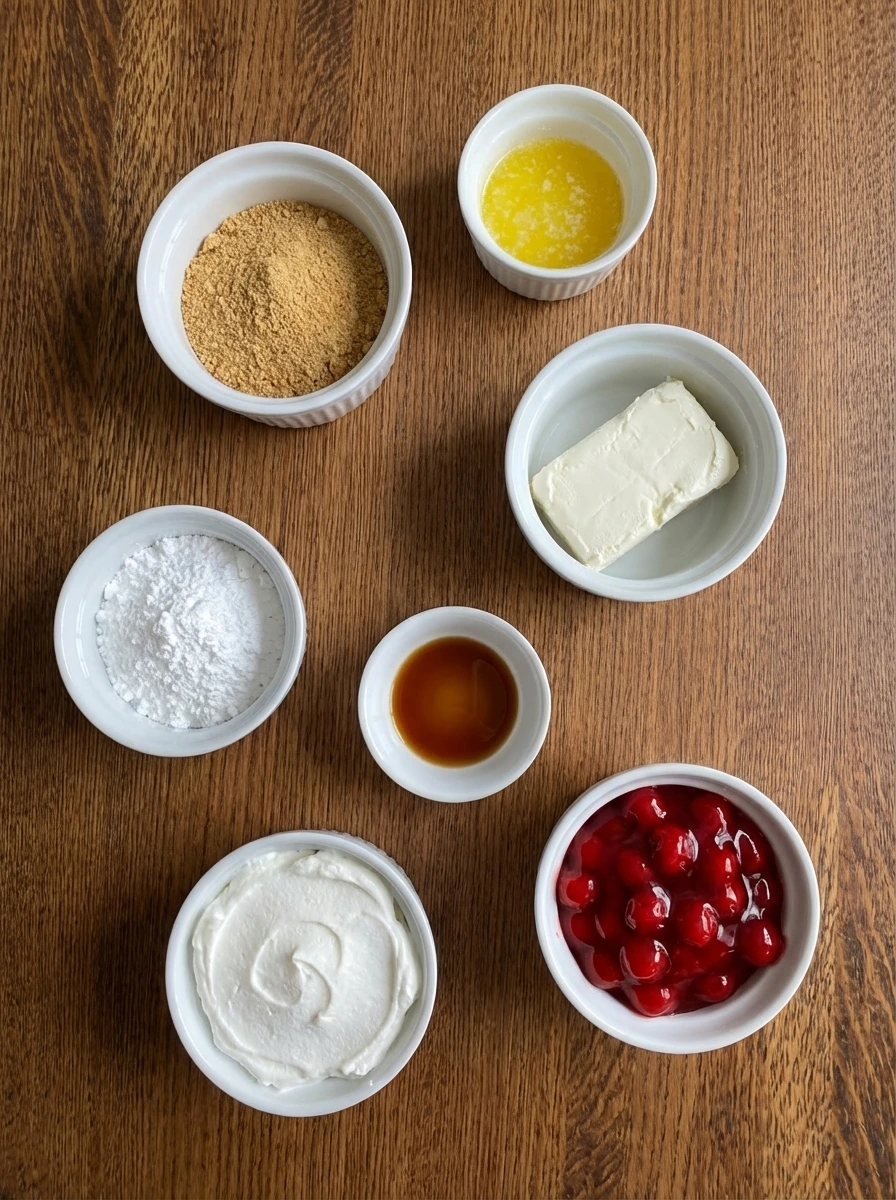
Here’s what I use for this recipe and you can always make substitutions if you prefer.
- graham cracker crumbs: buttery base that forms the crust
- unsalted butter melted: binds the crumbs into a firm layer
- cream cheese softened: creates the rich tangy filling
- powdered sugar: sweetens and smooths the filling
- vanilla extract: adds warm sweet flavor
- whipped topping: lightens the filling and adds fluffiness
- cherry pie filling: fruit topping with glossy texture
Tools You’ll Need
- mixing bowl: for combining crust and filling
- spatula: for folding and spreading layers
- 8 x 8 baking dish: for shaping and chilling the dessert
Instructions
Step 1: Press the buttery crumb base
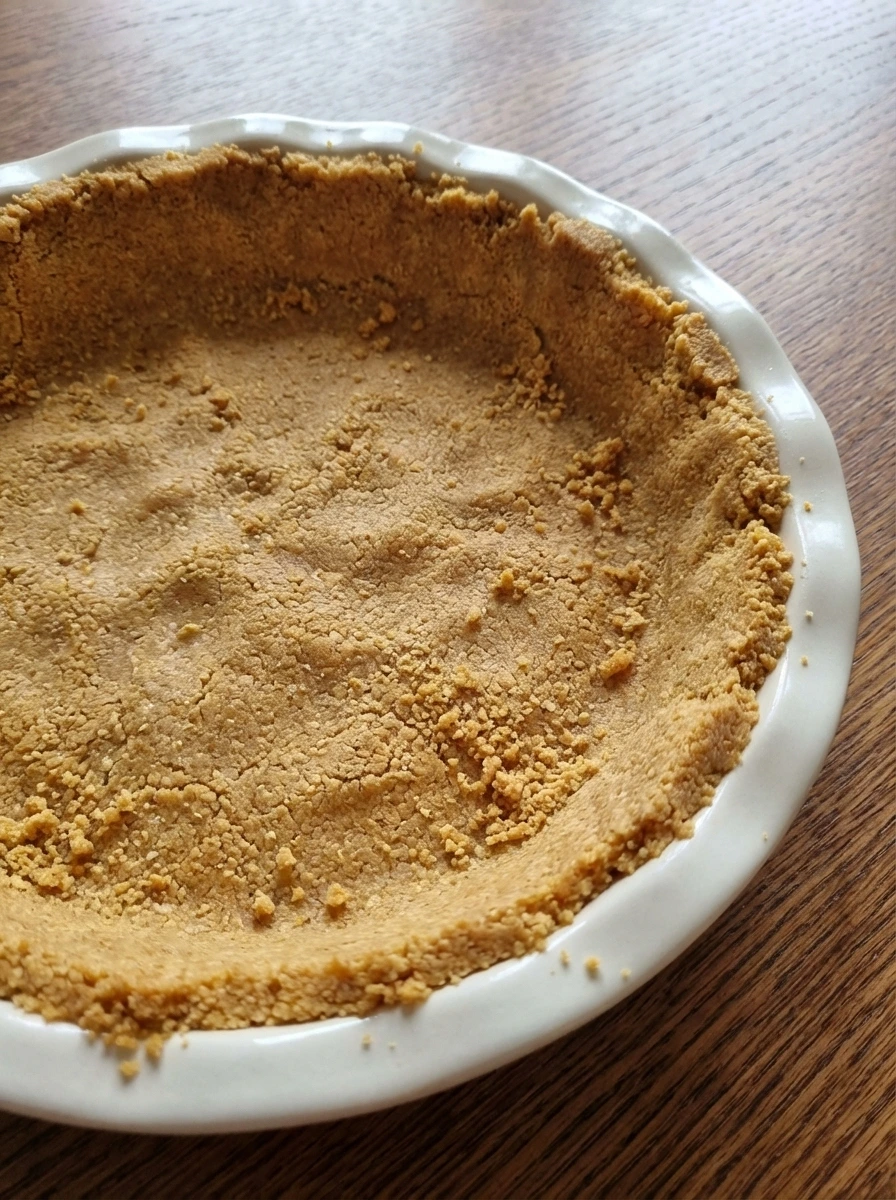
Graham cracker crumbs and melted butter come together into damp sandy crumbs and the color deepens slightly as the butter coats everything. The mixture is pressed into an even but not perfect layer and the surface looks rough in places with loose crumbs around the edges and a few shallow dents across the top.
Tip: Press firmly enough so the crust holds together after chilling.
Step 2: Whip the cream cheese filling
Soft cream cheese powdered sugar and vanilla blend into a thick pale filling and the grainy look disappears as the mixture turns smoother and brighter. Whipped topping is folded in and the filling becomes lighter and fluffier with soft ridges that slump gently instead of standing perfectly stiff.
Tip: Make sure the cream cheese is fully softened so the filling stays smooth.
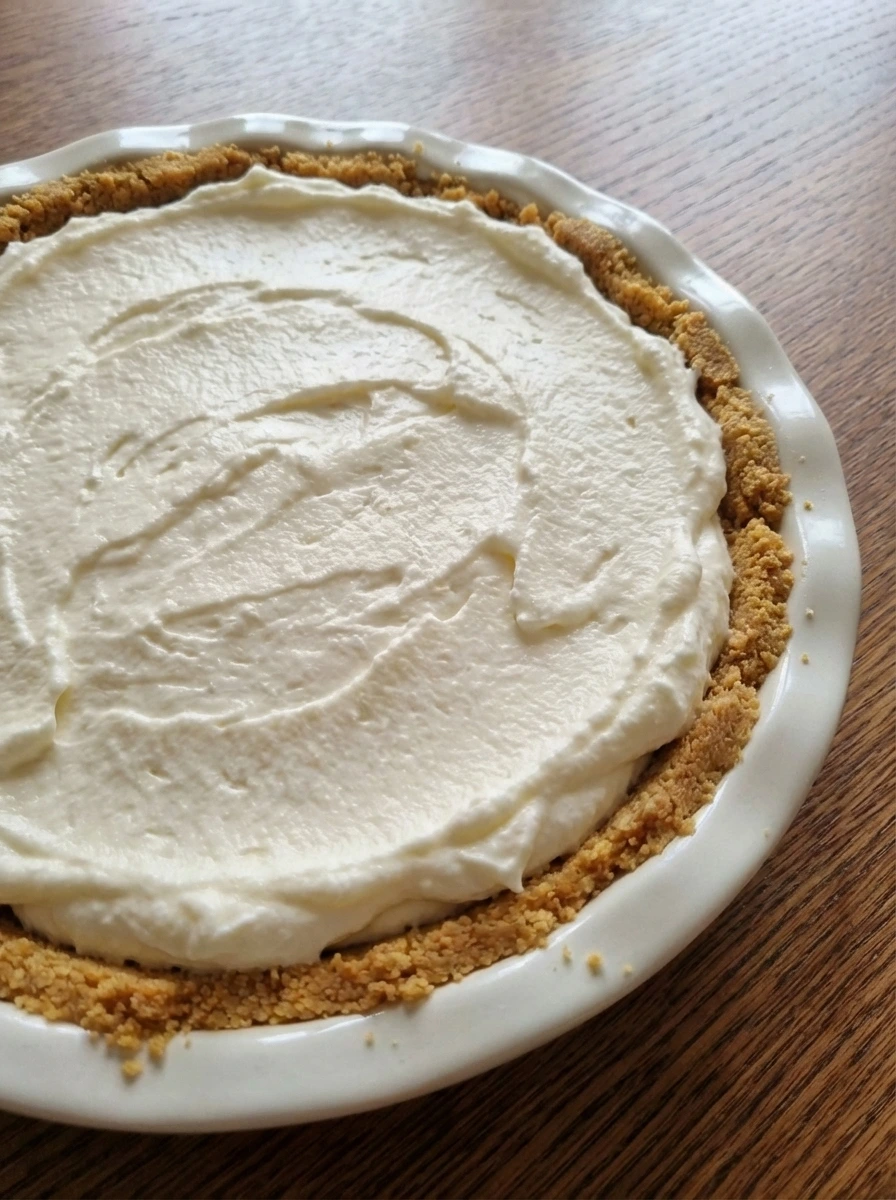
Step 3: Spread the filling over the crust
The white filling is added over the crumb base and the dessert shifts from one flat golden layer to two clear layers with soft contrast. The top looks casually spread with small waves and slight overlap near the edges while a few tiny gaps show where the crust peeks through.
Tip: Spread gently so the crumb layer stays in place.
Step 4: Chill until the layers hold
As the dessert rests the cream layer changes from very soft to more structured and the surface settles into gentler ripples. The edges look cleaner and the filling holds its shape better while still keeping a homemade look with slight dips and uneven thickness.
Tip: Chill until the cream layer feels firm enough to support the topping.
Step 5: Spoon the cherries across the top
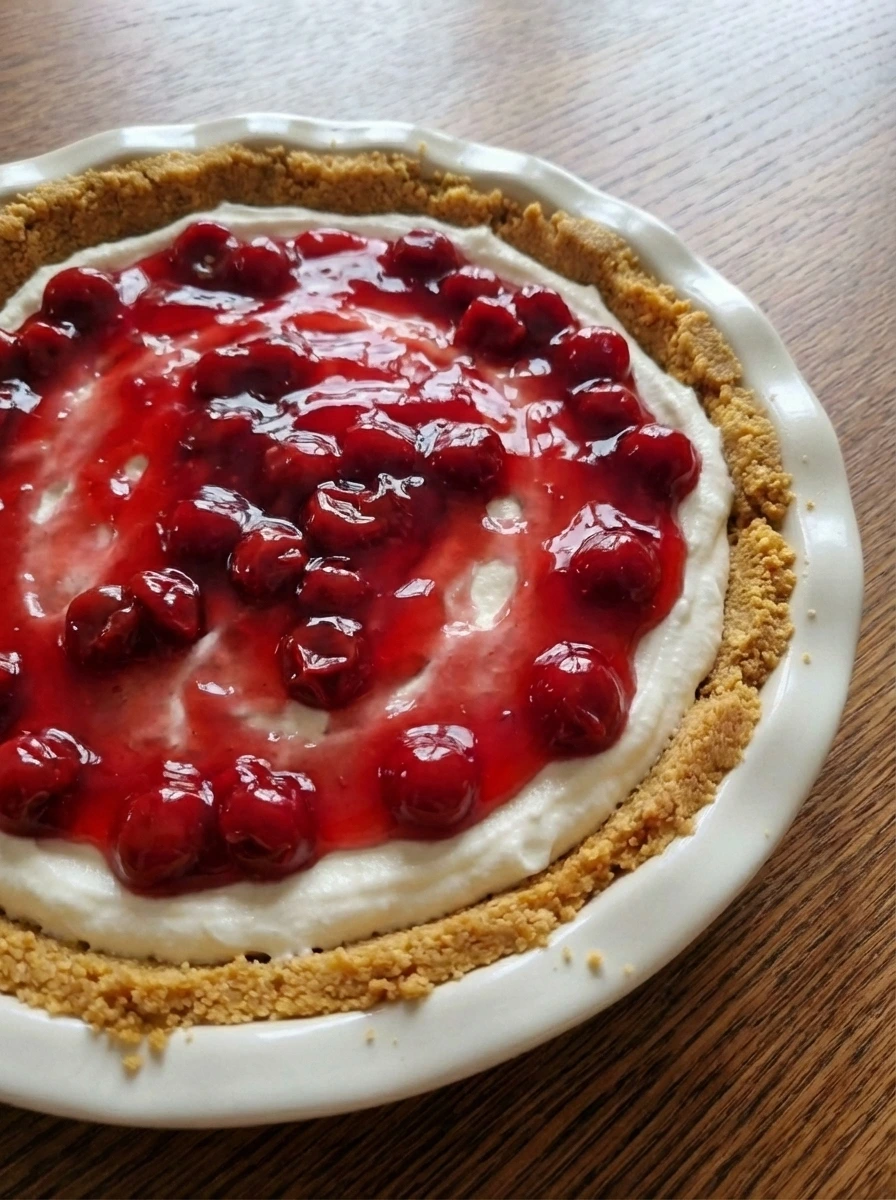
Cherry pie filling is scattered over the white layer and the dessert changes from pale and simple to glossy and colorful with deep red fruit across the surface. The topping spreads in an uneven blanket with some cherries clustered together and a few lighter spots where the cream still shows through.
Tip: Leave a few small patches uncovered for a more natural homemade look.
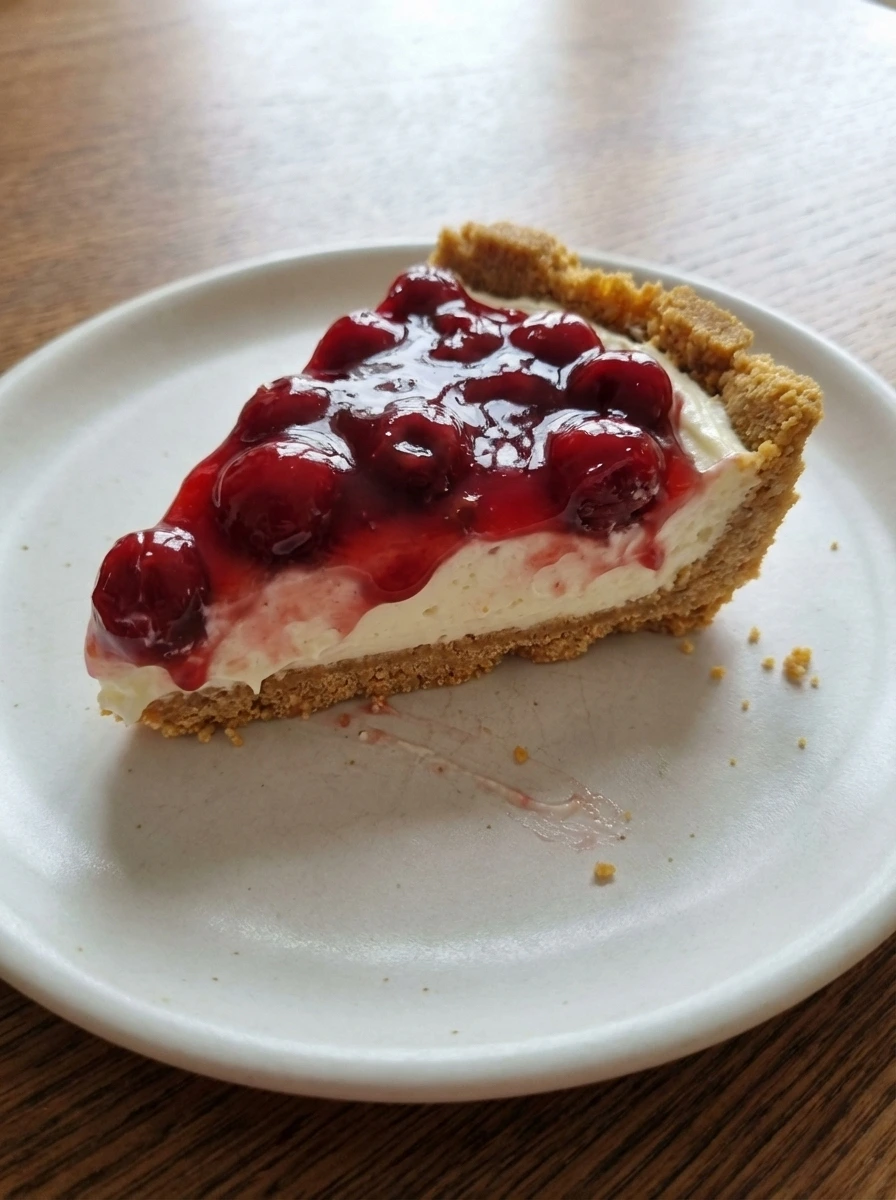
Step 6: Slice and serve the finished dessert
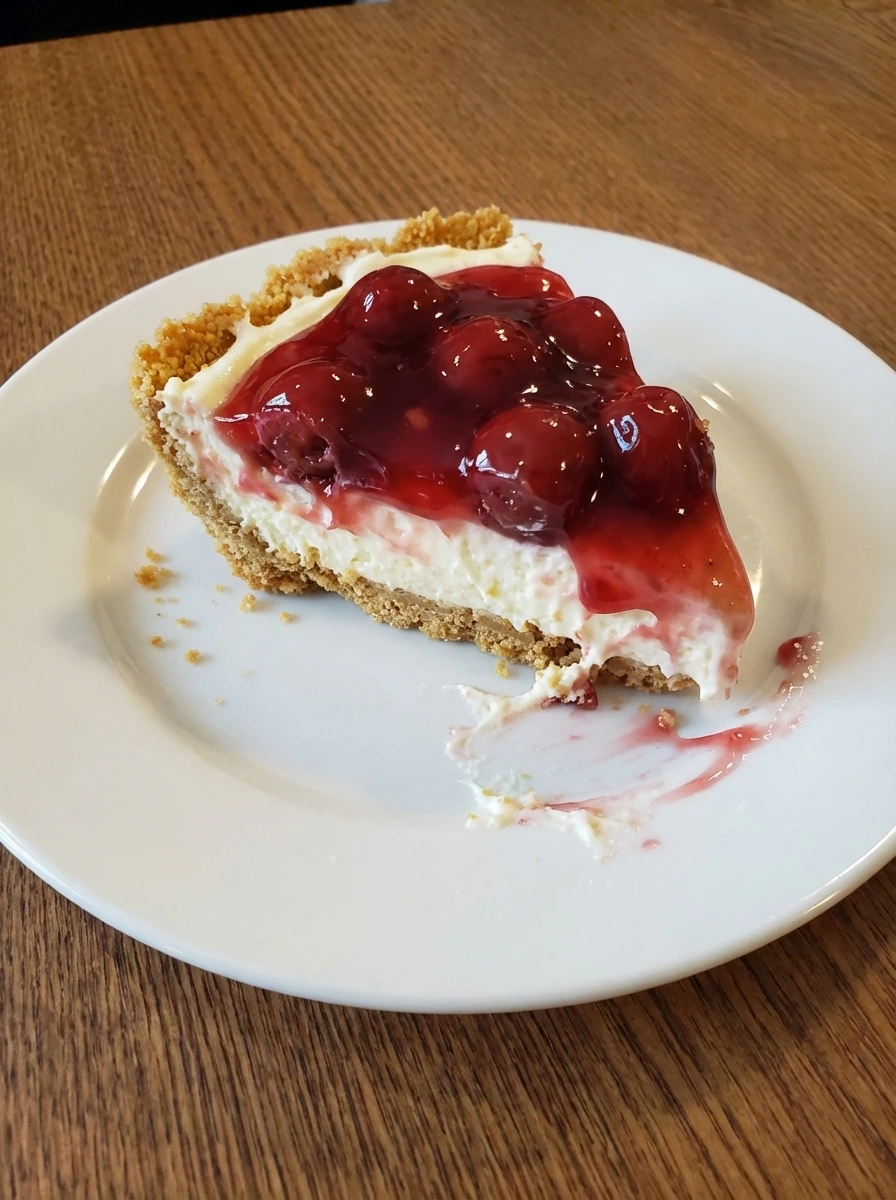
Once sliced the full structure is visible with a crumbly golden base a thick creamy center and a glossy cherry top that slips slightly at the edges. The cut pieces look homemade with uneven corners slight smears of cream and cherries that settle in natural spacing across the top and the final dessert looks rich and fully finished.
Tip: Wipe between slices for cleaner cuts while keeping the rustic look.
Pro Tips
- Chill the crust briefly before adding the filling so the base stays neat
- Fold the whipped topping gently so the filling keeps a light texture
- Spread the cherry layer loosely for a more natural homemade finish
- Let the dessert chill well before slicing so the layers stay distinct
Storage Instructions
Cover the dessert and keep it chilled for up to 4 days. The crust softens a bit over time but the flavor stays delicious and the slices remain creamy and rich.
Frequently Asked Questions
Can I make Classic Cherry Delight ahead of time?
Yes and it actually gets better after a longer chill because the layers settle and slice more cleanly.
Can I use homemade whipped cream instead of whipped topping?
Yes and the filling will still be soft and creamy though it may set a little less firmly.
Can I change the fruit topping?
Yes and blueberry strawberry or mixed berry topping all work well with the same creamy base.
How do I keep the crust from crumbling too much?
Mix the crumbs well with the butter and press the layer firmly so it holds together after chilling.
Final Thoughts
So there you go. A dessert that is simple enough for a weekday treat but good enough to serve at a gathering.
I have made this more times than I can count and it never disappoints. Save this one and share it with a friend and let me know in the comments if you made any fun changes.
I am always curious to see how people put their own spin on things.
Print
Classic Cherry Delight
- Total Time: 45 minutes
- Yield: 4 servings 1x
Description
Classic Cherry Delight is one of those easy desserts everyone wants again because it brings quick comfort with simple layers and the best creamy cherry flavor in every bite. It is a healthy feeling treat for sharing thanks to its light texture and fresh fruit topping while still tasting rich and special. Keep this for weeknight dinner ideas and meal prep and holiday tables and potluck trays and brunch spreads and any party when you need something quick and crowd pleasing
Ingredients
- 2 cups graham cracker crumbs
- 1/2 cup unsalted butter melted
- 8 ounces cream cheese softened
- 1 cup powdered sugar
- 1 teaspoon vanilla extract
- 8 ounces whipped topping
- 21 ounces cherry pie filling
Instructions
- Graham cracker crumbs and melted butter come together into damp sandy crumbs and the color deepens slightly as the butter coats everything. The mixture is pressed into an even but not perfect layer and the surface looks rough in places with loose crumbs around the edges and a few shallow dents across the top.
- Soft cream cheese powdered sugar and vanilla blend into a thick pale filling and the grainy look disappears as the mixture turns smoother and brighter. Whipped topping is folded in and the filling becomes lighter and fluffier with soft ridges that slump gently instead of standing perfectly stiff.
- The white filling is added over the crumb base and the dessert shifts from one flat golden layer to two clear layers with soft contrast. The top looks casually spread with small waves and slight overlap near the edges while a few tiny gaps show where the crust peeks through.
- As the dessert rests the cream layer changes from very soft to more structured and the surface settles into gentler ripples. The edges look cleaner and the filling holds its shape better while still keeping a homemade look with slight dips and uneven thickness.
- Cherry pie filling is scattered over the white layer and the dessert changes from pale and simple to glossy and colorful with deep red fruit across the surface. The topping spreads in an uneven blanket with some cherries clustered together and a few lighter spots where the cream still shows through.
- Once sliced the full structure is visible with a crumbly golden base a thick creamy center and a glossy cherry top that slips slightly at the edges. The cut pieces look homemade with uneven corners slight smears of cream and cherries that settle in natural spacing across the top and the final dessert looks rich and fully finished.
Notes
Pro Tips:
- Chill the crust briefly before adding the filling so the base stays neat
- Fold the whipped topping gently so the filling keeps a light texture
- Spread the cherry layer loosely for a more natural homemade finish
- Let the dessert chill well before slicing so the layers stay distinct
Storage: Cover the dessert and keep it chilled for up to 4 days. The crust softens a bit over time but the flavor stays delicious and the slices remain creamy and rich.
- Prep Time: 15 minutes
- Cook Time: 30 minutes
- Category: Dessert
- Cuisine: American
Nutrition
- Serving Size: 1 serving