This Mini Lemon Cakes with Lavender Glaze recipe is a great dessert to make when you are in the mood for something bright and tasty.
This yummy treat is great for any occasion and it can be made for brunch and dessert or even a sweet after dinner snack.
In this post we will show you how to make this recipe right at home with simple steps.
Ingredients
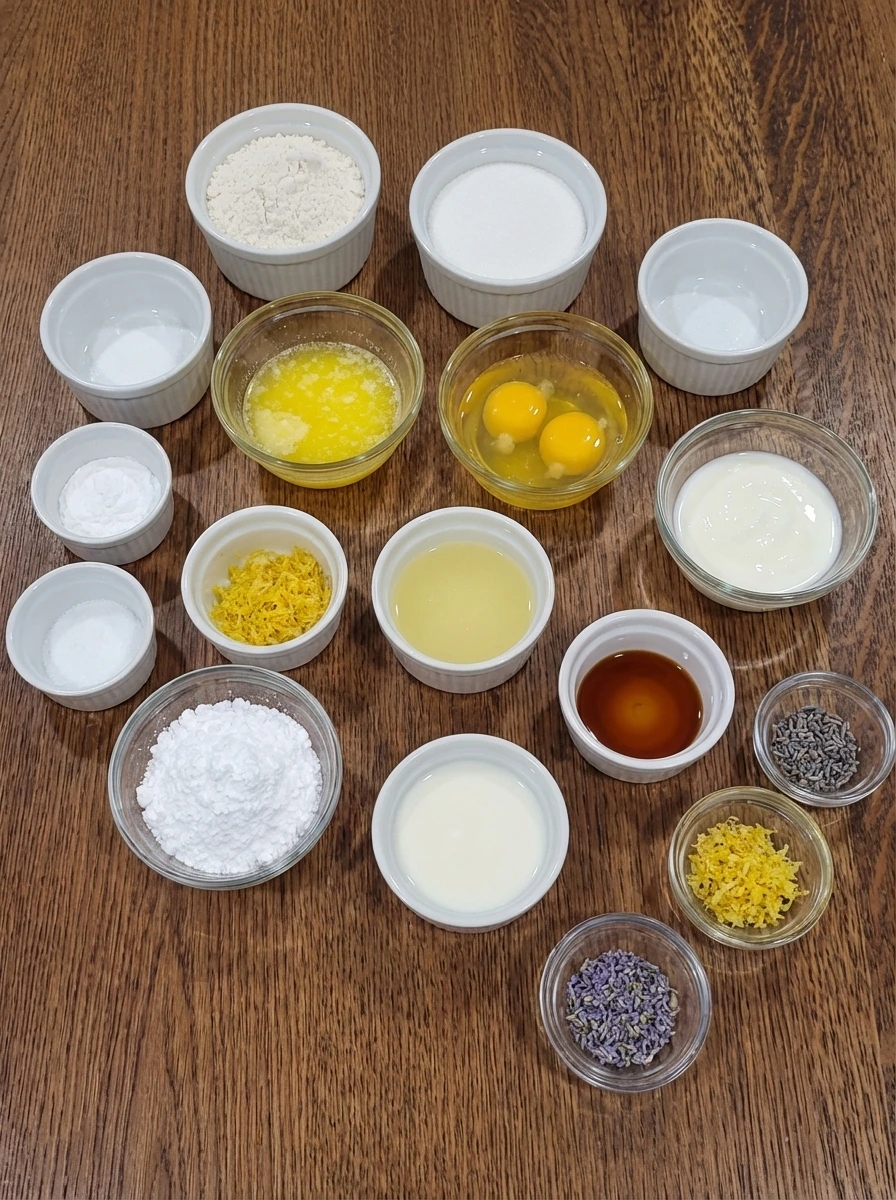
Here’s what I use for this recipe and you can always make substitutions if you prefer.
- all purpose flour: builds the tender cake crumb
- baking powder: helps the cakes rise lightly
- fine sea salt: balances the sweet citrus flavor
- granulated sugar: sweetens the batter and supports browning
- unsalted butter melted and slightly cooled: adds rich moisture and soft texture
- large eggs: bind the batter and add structure
- plain Greek yogurt: keeps the cakes moist and tender
- fresh lemon zest: adds fragrant lemon oils
- fresh lemon juice: brings sharp bright flavor
- vanilla extract: rounds out the floral citrus notes
- dried culinary lavender finely crushed: adds gentle floral flavor to the glaze
- powdered sugar: creates a smooth sweet glaze
- milk: loosens the glaze to a pourable texture
- extra lemon zest: finishes the tops with fresh color
- tiny pinch of dried culinary lavender: garnishes the finished cakes
Tools You’ll Need
- mixing bowls: one for dry ingredients and one for wet ingredients
- whisk: helps blend the wet mixture and glaze smoothly
- spatula: use for gentle folding of the batter
- mini cake pan or muffin pan: shapes the batter into small cakes
- cooling rack: helps the cakes cool evenly before glazing
Instructions
Step 1: Measure the dry ingredients
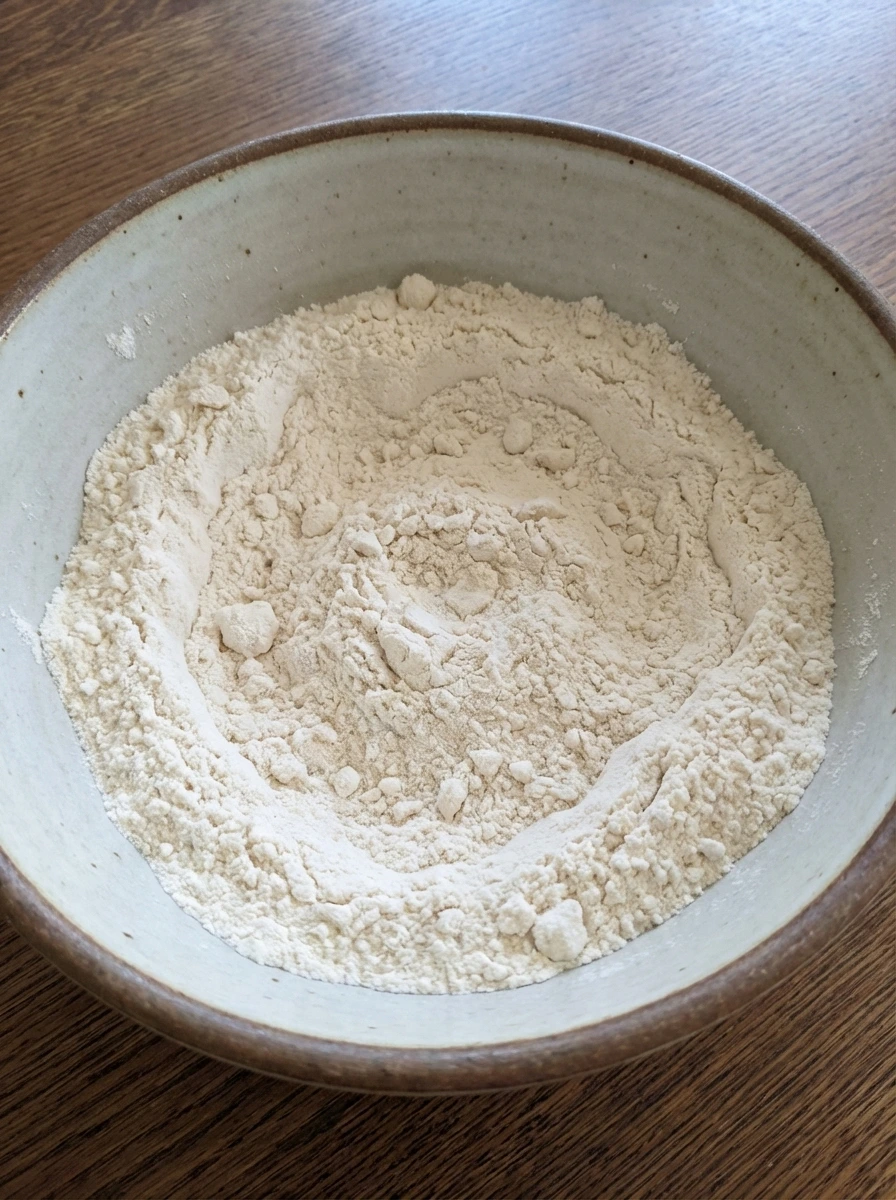
Add the flour and baking powder and salt and granulated sugar into a wide bowl. Stir until the white powders look evenly blended and airy with no dark streaks or dense patches. The mixture should still look dry and loose yet more uniform than when it first went in. This early blend helps the cakes bake with an even crumb and a gentle rise.
Tip: Crush any small baking powder lumps with your fingers so the dry mix looks fine and even.
Step 2: Combine the wet ingredients
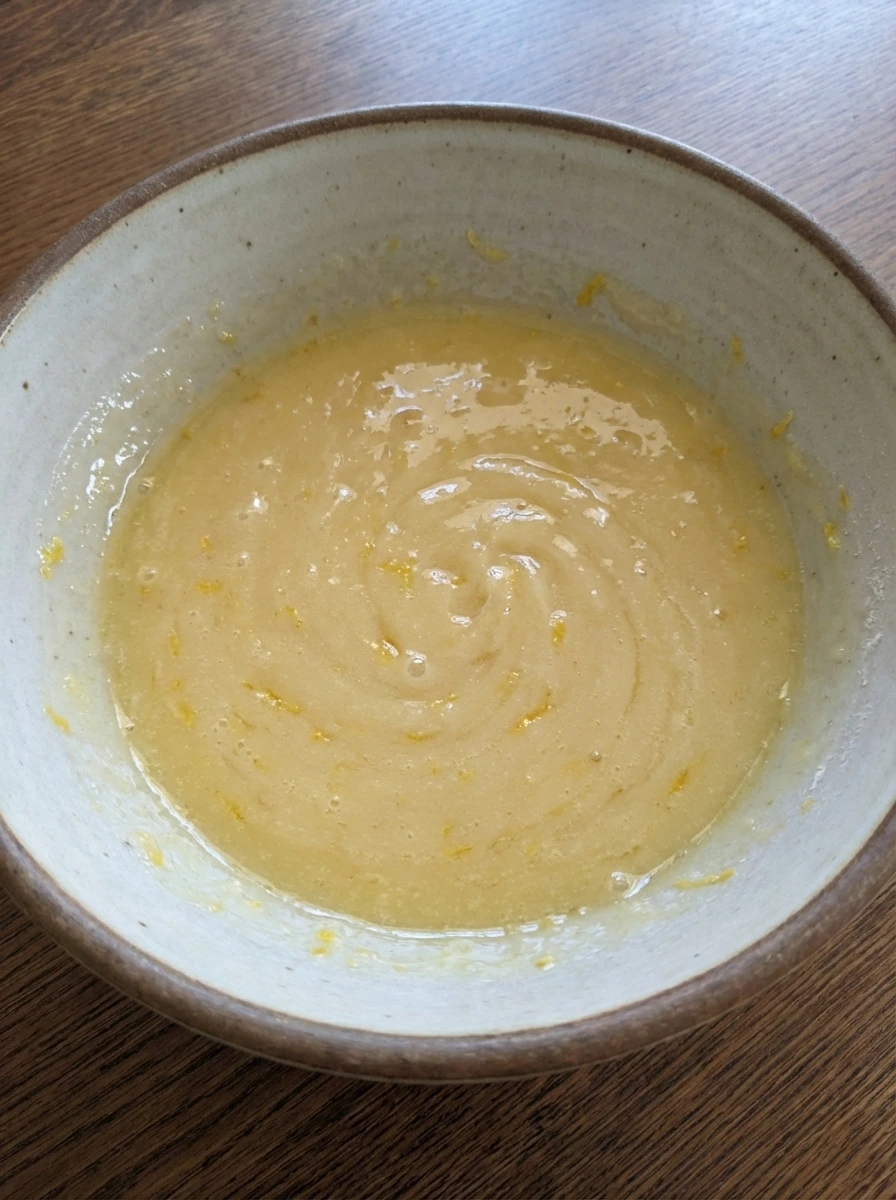
In another bowl pour in the melted butter then add the eggs and yogurt and lemon zest and lemon juice and vanilla. Whisk until the yolks break and the mixture turns glossy and pale yellow with tiny flecks of zest floating through it. At first it may look streaky and separated then it becomes smoother and slightly thicker as the yogurt and butter come together. The lemon zest should be visible in loose specks throughout the mixture.
Tip: Let the melted butter cool slightly first so the eggs blend in smoothly.
Step 3: Mix the batter
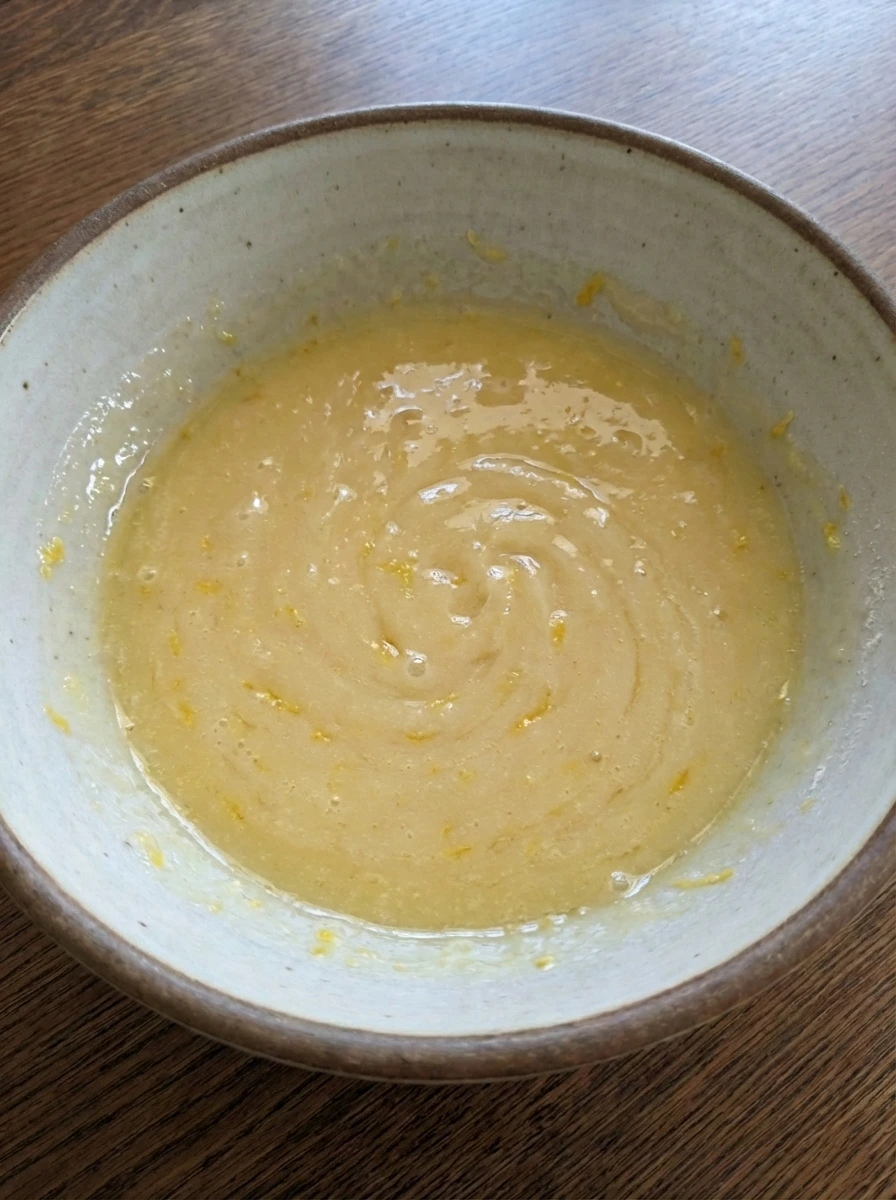
Pour the wet mixture over the dry ingredients and fold gently until the flour disappears. The batter will shift from dusty and rough to thick and smooth with a soft pale lemon color and tiny fragrant zest pieces spread throughout. Do not overmix. A few small lumps are fine and make the batter look more natural while keeping the cakes tender after baking.
Tip: Stop folding as soon as the batter looks combined and thick so the crumb stays soft.
Step 4: Arrange the batter portions
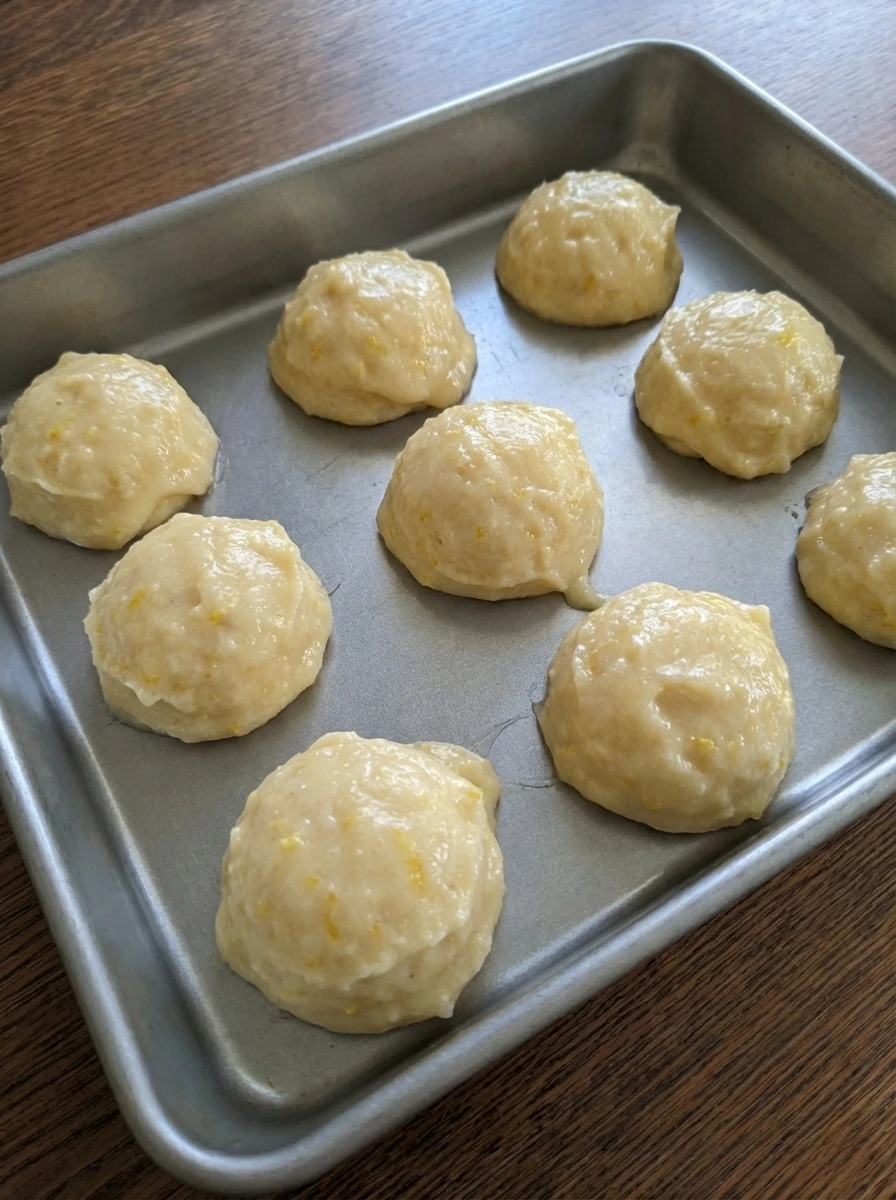
Spoon the batter into small cake portions so each one looks casually filled rather than perfectly level. Smooth only the tallest peaks and leave the tops slightly uneven because that helps the baked cakes look homemade. The batter should sit thick and softly mounded with a satin surface. Some portions may have a bit more zest on top than others and that natural variation is perfect.
Tip: Fill each portion about three quarters full so the cakes rise without spilling over.
Step 5: Bake until lightly golden
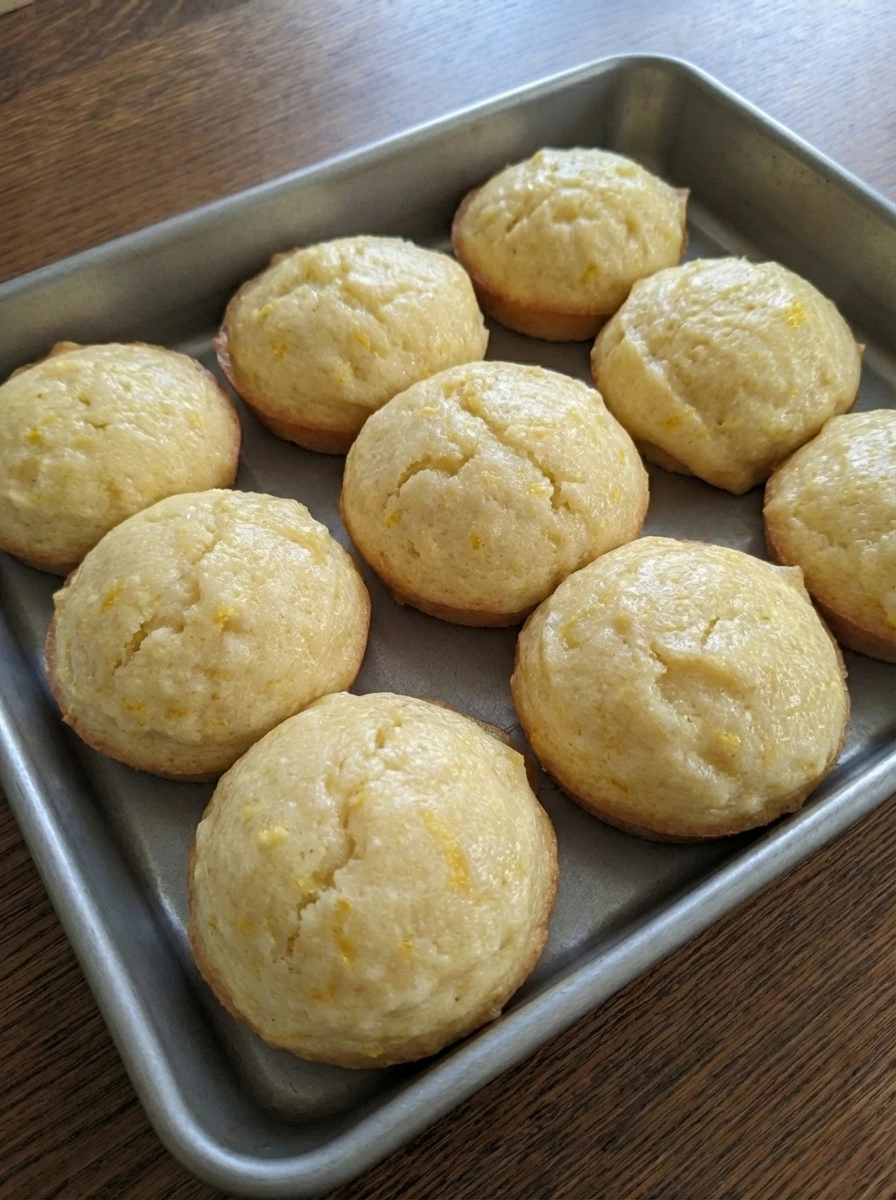
As the cakes bake the batter rises and puffs into rounded tops. The pale batter turns into tender cakes with a soft yellow center and lightly golden edges and a few slightly deeper spots where the tops split naturally. This is the main visual cooking change. The surface moves from glossy and raw to matte and set with a gentle spring and a light golden brown finish.
Tip: Bake until the centers spring back lightly and the edges show a delicate golden color.
Step 6: Cool and loosen the cakes
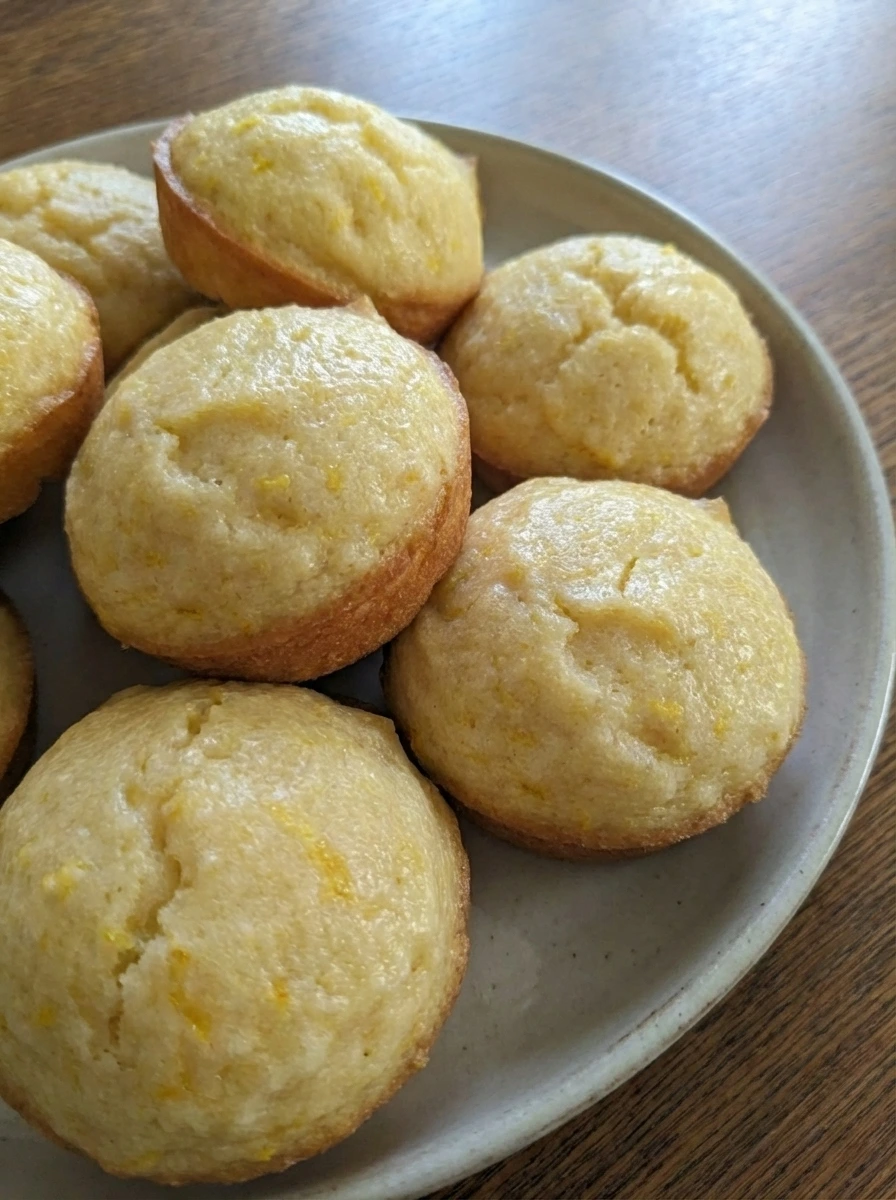
Let the cakes cool until the tops lose their shine and the crumb settles. Remove them gently and arrange them close together so the rounded tops and lightly browned sides are easy to glaze. Once cooled a little the cakes look firmer and cleaner at the edges while still soft in the center. Their color should be warm yellow with gentle browning around the ridges.
Tip: Glaze while the cakes are just warm or fully cool so the topping sets instead of soaking in too fast.
Step 7: Mix the lavender glaze
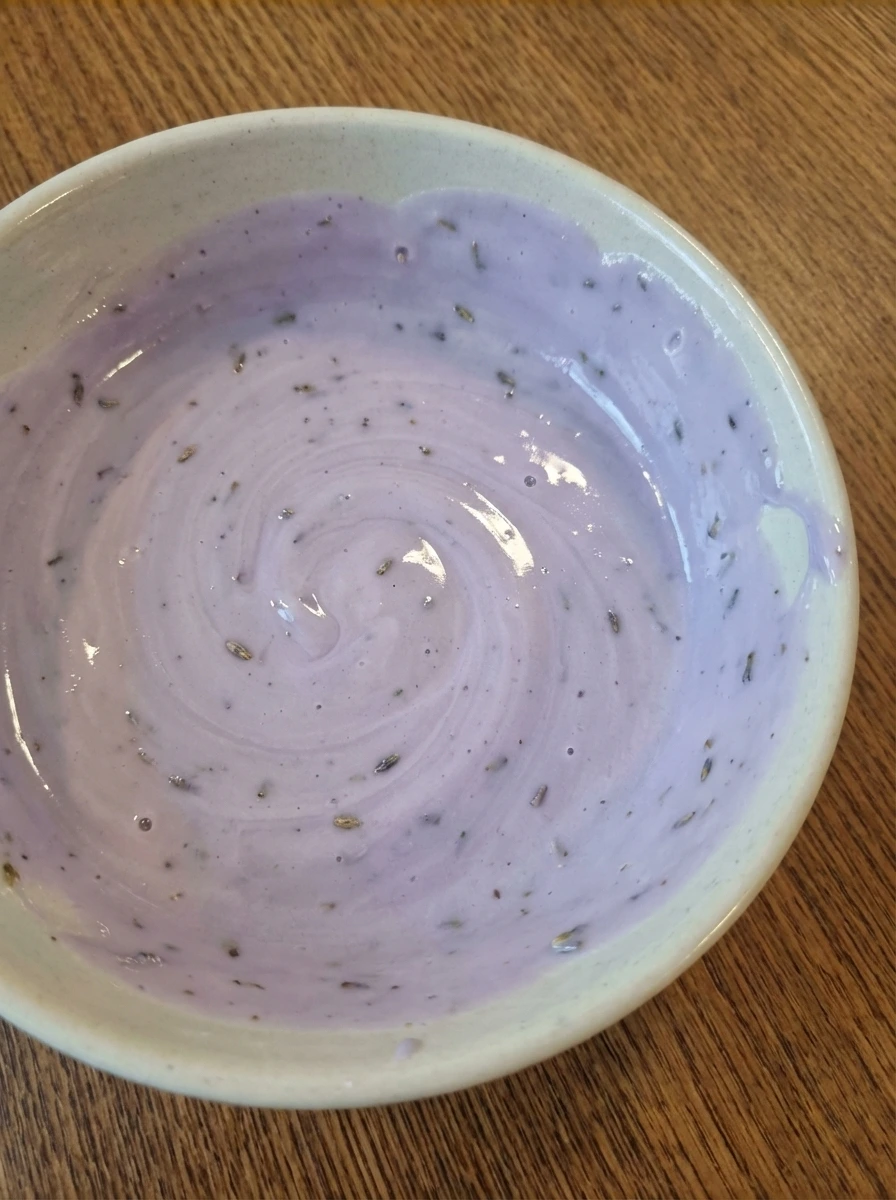
Stir the powdered sugar with crushed lavender and milk until the mixture changes from dry and powdery to thick and silky. Add a small splash more milk if needed until the glaze drips slowly from the spoon instead of sitting in a stiff mound. The finished glaze should look pale and glossy with tiny lavender specks scattered through it. It needs enough body to cling to the cakes and enough flow to trail down the sides unevenly.
Tip: Start with less milk then add more drop by drop so the glaze stays thick and lush.
Step 8: Glaze the warm cakes
Spoon the lavender glaze over the tops so it falls in soft ribbons and runs down some sides more than others. Leave a few spots thinner and a few spots thicker for a real homemade finish rather than perfect coverage. The cakes now shift from matte and lightly browned to glossy and finished. The white glaze catches on the ridges and gathers in small uneven drips that show the shape of each cake.
Tip: Let the first spoonful settle before adding more so the glaze keeps its natural draped look.
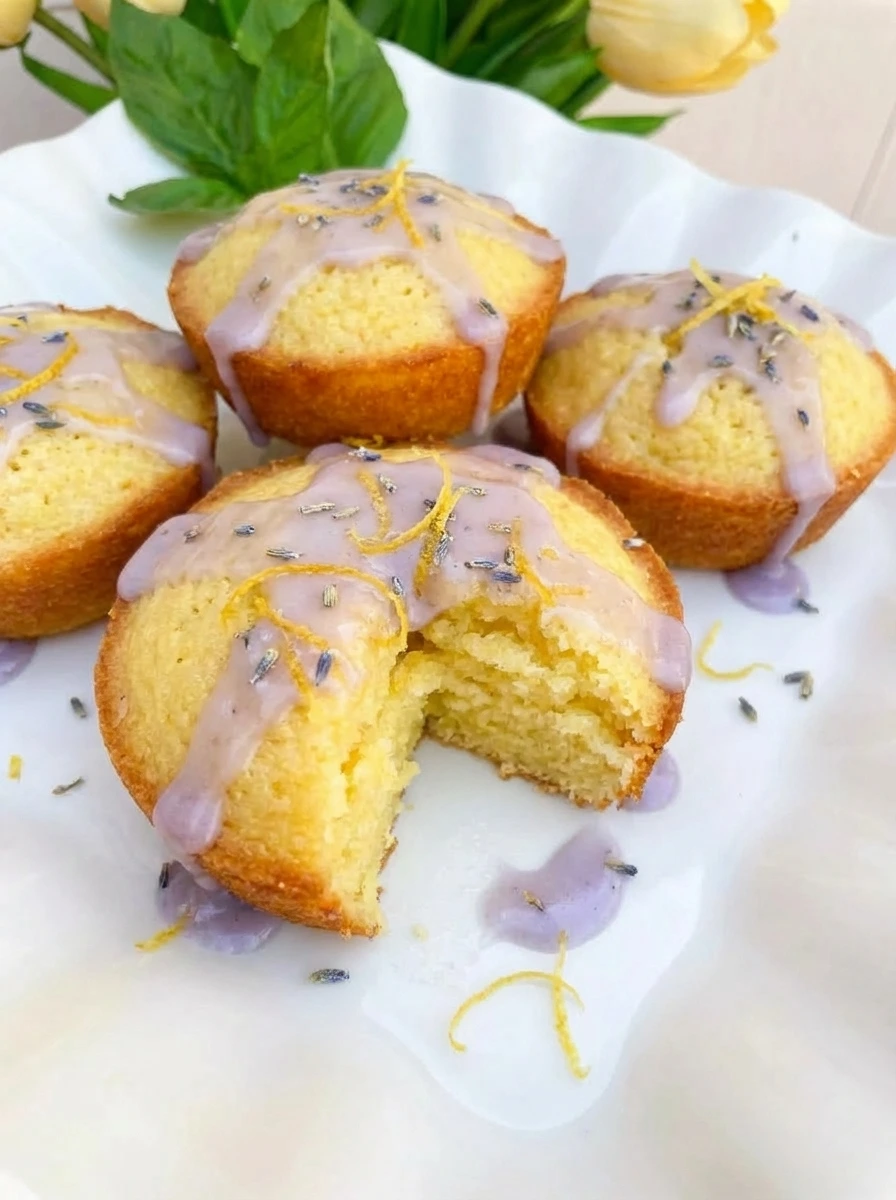
Step 9: Finish and plate the cakes
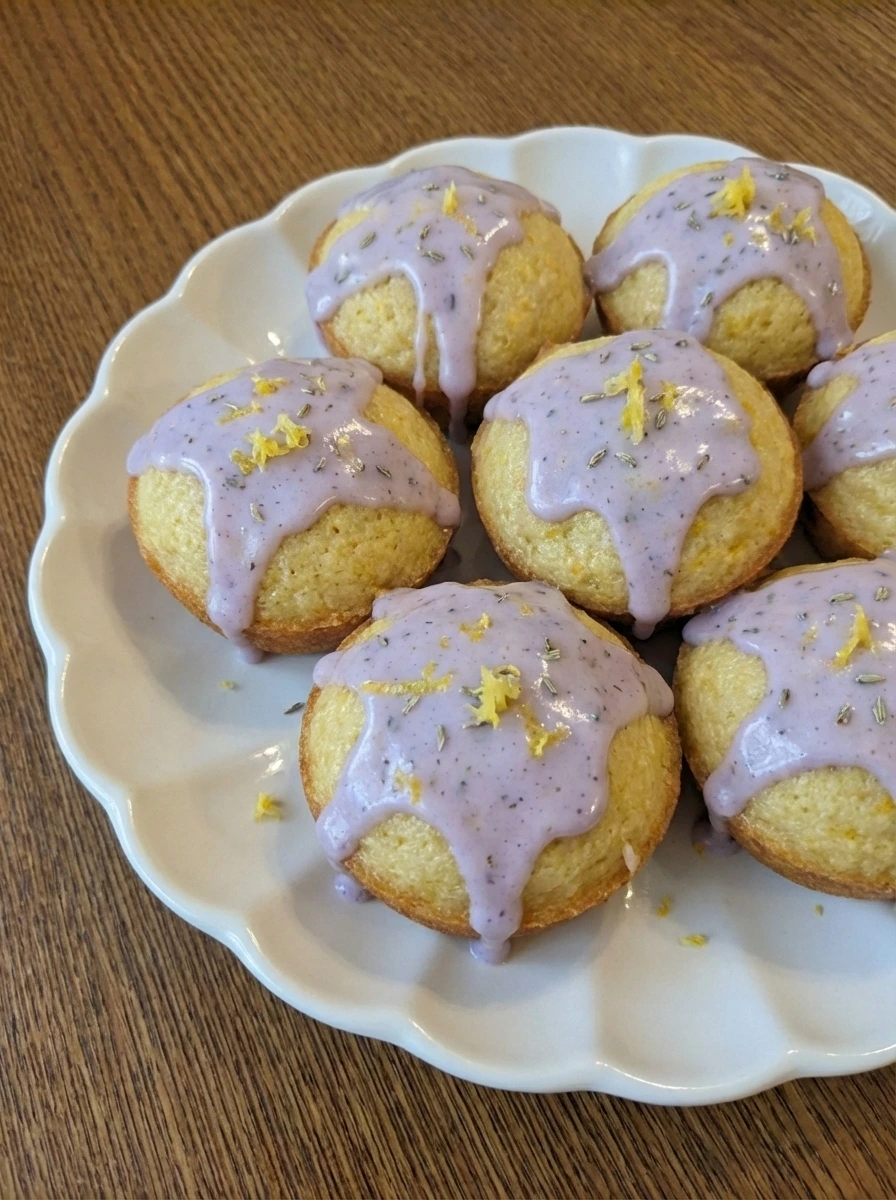
Scatter the extra lemon zest over the glaze and add a tiny pinch of lavender in loose irregular spots. Move the cakes onto a serving plate so they sit close together with slight overlap and natural spacing. The final dish should look fully cooked and inviting with golden brown edges and soft yellow crumb and glossy glaze that has set in irregular streaks. Every cake should look a little different and ready to serve.
Tip: Use a light hand with the lavender garnish so the lemon flavor stays the star.
Pro Tips
- Rub the lemon zest into the sugar for a minute if you want a stronger citrus aroma.
- Crush the culinary lavender very finely so the glaze stays delicate and smooth.
- Do not overmix the batter or the cakes can lose their soft tender crumb.
- Let the glaze set for a few minutes before serving so it clings to the cakes with a pretty uneven finish.
Storage Instructions
Store the mini lemon cakes in an airtight container at room temperature for up to 2 days or in the fridge for up to 4 days. If chilled let them sit out for a short time before serving so the crumb softens again.
Frequently Asked Questions
Can I make these mini lemon cakes without lavender?
Yes. You can leave out the lavender and use a simple lemon glaze instead. The cakes will still taste bright and soft and delicious.
Can I bake this recipe as one larger cake?
Yes although the baking time will be longer. Watch for a set center and lightly golden edges before removing it from the oven.
How do I keep the glaze from turning too thin?
Add the milk a little at a time and stir well after each addition. The glaze should fall slowly and hold on the cakes instead of running off completely.
Can I make these a day ahead?
Yes. Bake the cakes first then glaze them after they cool or on the day you plan to serve them for the freshest look.
Final Thoughts
So there you go. A recipe that is simple enough for a Tuesday night but good enough to serve at a gathering.
I have made these Mini Lemon Cakes with Lavender Glaze more times than I can count and they never disappoint. Save this one and share it with a friend and let me know in the comments if you made any fun changes.
I am always curious to see how people put their own spin on things.
Print
Mini Lemon Cakes with Lavender Glaze
- Total Time: 45 minutes
- Yield: 4 servings 1x
Description
These Mini Lemon Cakes with Lavender Glaze are an easy dessert with bright flavor and soft texture. They bring quick and simple ideas to the table while still feeling like the best homemade treat. This recipe uses healthy style ingredients like fresh lemon and yogurt for a light crumb. It works for brunch and holiday tables and party trays and potluck sweets and even a cozy weeknight dinner finish or meal prep snack.
Ingredients
- 1 and 1/2 cups all purpose flour
- 1 and 1/2 teaspoons baking powder
- 1/4 teaspoon fine sea salt
- 3/4 cup granulated sugar
- 1/2 cup unsalted butter melted and slightly cooled
- 2 large eggs
- 1/2 cup plain Greek yogurt
- 2 tablespoons fresh lemon zest
- 3 tablespoons fresh lemon juice
- 1 teaspoon vanilla extract
- 1 teaspoon dried culinary lavender finely crushed
- 1 and 1/4 cups powdered sugar
- 2 to 3 tablespoons milk
- 1 teaspoon extra lemon zest
- 1 pinch tiny pinch of dried culinary lavender
Instructions
- Add the flour and baking powder and salt and granulated sugar into a wide bowl. Stir until the white powders look evenly blended and airy with no dark streaks or dense patches. The mixture should still look dry and loose yet more uniform than when it first went in. This early blend helps the cakes bake with an even crumb and a gentle rise.
- In another bowl pour in the melted butter then add the eggs and yogurt and lemon zest and lemon juice and vanilla. Whisk until the yolks break and the mixture turns glossy and pale yellow with tiny flecks of zest floating through it. At first it may look streaky and separated then it becomes smoother and slightly thicker as the yogurt and butter come together. The lemon zest should be visible in loose specks throughout the mixture.
- Pour the wet mixture over the dry ingredients and fold gently until the flour disappears. The batter will shift from dusty and rough to thick and smooth with a soft pale lemon color and tiny fragrant zest pieces spread throughout. Do not overmix. A few small lumps are fine and make the batter look more natural while keeping the cakes tender after baking.
- Spoon the batter into small cake portions so each one looks casually filled rather than perfectly level. Smooth only the tallest peaks and leave the tops slightly uneven because that helps the baked cakes look homemade. The batter should sit thick and softly mounded with a satin surface. Some portions may have a bit more zest on top than others and that natural variation is perfect.
- As the cakes bake the batter rises and puffs into rounded tops. The pale batter turns into tender cakes with a soft yellow center and lightly golden edges and a few slightly deeper spots where the tops split naturally. This is the main visual cooking change. The surface moves from glossy and raw to matte and set with a gentle spring and a light golden brown finish.
- Let the cakes cool until the tops lose their shine and the crumb settles. Remove them gently and arrange them close together so the rounded tops and lightly browned sides are easy to glaze. Once cooled a little the cakes look firmer and cleaner at the edges while still soft in the center. Their color should be warm yellow with gentle browning around the ridges.
- Stir the powdered sugar with crushed lavender and milk until the mixture changes from dry and powdery to thick and silky. Add a small splash more milk if needed until the glaze drips slowly from the spoon instead of sitting in a stiff mound. The finished glaze should look pale and glossy with tiny lavender specks scattered through it. It needs enough body to cling to the cakes and enough flow to trail down the sides unevenly.
- Spoon the lavender glaze over the tops so it falls in soft ribbons and runs down some sides more than others. Leave a few spots thinner and a few spots thicker for a real homemade finish rather than perfect coverage. The cakes now shift from matte and lightly browned to glossy and finished. The white glaze catches on the ridges and gathers in small uneven drips that show the shape of each cake.
- Scatter the extra lemon zest over the glaze and add a tiny pinch of lavender in loose irregular spots. Move the cakes onto a serving plate so they sit close together with slight overlap and natural spacing. The final dish should look fully cooked and inviting with golden brown edges and soft yellow crumb and glossy glaze that has set in irregular streaks. Every cake should look a little different and ready to serve.
Notes
Pro Tips:
- Rub the lemon zest into the sugar for a minute if you want a stronger citrus aroma.
- Crush the culinary lavender very finely so the glaze stays delicate and smooth.
- Do not overmix the batter or the cakes can lose their soft tender crumb.
- Let the glaze set for a few minutes before serving so it clings to the cakes with a pretty uneven finish.
Storage: Store the mini lemon cakes in an airtight container at room temperature for up to 2 days or in the fridge for up to 4 days. If chilled let them sit out for a short time before serving so the crumb softens again.
- Prep Time: 15 minutes
- Cook Time: 30 minutes
- Category: Dessert
- Cuisine: American
Nutrition
- Serving Size: 1 serving