When you want something different from the usual sandwich routine this Easy Chicken Wrap offers a delicious twist. This chicken wrap recipe is juicy and simple and packed with flavor which makes it perfect for busy lunches or relaxed dinners.
This recipe is perfect for meal prep and quick weeknight dinners and casual weekend lunches. It is the kind of wrap that feels easy to throw together and still tastes like something you really wanted to eat.
If you want more easy dinner ideas also check out chicken quesadillas and grilled chicken bowls and simple chicken salad wraps. They all bring the same cozy and practical feel and they make homemade meals feel a little easier.
Ingredients

Here’s what I use for this recipe and you can always make substitutions if you prefer.
- boneless skinless chicken breast: the main protein that stays juicy once seasoned and cooked
- large flour tortillas: soft wraps that hold the filling together
- romaine lettuce: adds fresh crunch and light texture
- tomato: adds juicy sweetness and color
- red onion: adds a sharp bite and slight crunch
- cheddar cheese: melts into the warm chicken for a rich finish
- plain Greek yogurt: creates a creamy healthy sauce base
- mayonnaise: adds smooth richness to the sauce
- lime juice: brightens the sauce and chicken
- olive oil: helps the seasoning cling and supports browning
- garlic powder: builds savory flavor through the chicken and sauce
- smoked paprika: adds warm color and gentle smoky depth
- ground cumin: adds earthy flavor to the seasoning
- salt: seasons the chicken and sauce
- black pepper: adds mild heat and balance
- fresh parsley: finishes the wrap with fresh color
Tools You’ll Need
- mixing bowl: for seasoning the chicken and mixing the sauce
- measuring spoons and cups: for accurate seasoning and sauce portions
- cutting board: for slicing chicken and vegetables
- knife: for cutting chicken and chopping vegetables
Instructions
Step 1: Slice and portion the chicken
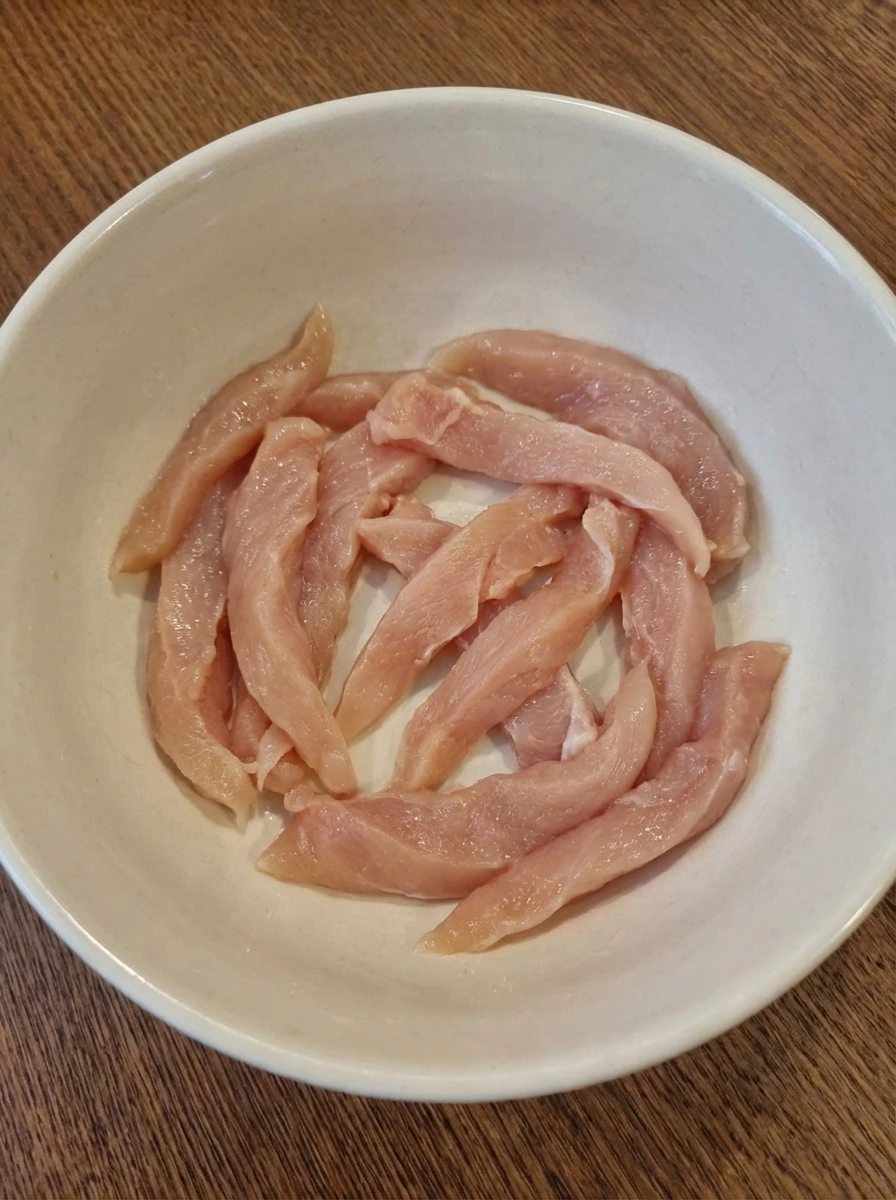
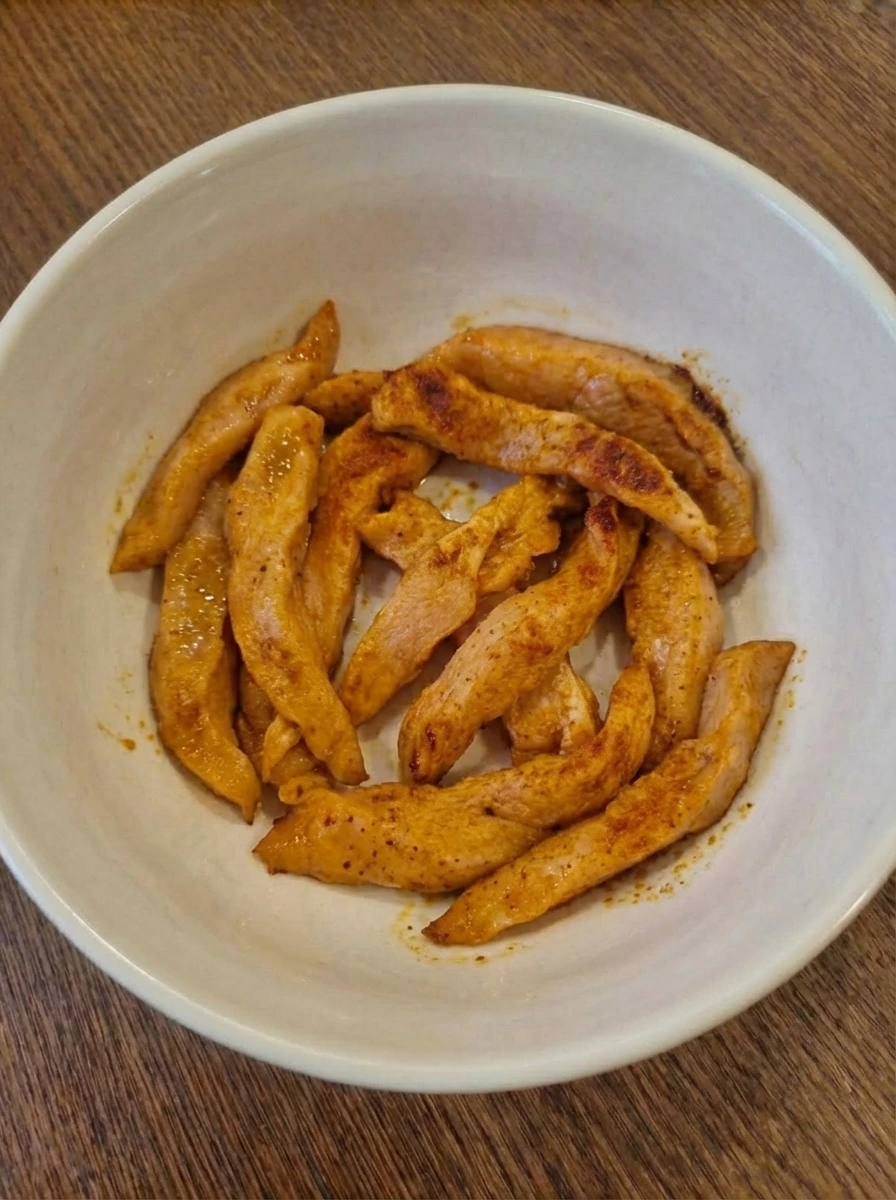
Cut the chicken into thin bite size strips and let the pieces vary a little so they look natural instead of perfectly matched. Spread the raw chicken loosely in a shallow bowl so the pale pink pieces overlap in a casual way and create an uneven layer. This first stage should still look fully raw and fresh with clean edges and a light sheen from the meat. Keeping the pieces thin helps the next layers of seasoning cling better and it also gives the final wrap more texture in every bite.
Tip: Thin uneven strips cook quickly and create better texture inside the wrap.
Step 2: Measure and scatter the seasonings
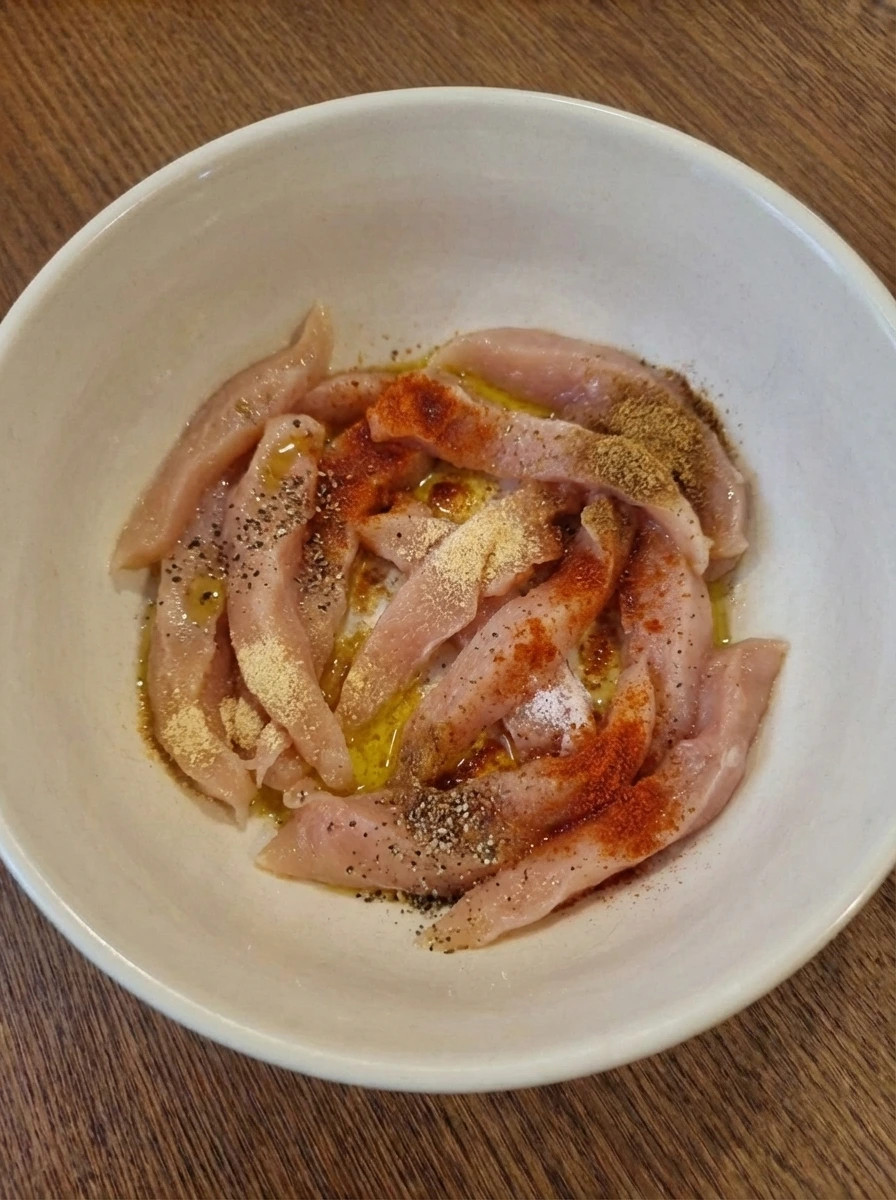
Drizzle the chicken with olive oil and then scatter the smoked paprika and garlic powder and cumin and salt and black pepper over the top. Let some areas hold more seasoning than others so the surface looks naturally uneven and lightly dusted instead of perfectly covered. At this point the chicken changes from plain and pale to lightly tinted with warm red and brown specks. The oil gives the pieces a glossier finish and makes the seasoning cling in patchy little spots across the bowl.
Tip: Leave a few thicker patches of seasoning because they create deeper color as the chicken cooks.
Step 3: Mix and marinate the chicken
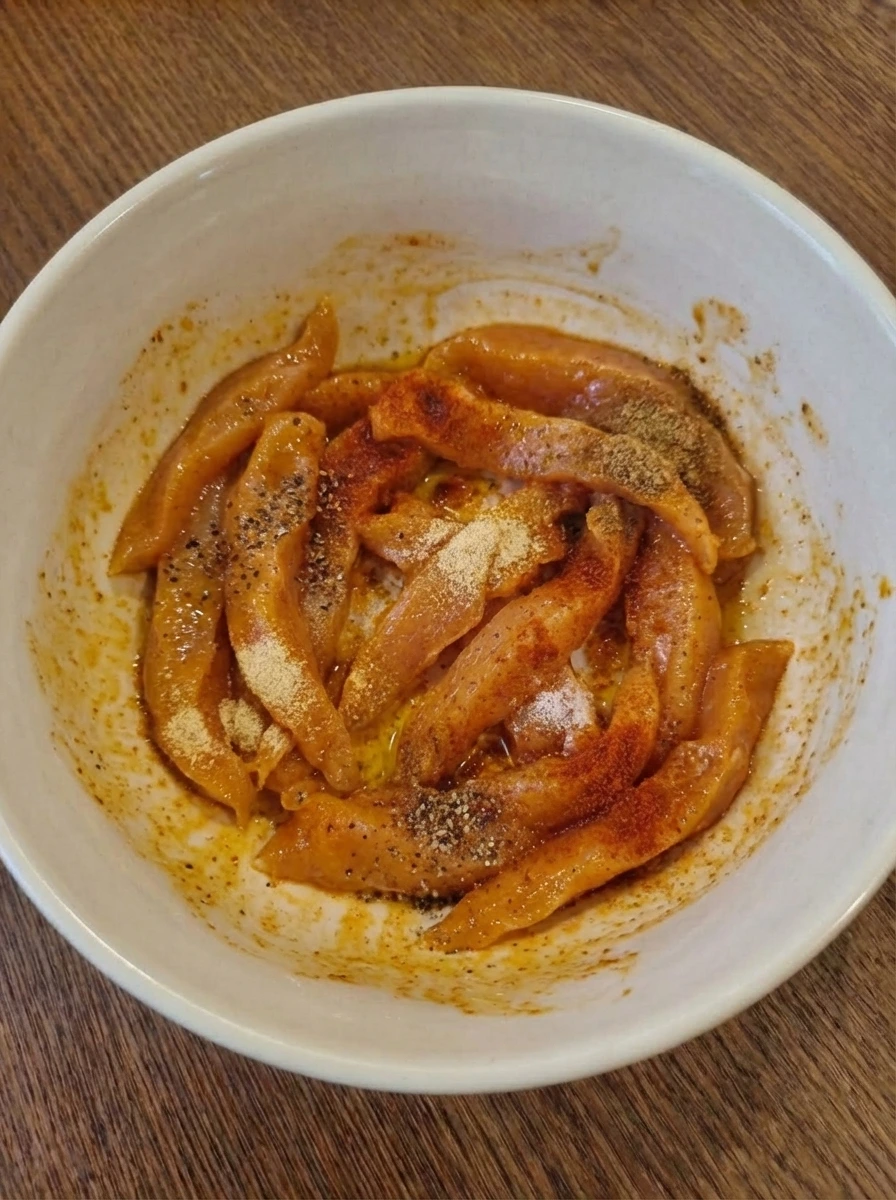
Toss the chicken until the oil and spices smear across every piece and the color deepens into a fuller orange red coating. Some pieces should look more heavily covered while others stay lighter so the bowl keeps a realistic homemade look. Let the chicken sit for a short marinating rest so the coating settles onto the surface. The texture now looks slick and fully seasoned and the bowl shows the shift from raw plain meat to a well coated mixture ready for cooking.
Tip: A short rest gives the spice mixture time to settle and keeps the chicken flavorful.
Step 4: Mix the creamy sauce
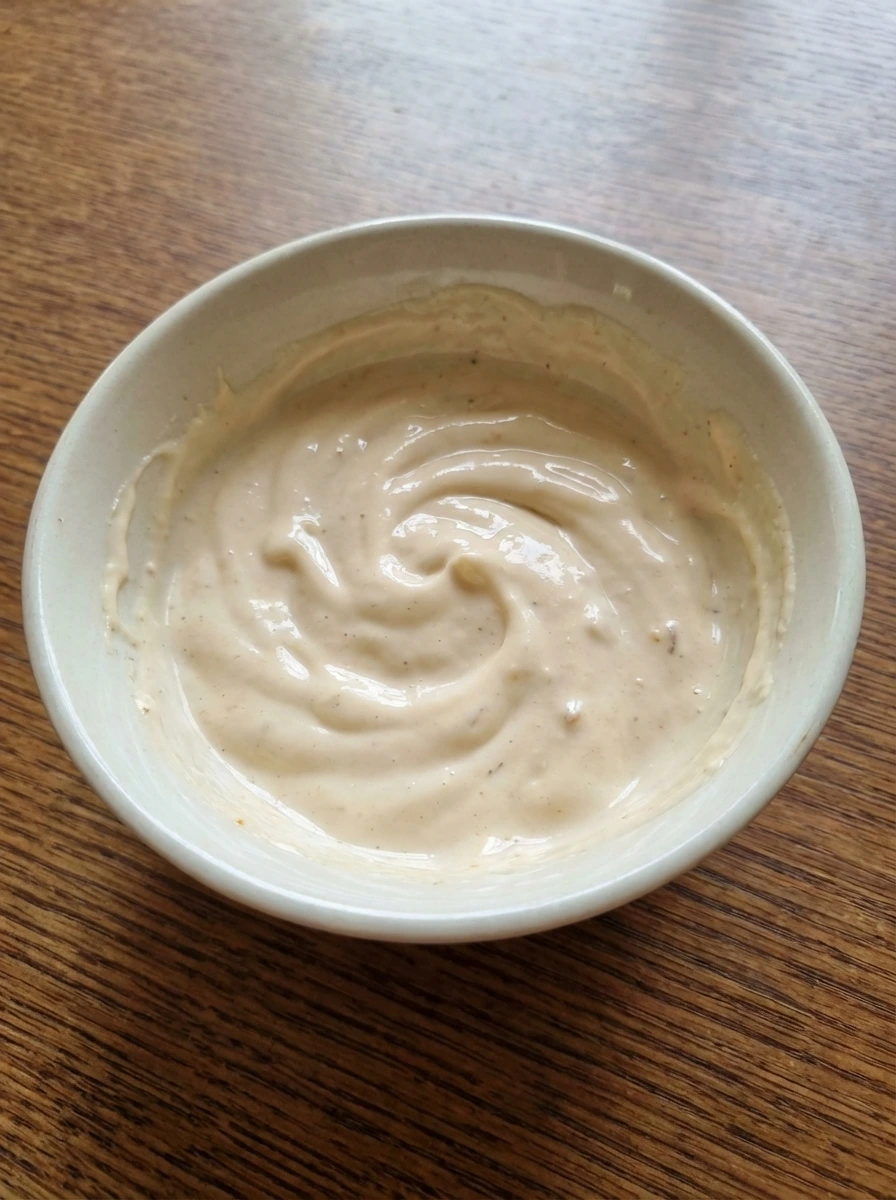
In a small bowl combine Greek yogurt and mayonnaise and lime juice with a pinch of garlic powder and a little salt. Stir until the mixture turns smooth and creamy while still showing a few faint streaks at first and then blending into a pale thick sauce. The sauce should look lightly swirled rather than perfectly flat. This stage adds the cool creamy layer that balances the seasoned chicken and gives the finished wrap a richer texture without feeling too heavy.
Tip: Keep the sauce slightly thick so it clings to the filling instead of running out of the wrap.
Step 5: Cook until softened and slightly browned
Spread the marinated chicken into a loose layer and cook until the strips lose their raw look and turn opaque and tender. As they finish the coating darkens in spots and the edges pick up slight browning while the centers stay juicy and a little glossy. This is where the biggest visual change happens because the chicken moves from coated raw strips to fully cooked savory pieces with warmer color and firmer texture. A few smaller pieces can brown more than the rest which keeps the result looking real and homemade.
Tip: Do not overcook the chicken because the strips should stay juicy for easy wrapping.
Step 6: Soften the vegetables and combine the warm filling
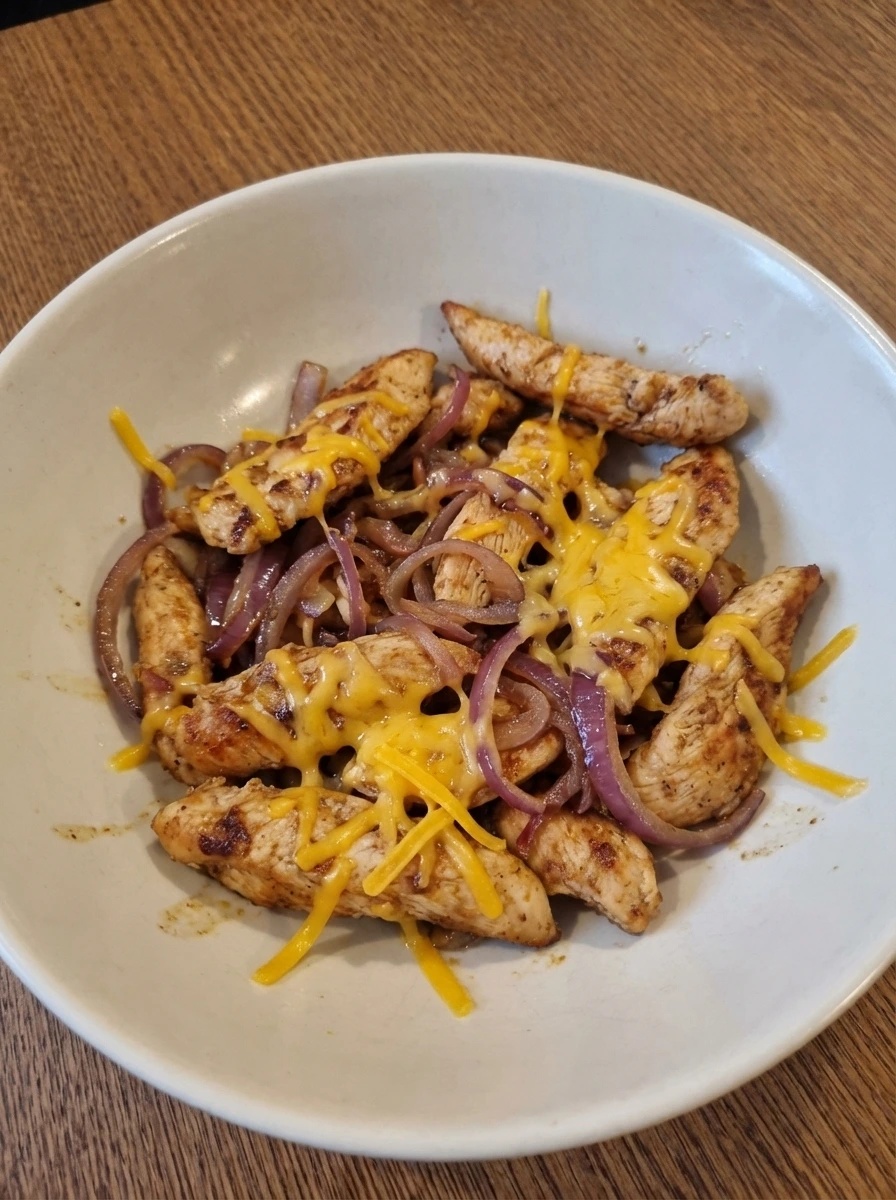
Add the sliced red onion to the hot chicken so it starts to soften and lose some of its sharp stiffness while still keeping a little shape. Scatter the shredded cheddar over the warm mixture and fold gently so the cheese begins to melt unevenly around the chicken while some onion strands tuck between the pieces. The filling should now look richer and softer with little glossy patches where the cheese has started to cling. The color shifts again because the pale cheese turns creamy in places and the onion looks slightly relaxed rather than fully crisp.
Tip: Let the residual heat soften the onion gently so it stays sweet and not too sharp.
Step 7: Layer the wrap base
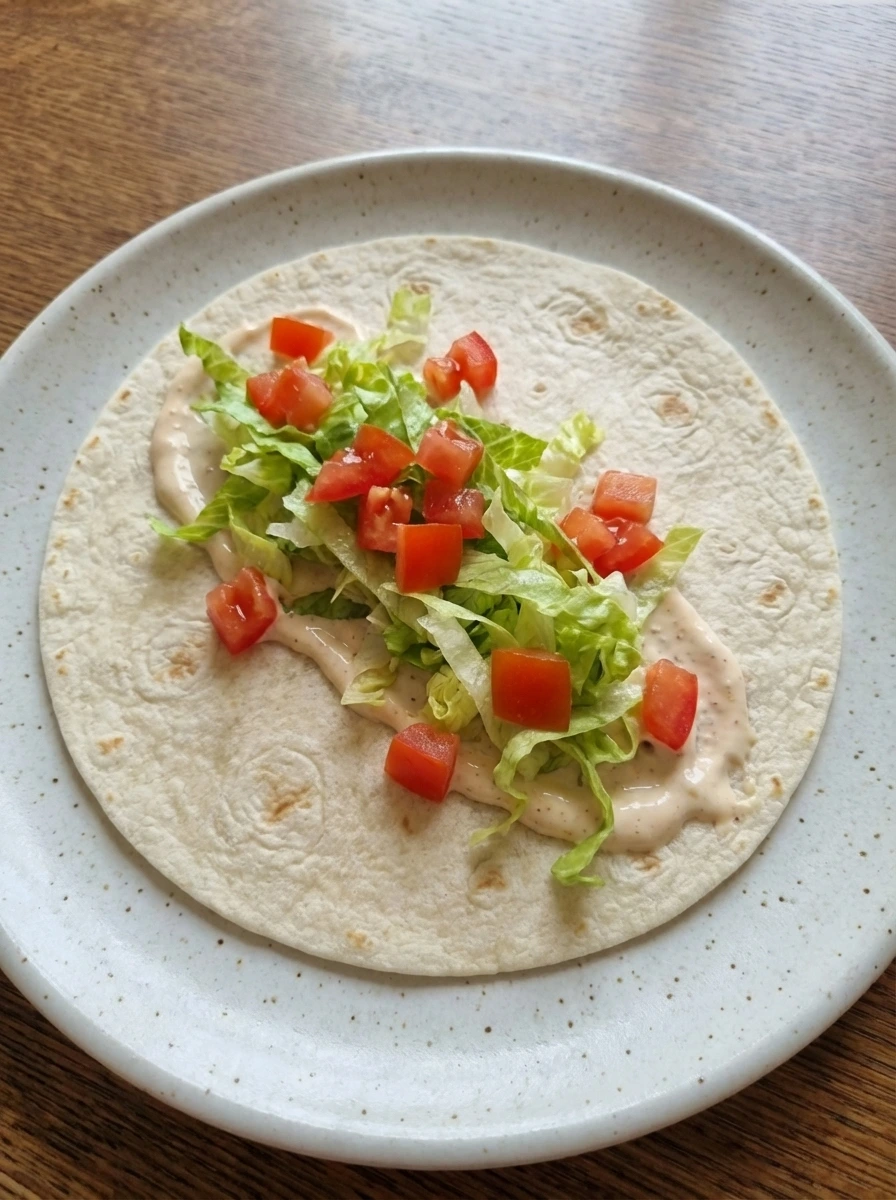
Lay a tortilla flat and spoon a loose stripe of creamy sauce across the center. Add a casual pile of shredded lettuce and scatter diced tomato over it so the vegetables look fresh and slightly irregular with a few pieces sitting off to the side of the main line. This stage builds the visual base of the wrap with cool crisp texture under the warm filling. The sauce should not cover everything and the vegetables should not form a neat row because the finished wrap needs that relaxed homemade look.
Tip: Keep the filling centered enough to fold while still looking loose and natural.
Step 8: Add the warm chicken filling
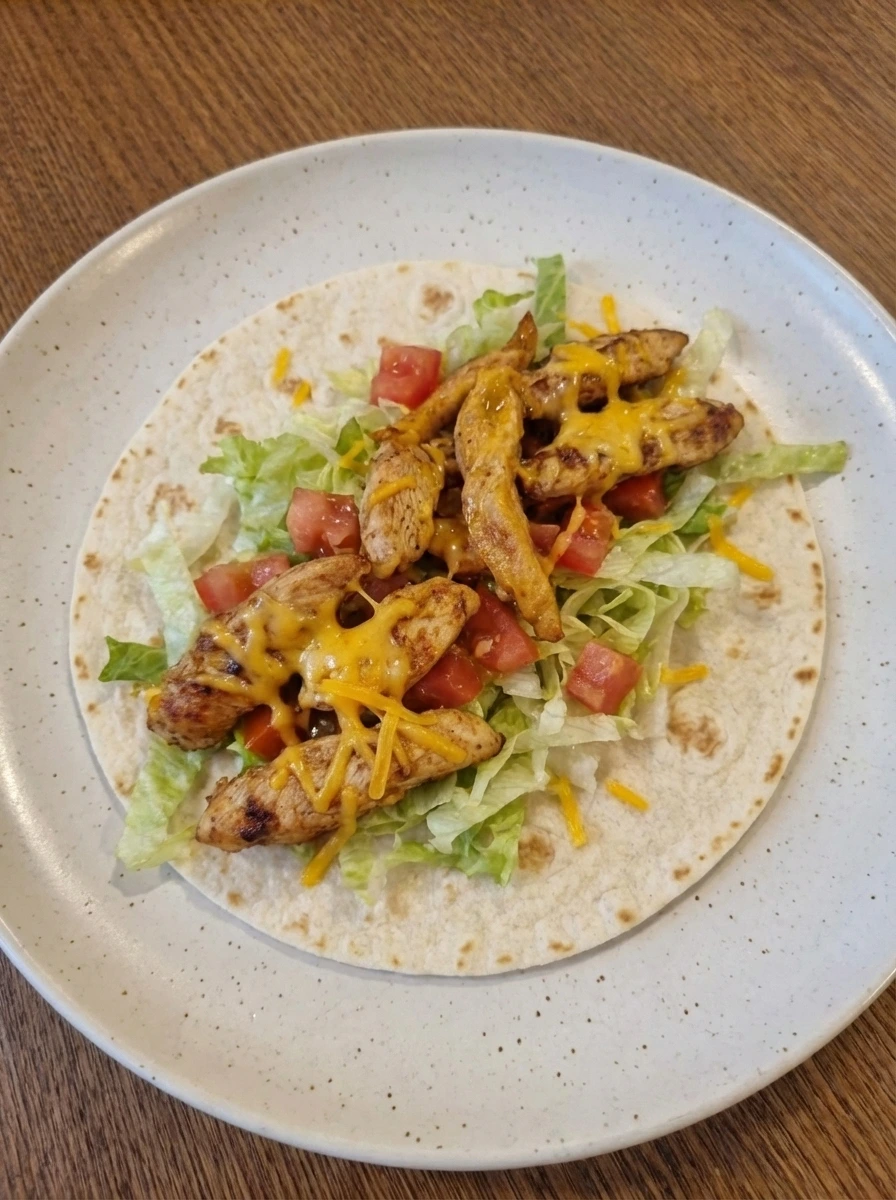
Spoon the hot chicken and onion and melted cheese mixture over the vegetables in a rough line and let some pieces overlap while others fall slightly off center. A little melted cheese should cling in stringy patches and the seasoned chicken should sit unevenly over the lettuce and tomato. Now the wrap clearly shows contrast between the cool vegetables and the warm savory filling. The textures look mixed but not compressed and the colors feel fuller because the browned chicken and creamy cheese sit against the brighter greens and reds.
Tip: Do not overload the tortilla because a slightly loose wrap folds more neatly and still looks full.
Step 9: Fold and finish until lightly golden
Fold the sides in and roll the tortilla over the filling so the wrap holds together while still looking slightly imperfect with a little bulge and uneven seam. Warm the wrapped tortilla until the outside softens and picks up light golden brown patches while the cheese inside melts more and the filling settles together. The wrap now changes from layered ingredients into one finished piece with a tender surface and slight browning. It should not look overly crisp or too neat and a little melted cheese may press close to the seam in an irregular way.
Tip: A light finish on the tortilla adds color and helps the wrap stay together without drying it out.
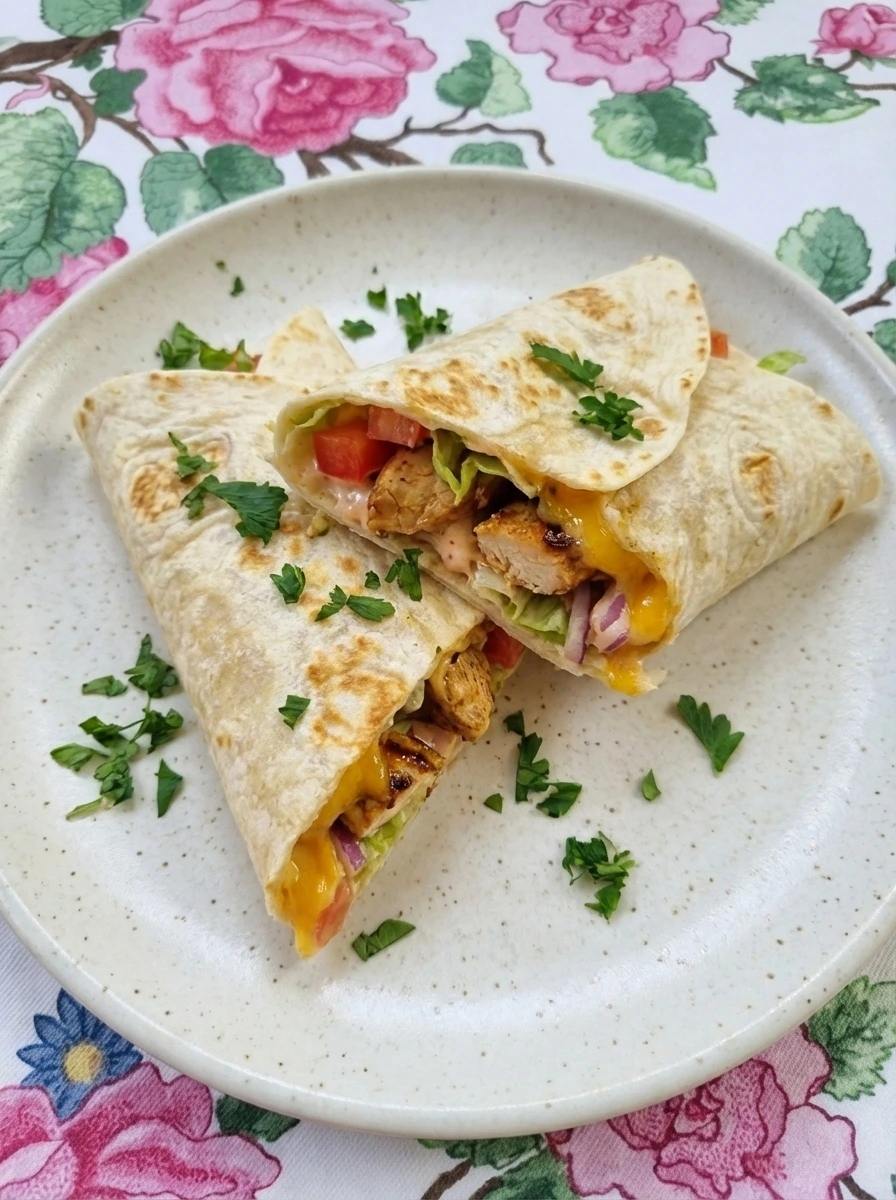
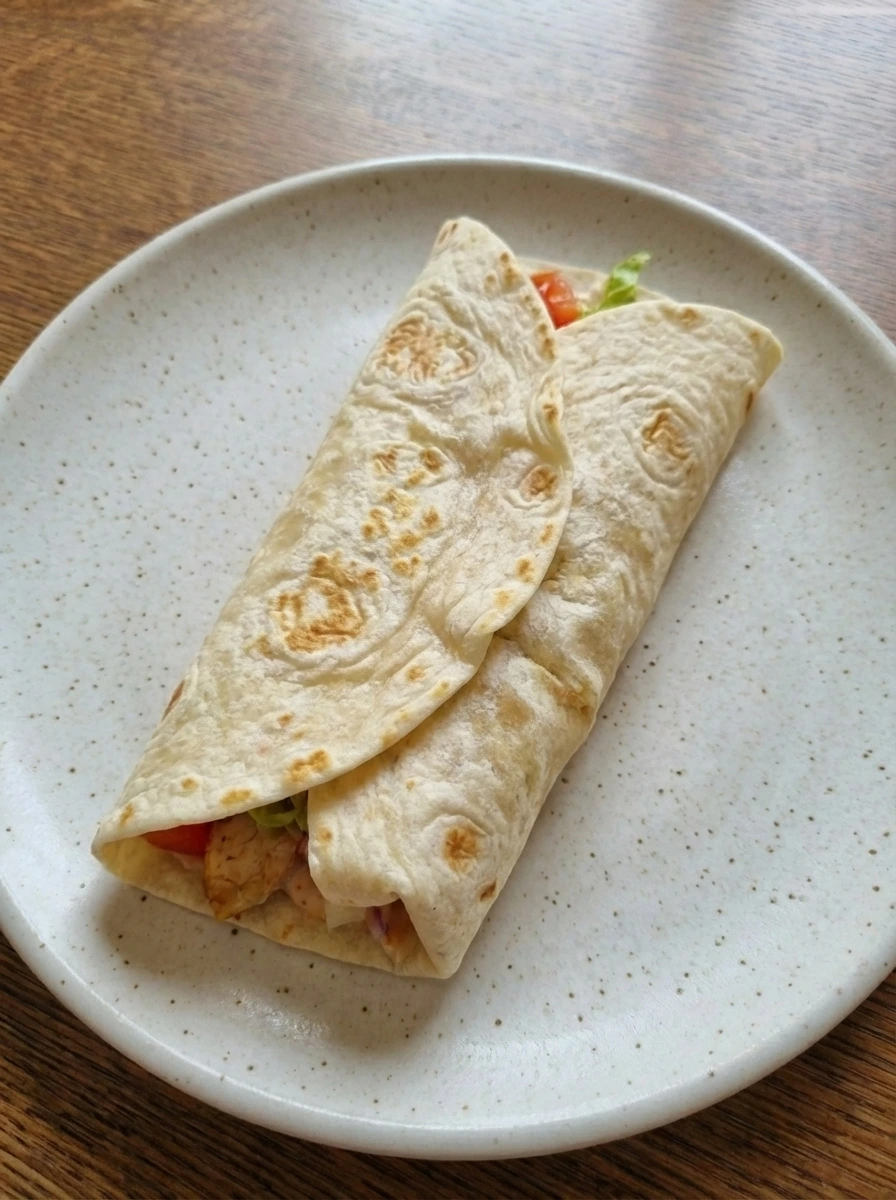
Step 10: Plate and garnish the finished wrap

Slice the wrap on a slight diagonal and place the halves on the plate with a little overlap so the filling shows at the cut edge. The chicken should look juicy and lightly browned and the cheese should appear melted in uneven pockets while the lettuce and tomato stay visible in a natural tucked in way. Finish with chopped parsley scattered casually over the cut sides and serve right away. The final dish should look fully cooked and warm and a little imperfect with varied color and texture from the golden tortilla and rich filling and fresh vegetables.
Tip: Cutting the wrap after it rests briefly keeps the filling in place while still showing the melted center.
Pro Tips
- Let the chicken rest in the seasoning for a few minutes so the color and flavor settle in.
- Shred the lettuce finely so the wrap stays easy to fold and bite through.
- Scatter the cheese into the hot chicken instead of piling it in one spot so it melts more naturally.
- Warm the filled wrap just until lightly golden so the tortilla stays soft and flexible.
Storage Instructions
Store leftover cooked chicken filling in an airtight container in the refrigerator for up to 3 days. Keep lettuce and tomato separate so they stay fresh and then assemble and warm the wraps just before serving.
Frequently Asked Questions
Can I make Easy Chicken Wrap ahead of time?
Yes and the filling holds well for meal prep. Store the cooked chicken and the fresh vegetables separately and assemble the wraps when you are ready to eat for the best texture.
What can I use instead of Greek yogurt in the sauce?
You can use sour cream for a richer sauce or all mayonnaise for a more classic wrap spread. The flavor will change a little yet the texture will still be creamy and smooth.
Can I add more vegetables to this wrap?
Yes and sliced cucumber and avocado and bell peppers work well. Add them loosely so the wrap still folds easily and does not become too packed.
How do I keep the wrap from falling apart?
Use a moderate amount of filling and keep it centered before folding. Warming the rolled wrap until lightly golden also helps the tortilla hold its shape better.
Final Thoughts
So there you go. A recipe that is simple enough for a Tuesday night but good enough to serve at a gathering.
I have made this more times than I can count and it never disappoints. Save this one and share it with a friend and let me know in the comments if you made any fun changes.
I am always curious to see how people put their own spin on things.
Print
Easy Chicken Wrap
- Total Time: 45 minutes
- Yield: 4 servings 1x
Description
This easy chicken wrap is one of the best quick and simple meal ideas when you need something healthy and filling without extra fuss. It works for weeknight dinner and meal prep and even a holiday lunch spread or potluck table and casual brunch or party tray. Juicy seasoned chicken with crisp vegetables and melty cheese turns into a wrap that feels homemade and comforting while still being fresh and flexible.
Ingredients
- 1 pound boneless skinless chicken breast
- 4 large flour tortillas
- 2 cups shredded romaine lettuce
- 1 medium diced tomato
- 1 small thinly sliced red onion
- 1 cup shredded cheddar cheese
- 1/2 cup plain Greek yogurt
- 2 tablespoons mayonnaise
- 1 tablespoon lime juice
- 1 tablespoon olive oil
- 1 teaspoon garlic powder
- 1 teaspoon smoked paprika
- 1/2 teaspoon ground cumin
- 1 teaspoon salt
- 1/2 teaspoon black pepper
- 2 tablespoons chopped fresh parsley
Instructions
- Cut the chicken into thin bite size strips and let the pieces vary a little so they look natural instead of perfectly matched. Spread the raw chicken loosely in a shallow bowl so the pale pink pieces overlap in a casual way and create an uneven layer. This first stage should still look fully raw and fresh with clean edges and a light sheen from the meat. Keeping the pieces thin helps the next layers of seasoning cling better and it also gives the final wrap more texture in every bite.
- Drizzle the chicken with olive oil and then scatter the smoked paprika and garlic powder and cumin and salt and black pepper over the top. Let some areas hold more seasoning than others so the surface looks naturally uneven and lightly dusted instead of perfectly covered. At this point the chicken changes from plain and pale to lightly tinted with warm red and brown specks. The oil gives the pieces a glossier finish and makes the seasoning cling in patchy little spots across the bowl.
- Toss the chicken until the oil and spices smear across every piece and the color deepens into a fuller orange red coating. Some pieces should look more heavily covered while others stay lighter so the bowl keeps a realistic homemade look. Let the chicken sit for a short marinating rest so the coating settles onto the surface. The texture now looks slick and fully seasoned and the bowl shows the shift from raw plain meat to a well coated mixture ready for cooking.
- In a small bowl combine Greek yogurt and mayonnaise and lime juice with a pinch of garlic powder and a little salt. Stir until the mixture turns smooth and creamy while still showing a few faint streaks at first and then blending into a pale thick sauce. The sauce should look lightly swirled rather than perfectly flat. This stage adds the cool creamy layer that balances the seasoned chicken and gives the finished wrap a richer texture without feeling too heavy.
- Spread the marinated chicken into a loose layer and cook until the strips lose their raw look and turn opaque and tender. As they finish the coating darkens in spots and the edges pick up slight browning while the centers stay juicy and a little glossy. This is where the biggest visual change happens because the chicken moves from coated raw strips to fully cooked savory pieces with warmer color and firmer texture. A few smaller pieces can brown more than the rest which keeps the result looking real and homemade.
- Add the sliced red onion to the hot chicken so it starts to soften and lose some of its sharp stiffness while still keeping a little shape. Scatter the shredded cheddar over the warm mixture and fold gently so the cheese begins to melt unevenly around the chicken while some onion strands tuck between the pieces. The filling should now look richer and softer with little glossy patches where the cheese has started to cling. The color shifts again because the pale cheese turns creamy in places and the onion looks slightly relaxed rather than fully crisp.
- Lay a tortilla flat and spoon a loose stripe of creamy sauce across the center. Add a casual pile of shredded lettuce and scatter diced tomato over it so the vegetables look fresh and slightly irregular with a few pieces sitting off to the side of the main line. This stage builds the visual base of the wrap with cool crisp texture under the warm filling. The sauce should not cover everything and the vegetables should not form a neat row because the finished wrap needs that relaxed homemade look.
- Spoon the hot chicken and onion and melted cheese mixture over the vegetables in a rough line and let some pieces overlap while others fall slightly off center. A little melted cheese should cling in stringy patches and the seasoned chicken should sit unevenly over the lettuce and tomato. Now the wrap clearly shows contrast between the cool vegetables and the warm savory filling. The textures look mixed but not compressed and the colors feel fuller because the browned chicken and creamy cheese sit against the brighter greens and reds.
- Fold the sides in and roll the tortilla over the filling so the wrap holds together while still looking slightly imperfect with a little bulge and uneven seam. Warm the wrapped tortilla until the outside softens and picks up light golden brown patches while the cheese inside melts more and the filling settles together. The wrap now changes from layered ingredients into one finished piece with a tender surface and slight browning. It should not look overly crisp or too neat and a little melted cheese may press close to the seam in an irregular way.
- Slice the wrap on a slight diagonal and place the halves on the plate with a little overlap so the filling shows at the cut edge. The chicken should look juicy and lightly browned and the cheese should appear melted in uneven pockets while the lettuce and tomato stay visible in a natural tucked in way. Finish with chopped parsley scattered casually over the cut sides and serve right away. The final dish should look fully cooked and warm and a little imperfect with varied color and texture from the golden tortilla and rich filling and fresh vegetables.
Notes
Pro Tips:
- Let the chicken rest in the seasoning for a few minutes so the color and flavor settle in.
- Shred the lettuce finely so the wrap stays easy to fold and bite through.
- Scatter the cheese into the hot chicken instead of piling it in one spot so it melts more naturally.
- Warm the filled wrap just until lightly golden so the tortilla stays soft and flexible.
Storage: Store leftover cooked chicken filling in an airtight container in the refrigerator for up to 3 days. Keep lettuce and tomato separate so they stay fresh and then assemble and warm the wraps just before serving.
- Prep Time: 15 minutes
- Cook Time: 30 minutes
- Category: Lunch
- Cuisine: American
Nutrition
- Serving Size: 1 serving